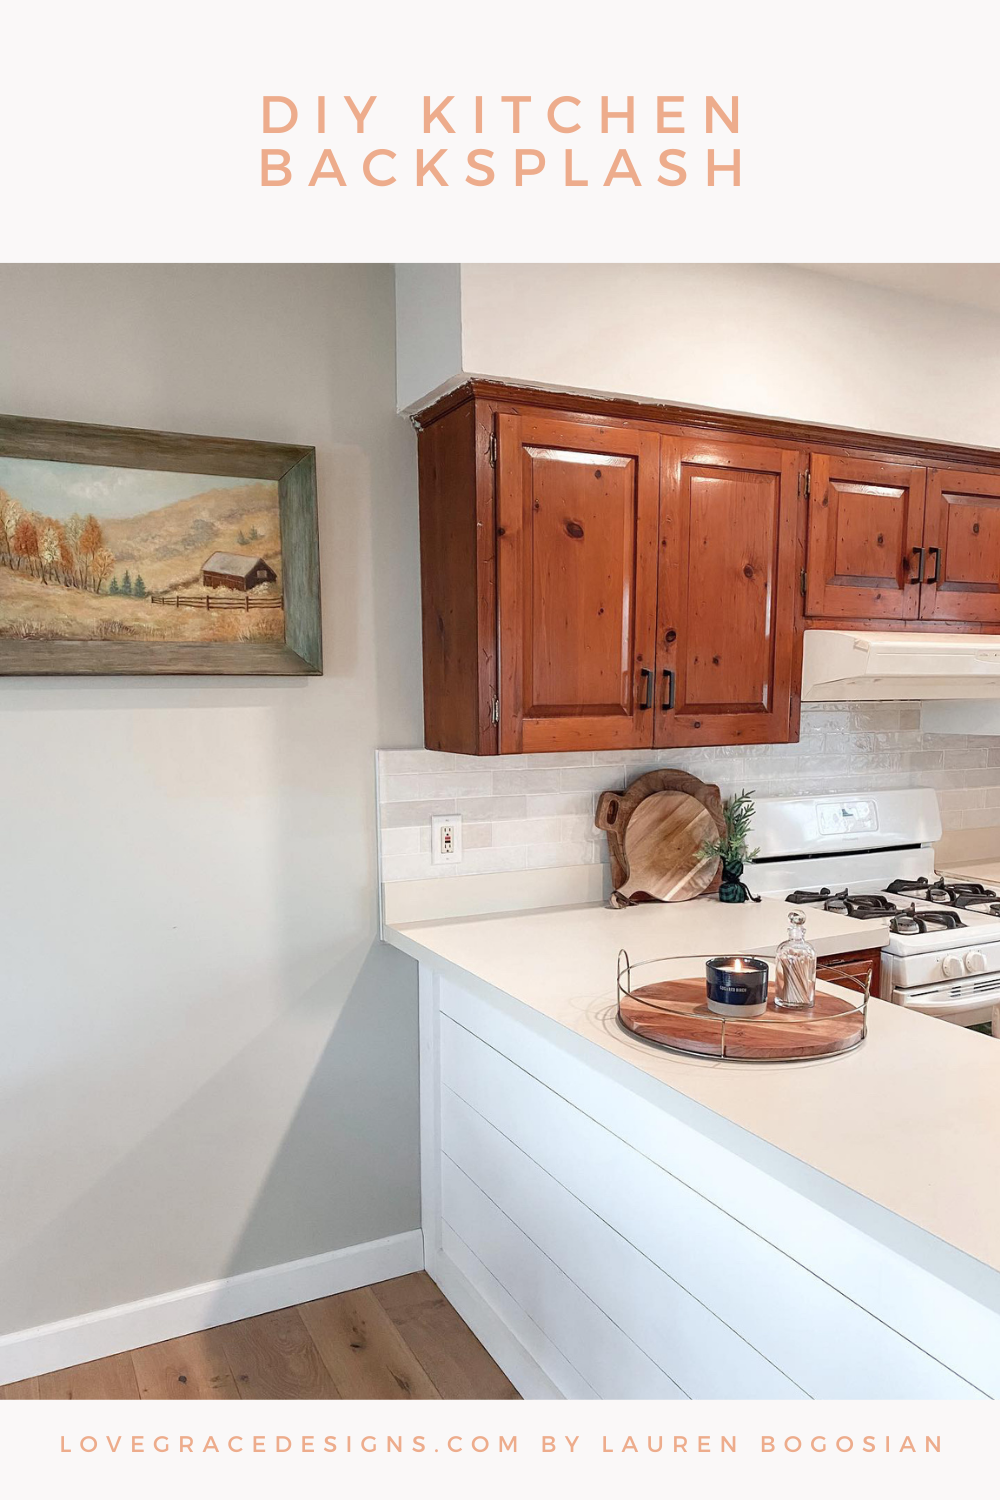
We finally have a kitchen backsplash! After 2 years of being in our house, we completed our DIY kitchen backsplash this past December 2021. We haven’t done too many updates to our kitchen that have been overly drastic, but the small updates we have done have really made a big improvement from what it looked like when we first moved in!
Initial Kitchen Renovation
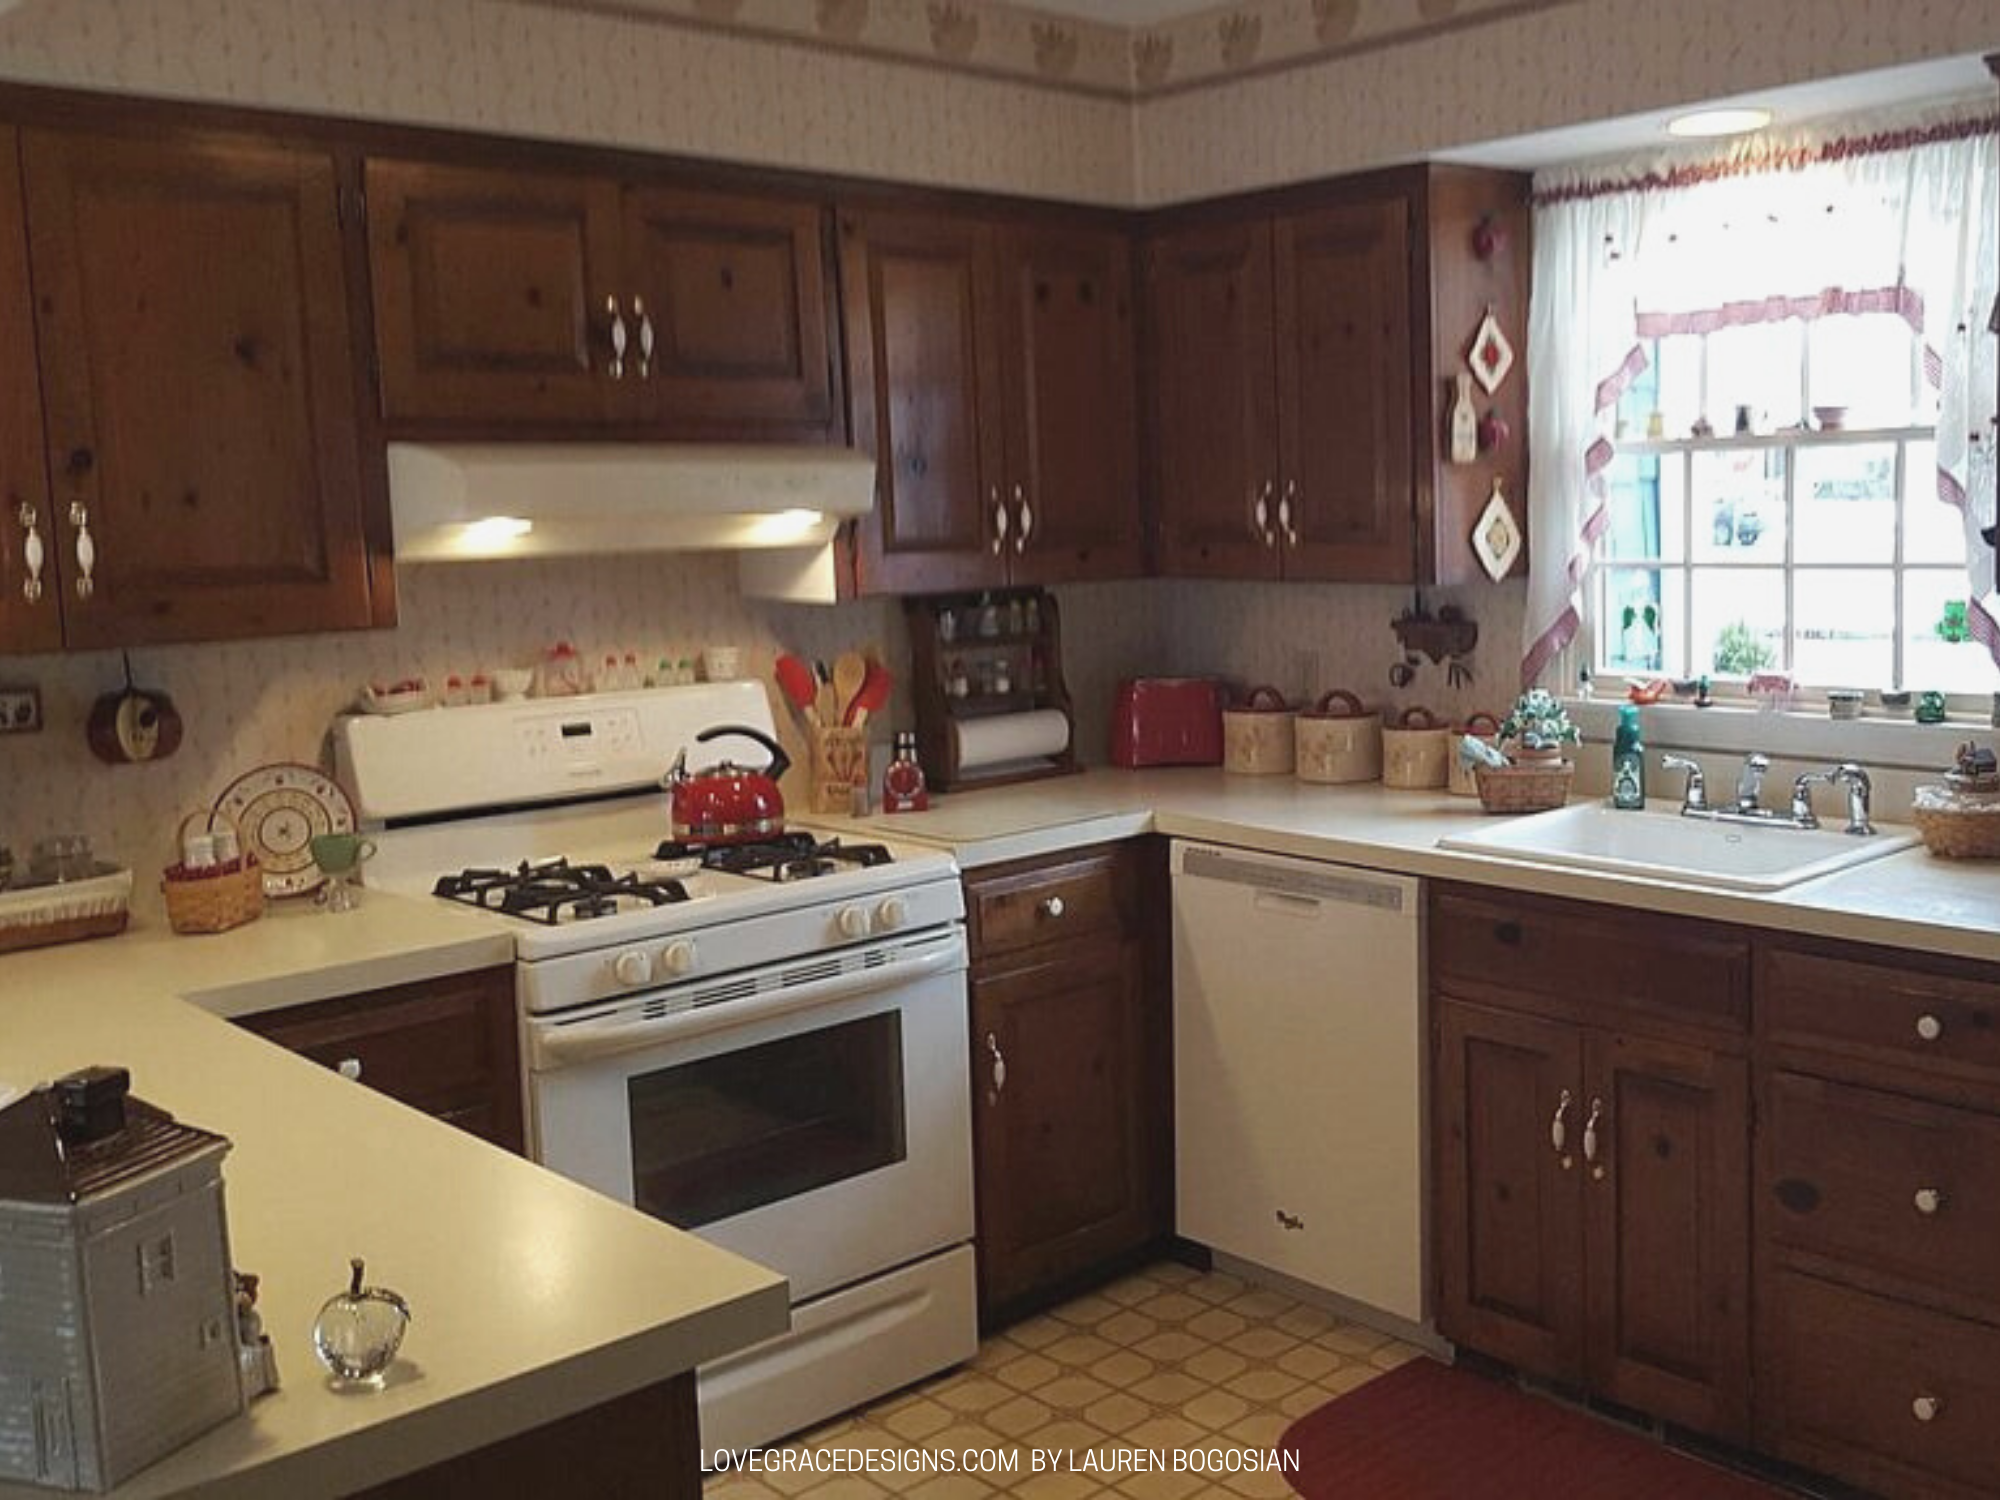
To recap a bit- when we first moved in, the kitchen had wallpaper everywhere. The walls had wallpaper, the soffit above the upper cabinets had wallpaper, and the soffit over the peninsula had wallpaper. The first thing we tackled was removing a wall between the kitchen eat-in area and the rest of the main part of the house. After that we began working on wallpaper removal which was a longggg tedious task that my husband was able to perfect. We also removed the soffit above the peninsula since there was no need/use for it.
When we removed the wallpaper in the kitchen area, we began to see that the wallpaper behind the counters and on the soffit was actually just adhered to plywood and not actual drywall. We skim coated the soffit to paint that but we never touched the backsplash plywood area and just left it as is because we knew we would eventually do some sort of actual backsplash. Fast forward to two years later and that finally came true!
Choosing Our Tile
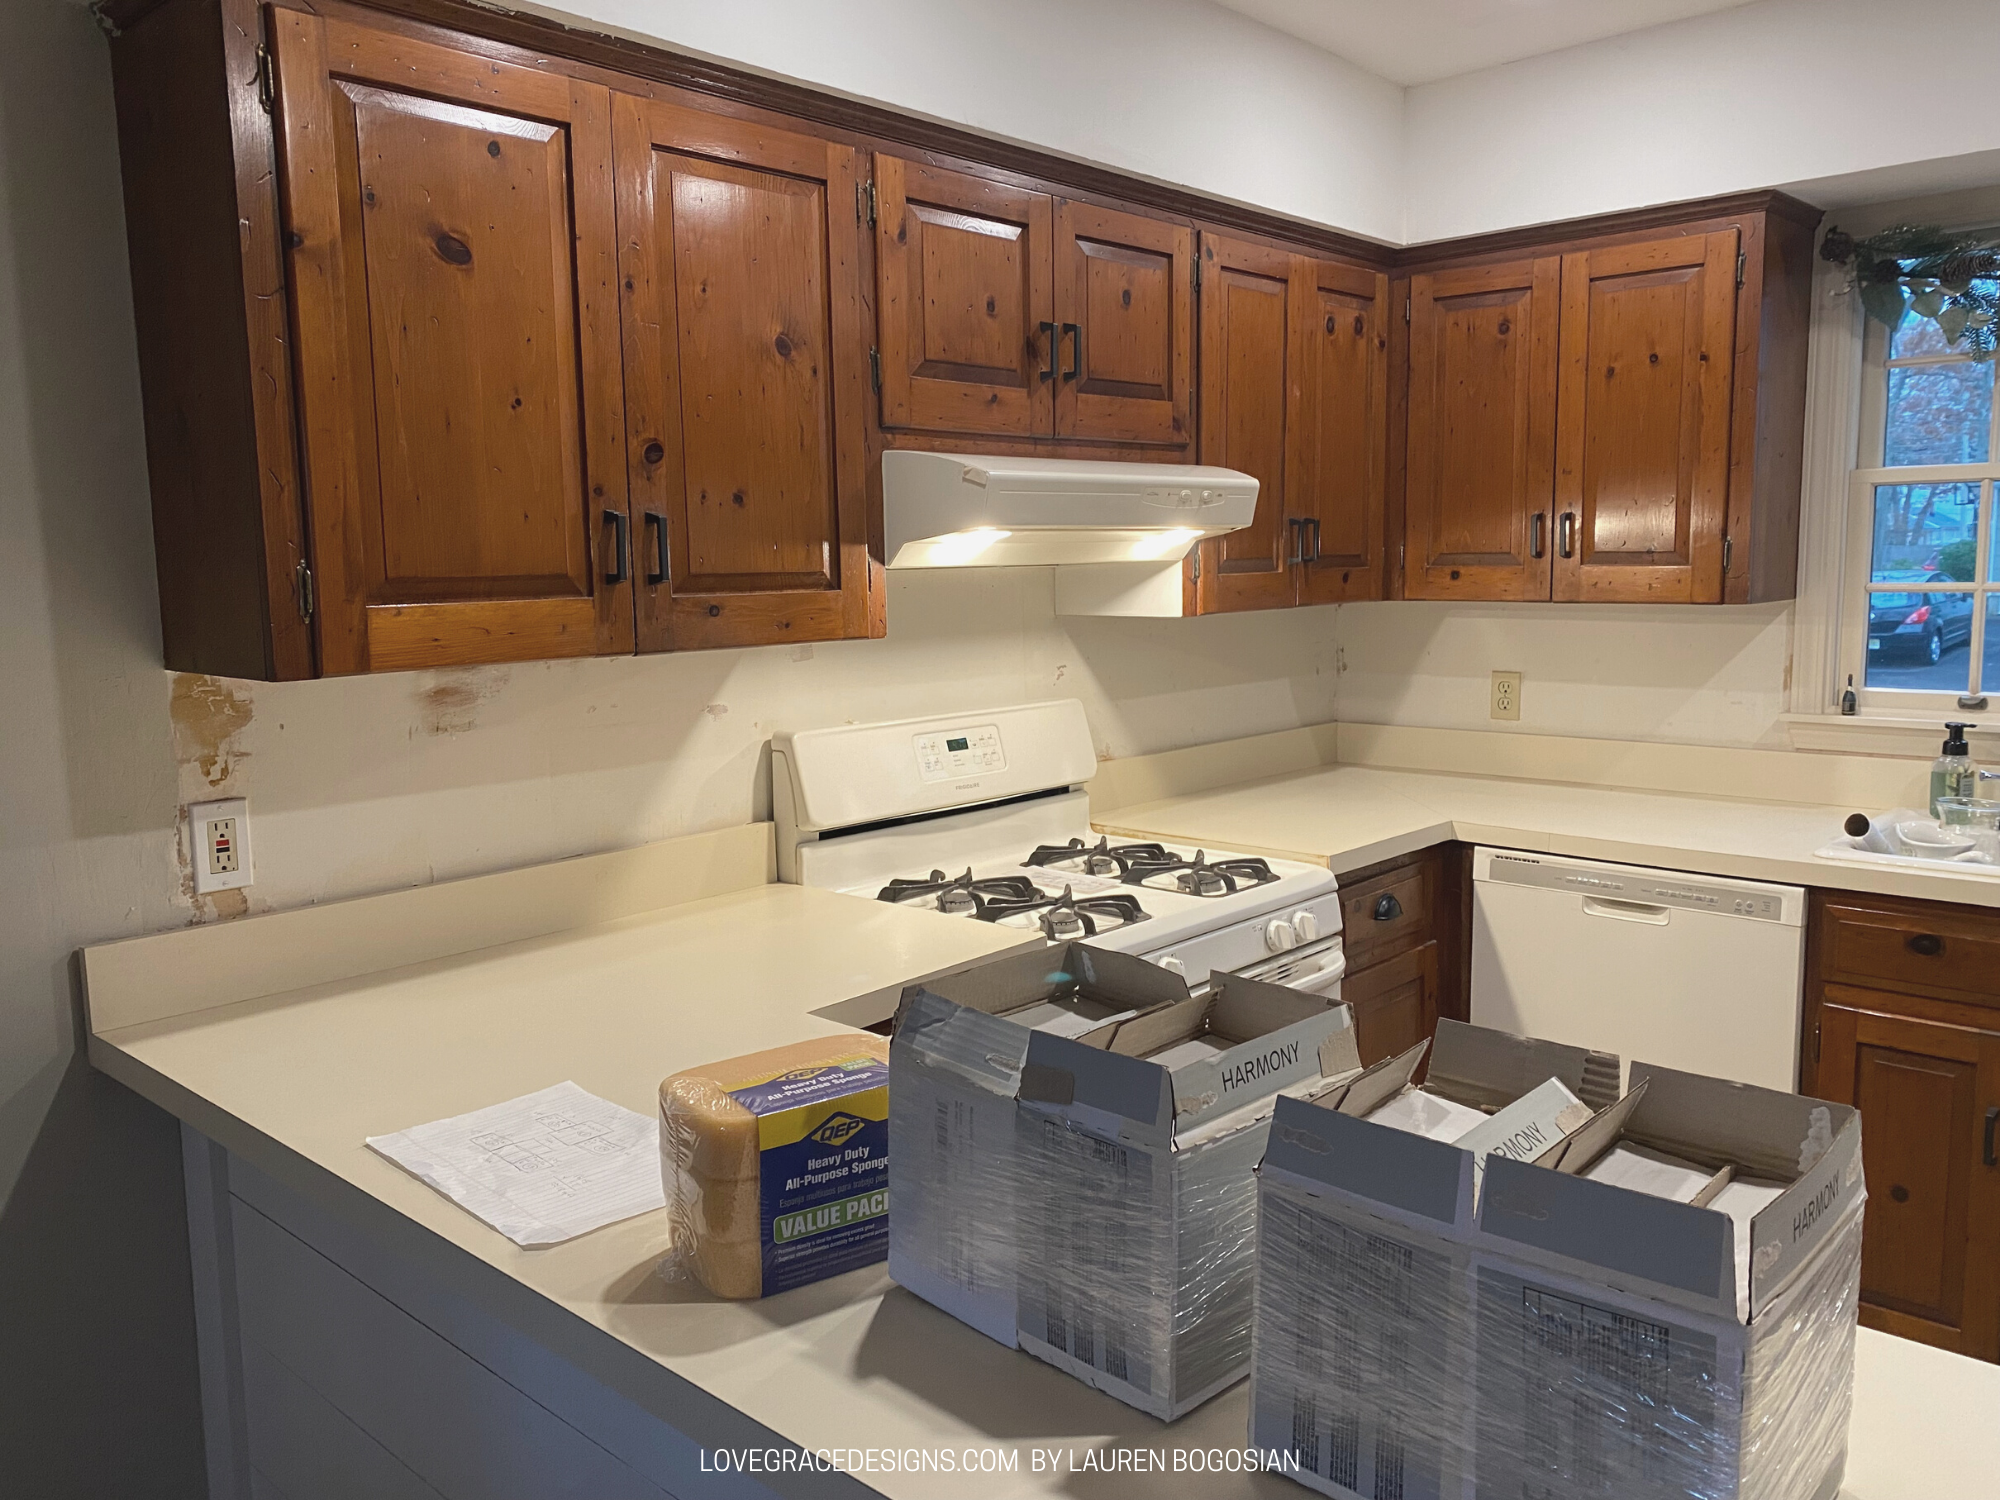
To compliment our older, original wood cabinets and stay within our coastal cottage / coastal farmhouse style home, I wanted to go form some simple backsplash with a little movement to it. Basic subway tile is the most simple but I saw some subway style tiles that I loved and saved to mull over. I found some over a year or so and kept going back to them and see how they were used in real life projects to see if I really loved it and continued to love it or not. There are tons of tiles out there and so many beautiful options but you have to remember that while you may love a tile and how it looks in someone else’s house or design, it may not work for you, your house, and your design. I ultimately went with the one I kept going back to and didn’t seem too trendy or too in your face so it could simply ease into our home and add to the design in a non-aggressive way.
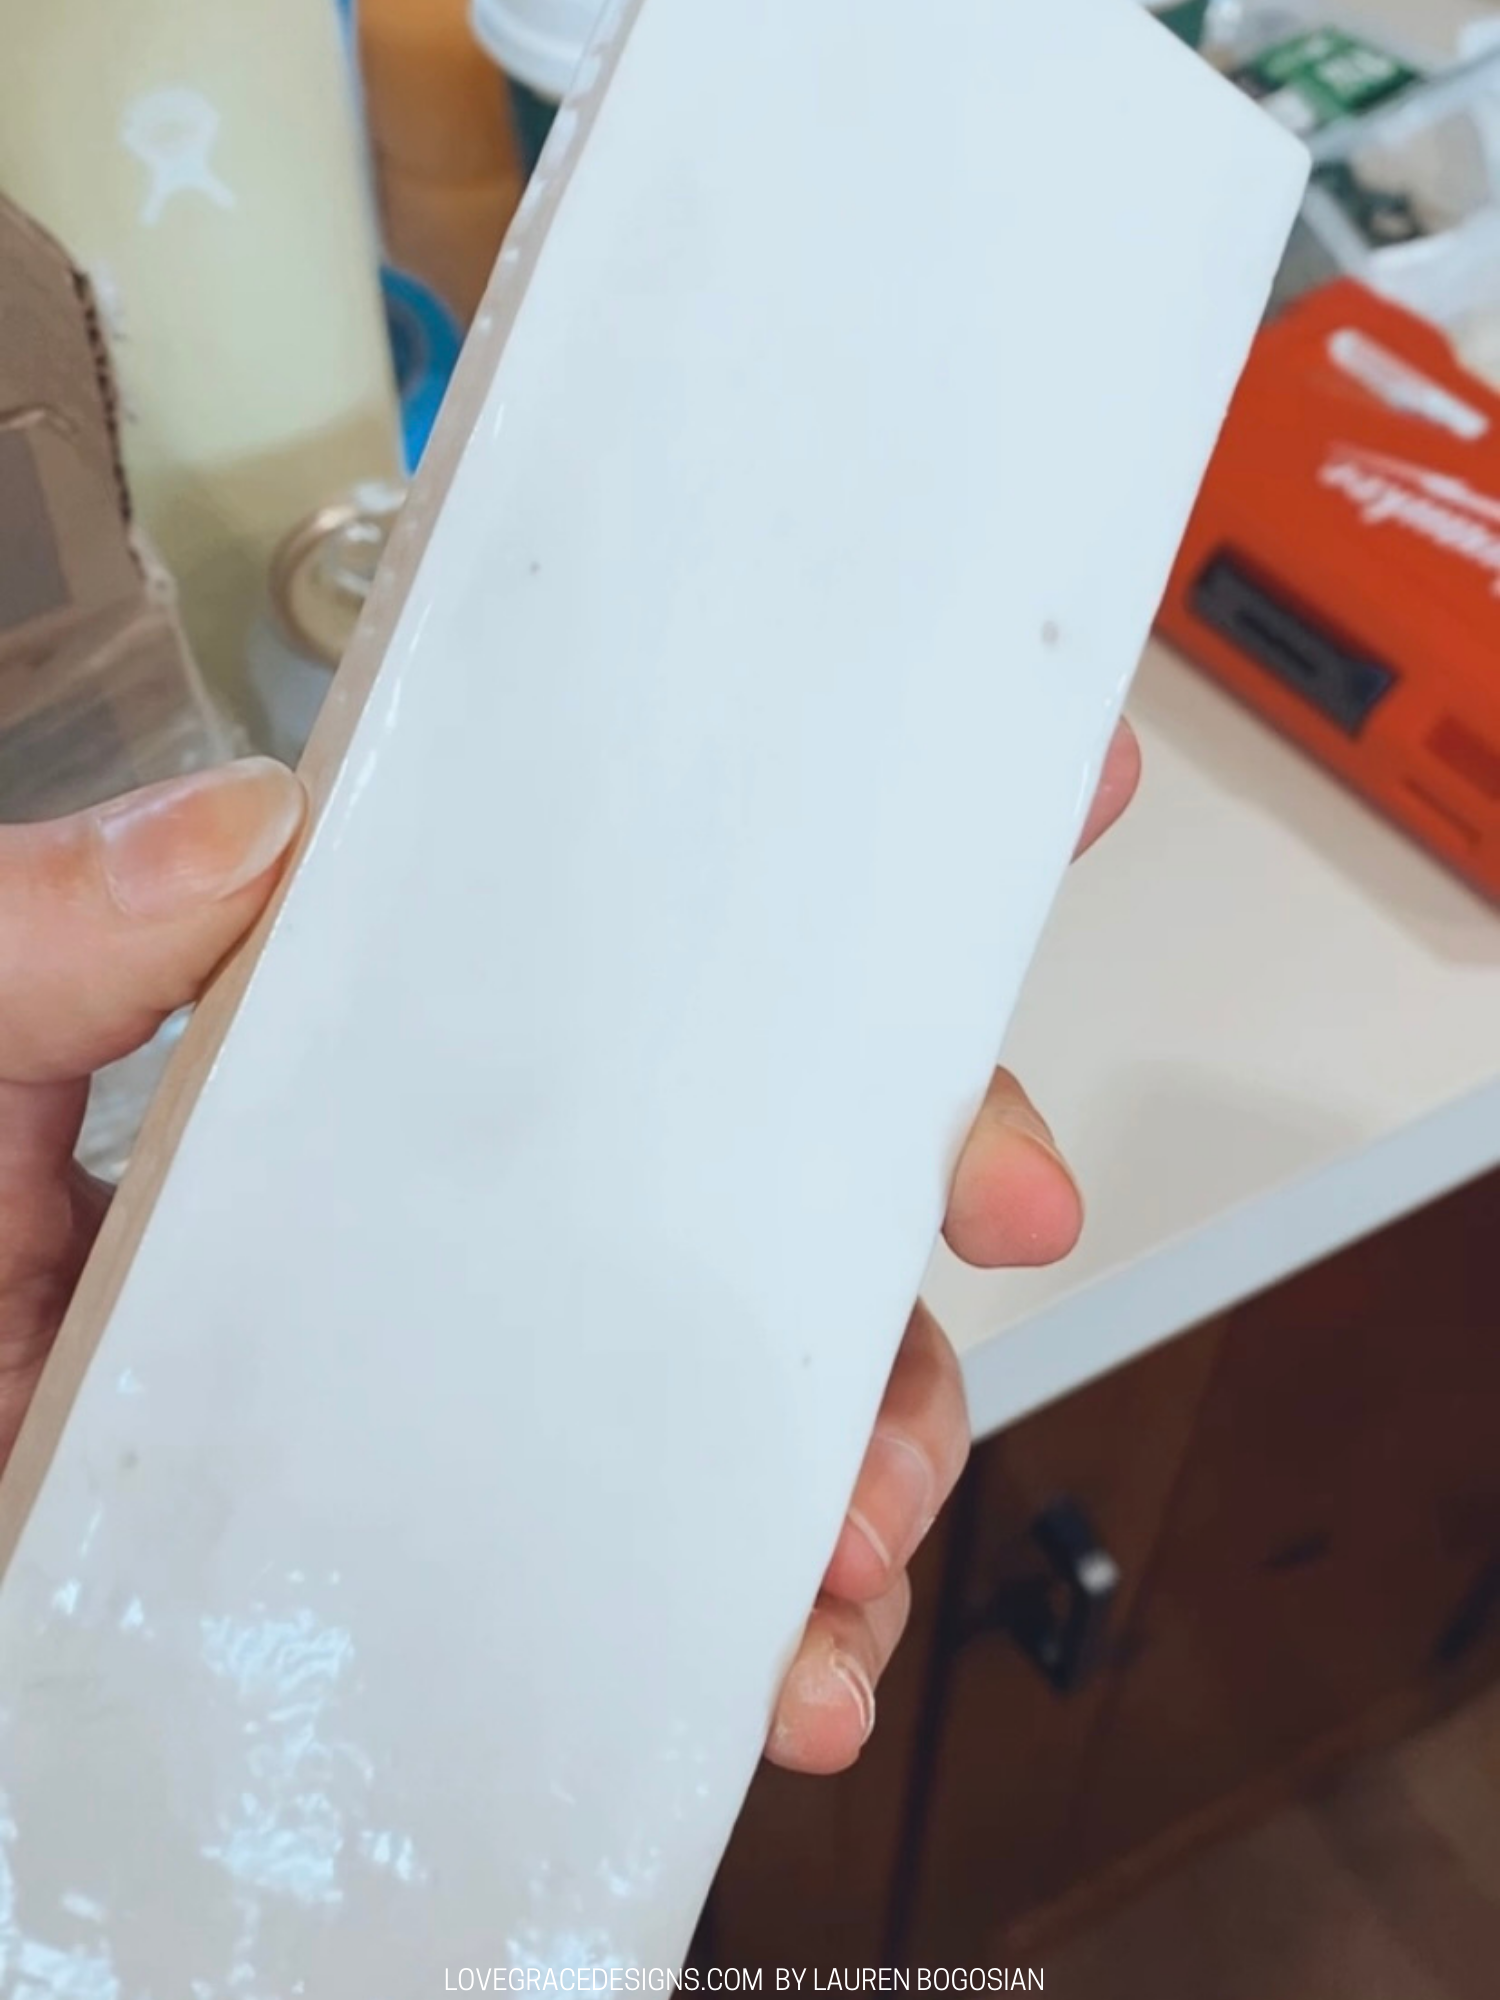
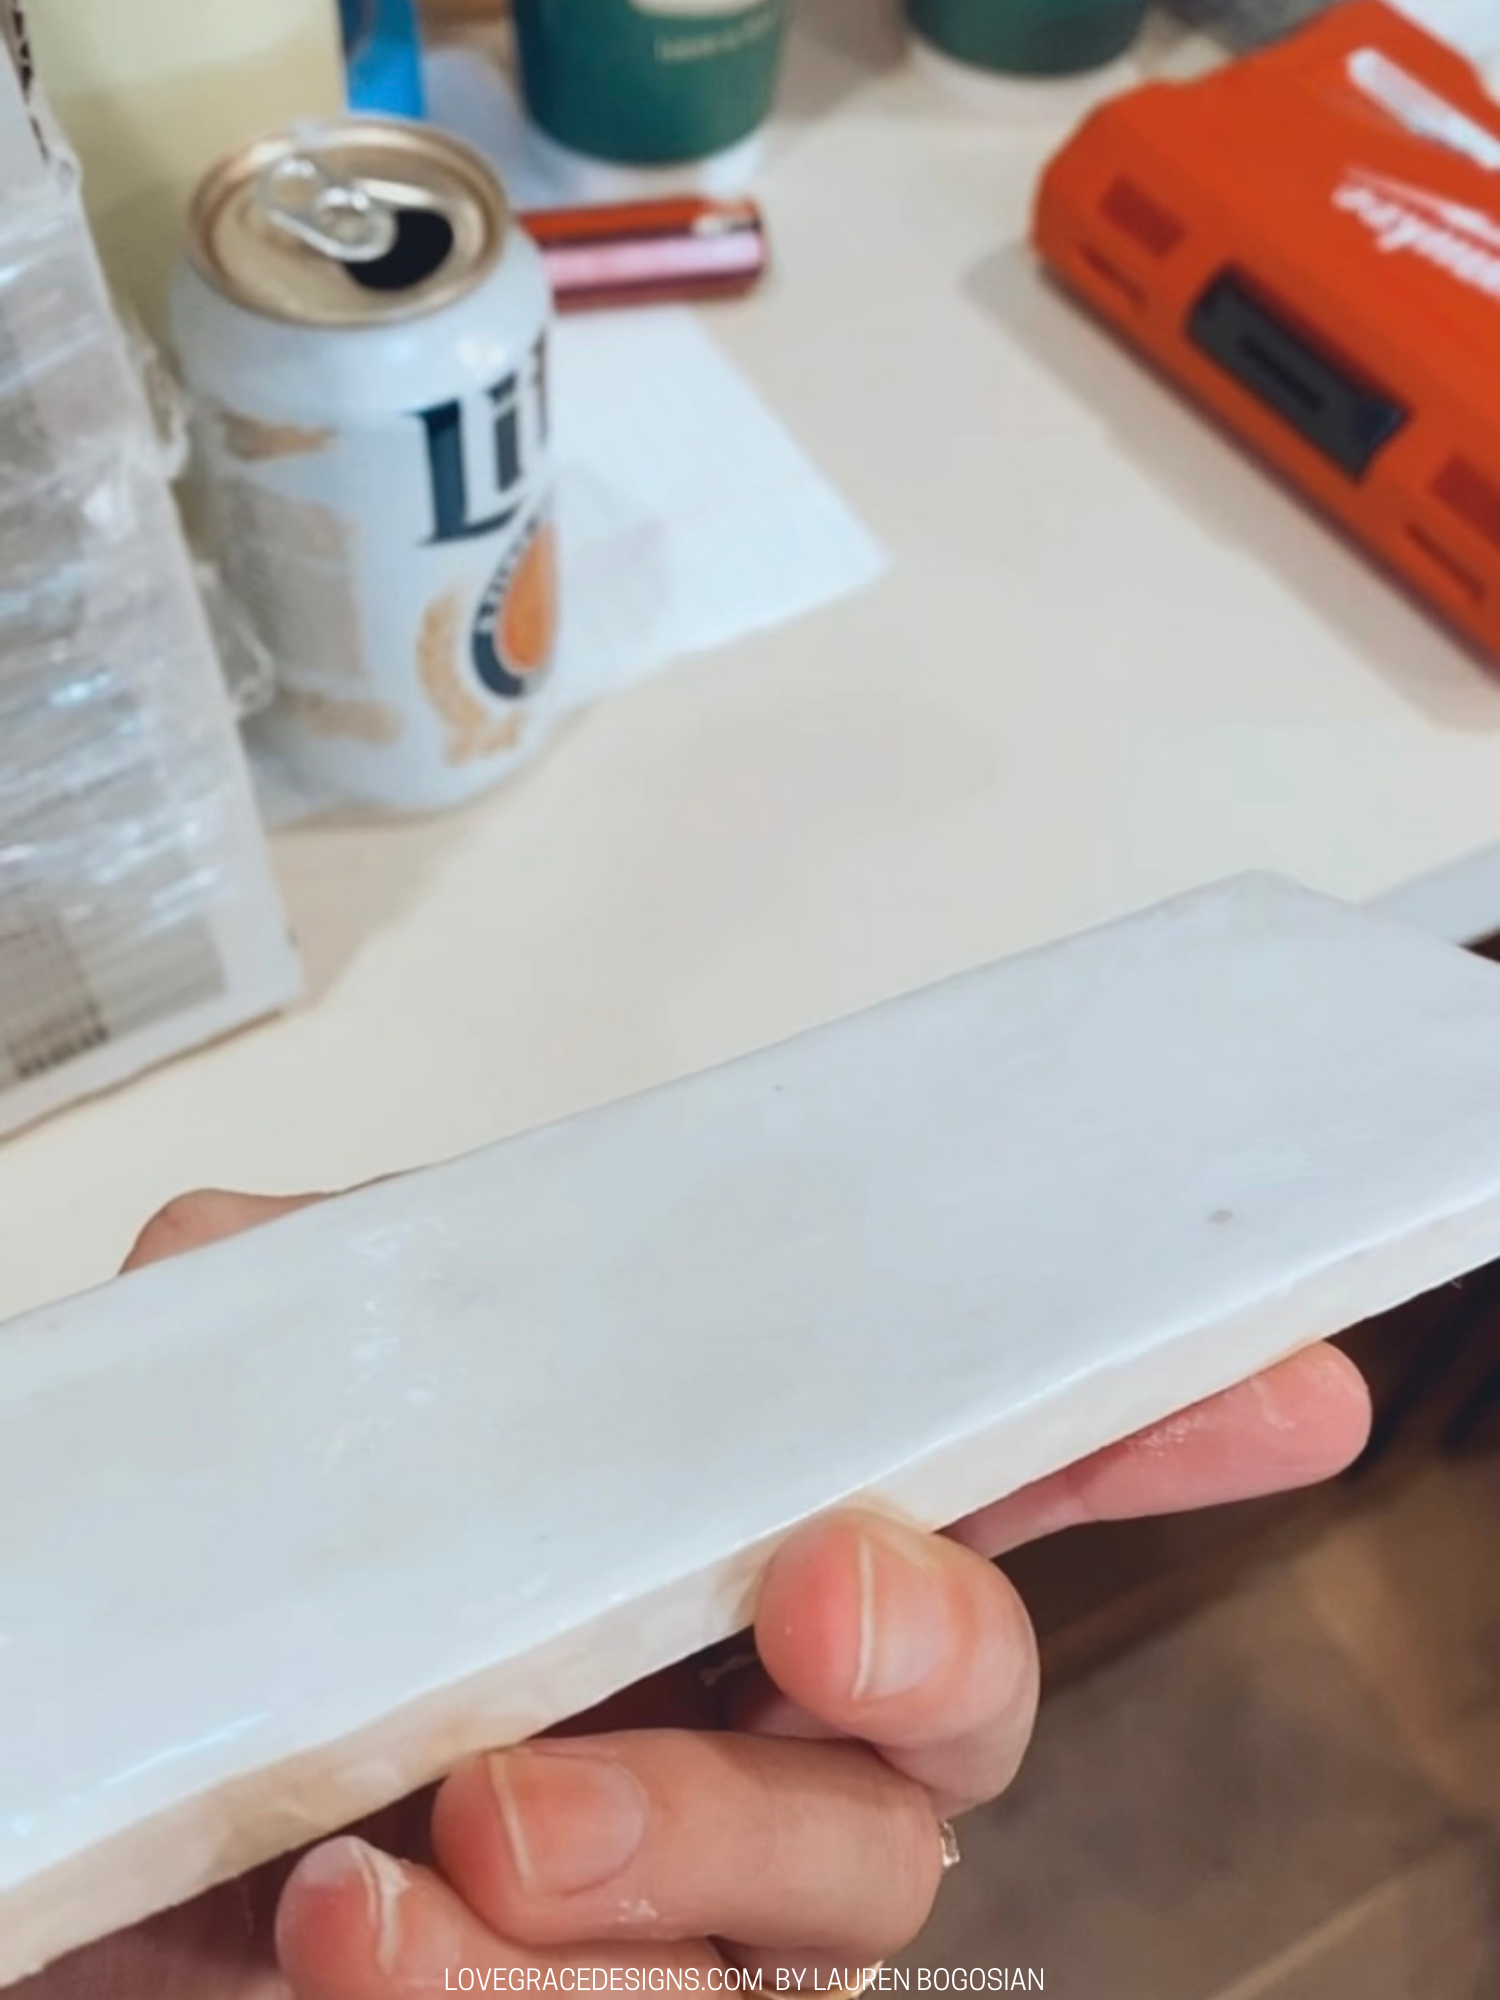
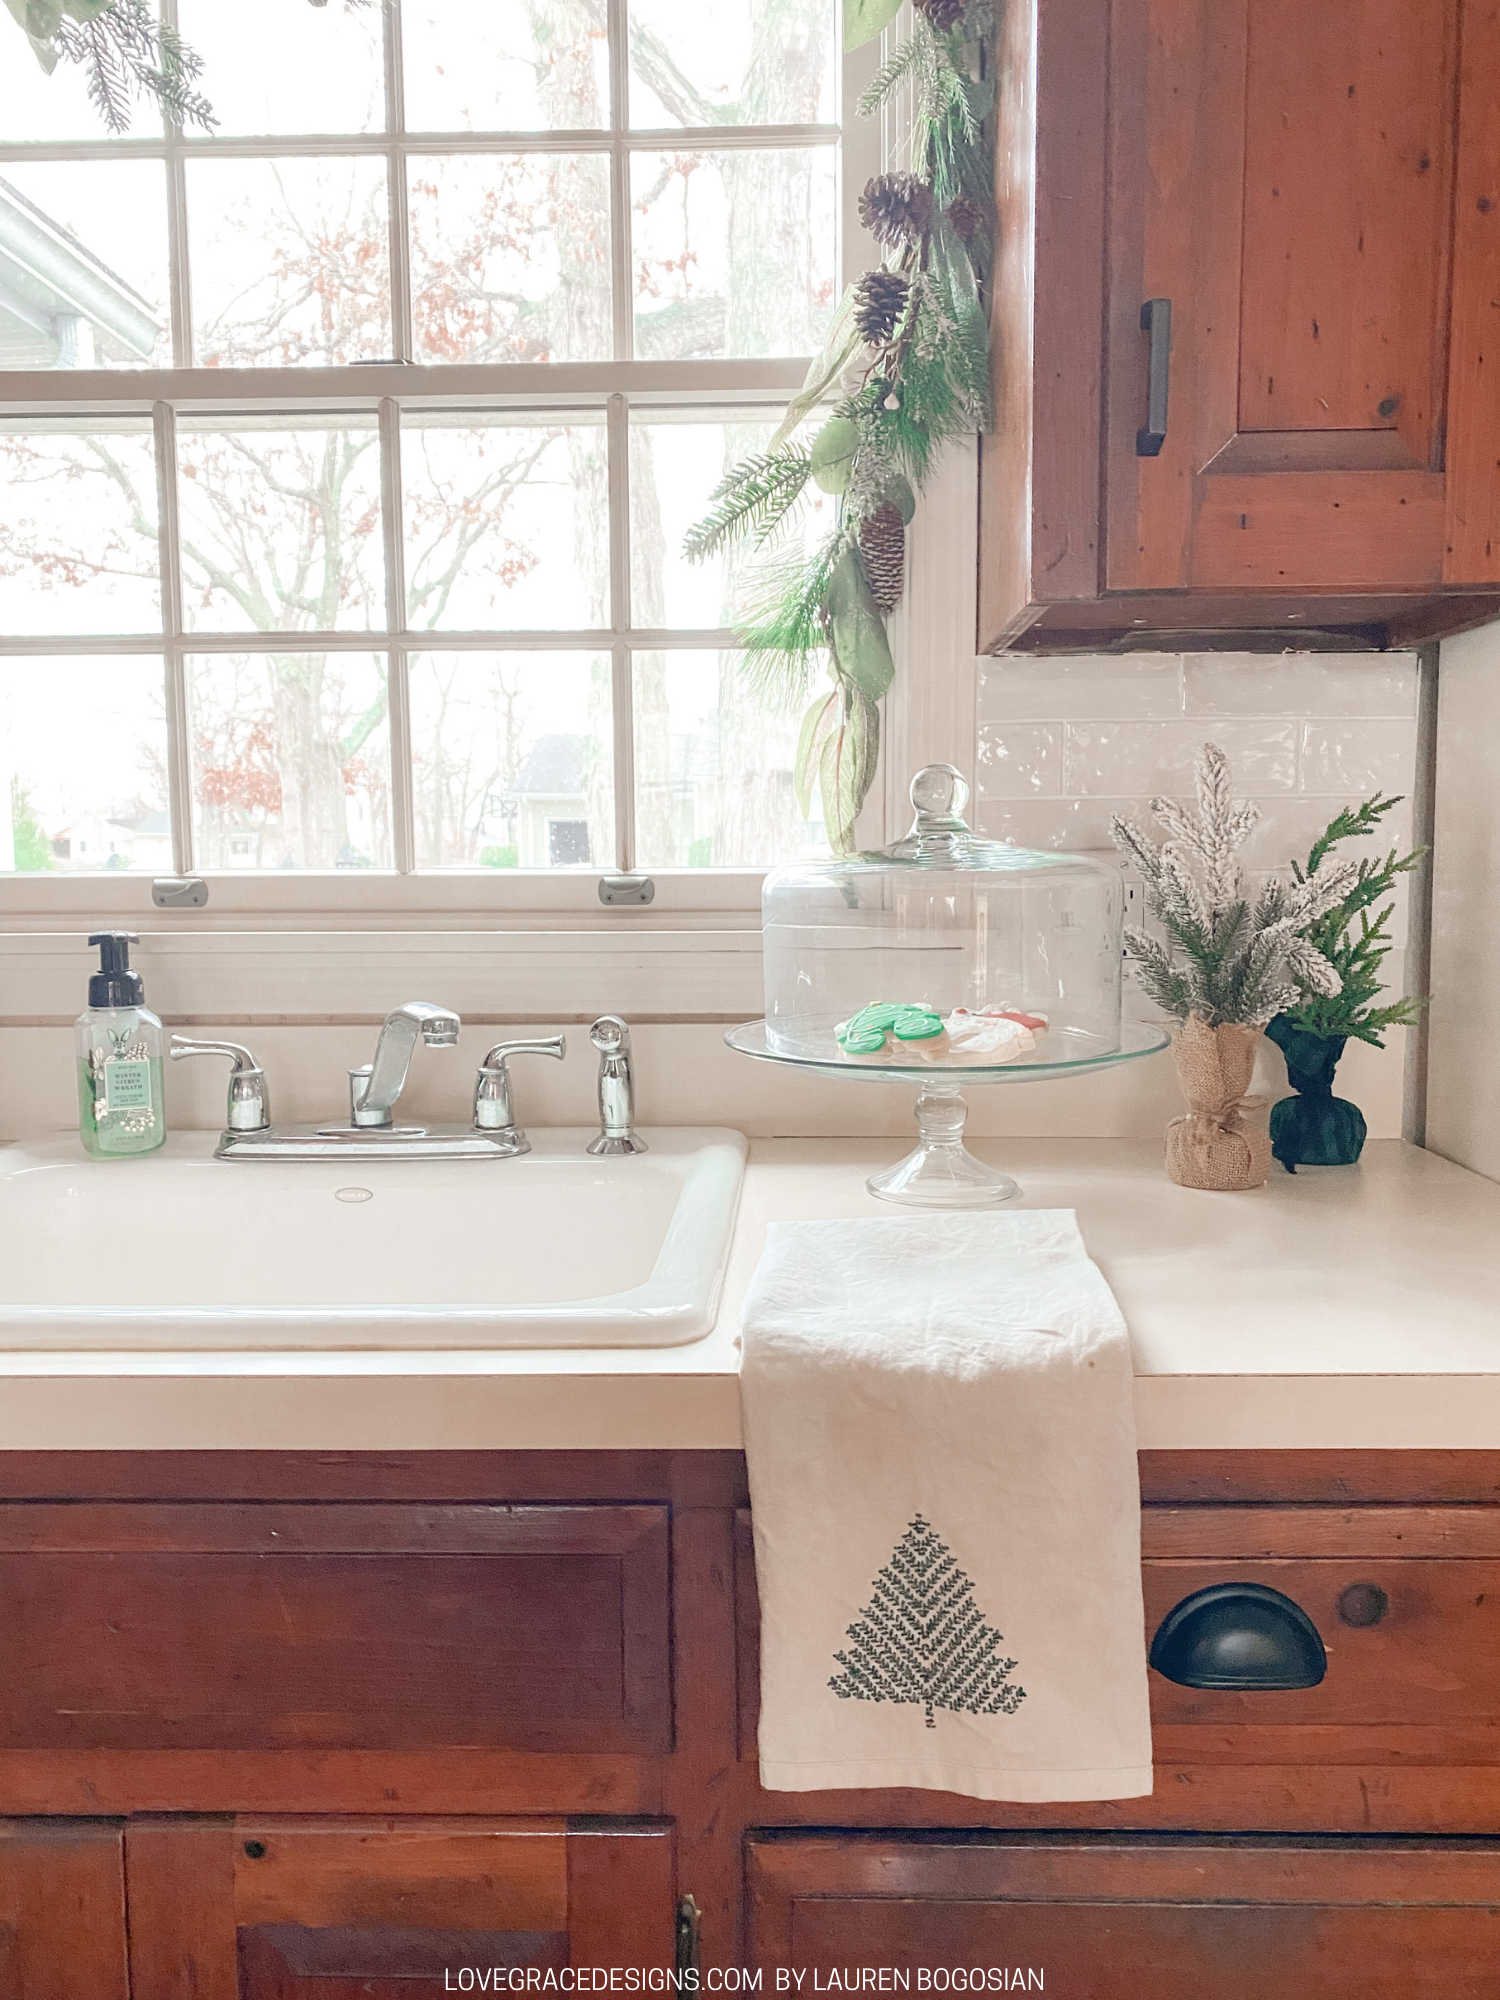
I found the tile on Tile Bar and decided to go with the white tile that had some slight color variations within each tile. It is a handmade, ceramic tile with a glazed color. Each tile is unique and beautiful with curves and texture to give the subway tile look a little bit more of a unique look than simple, flat, plain white subway tile. I will confess and admit that we did not order a sample or see the tile before ordering the boxes we needed. It was such a small space that we figured we could return the few boxes we had to order if we really did not like it when it came in. I also really made sure I looked at all possible photos of the product and in real life projects to get a better idea of how it looked.
DIY Backsplash Application
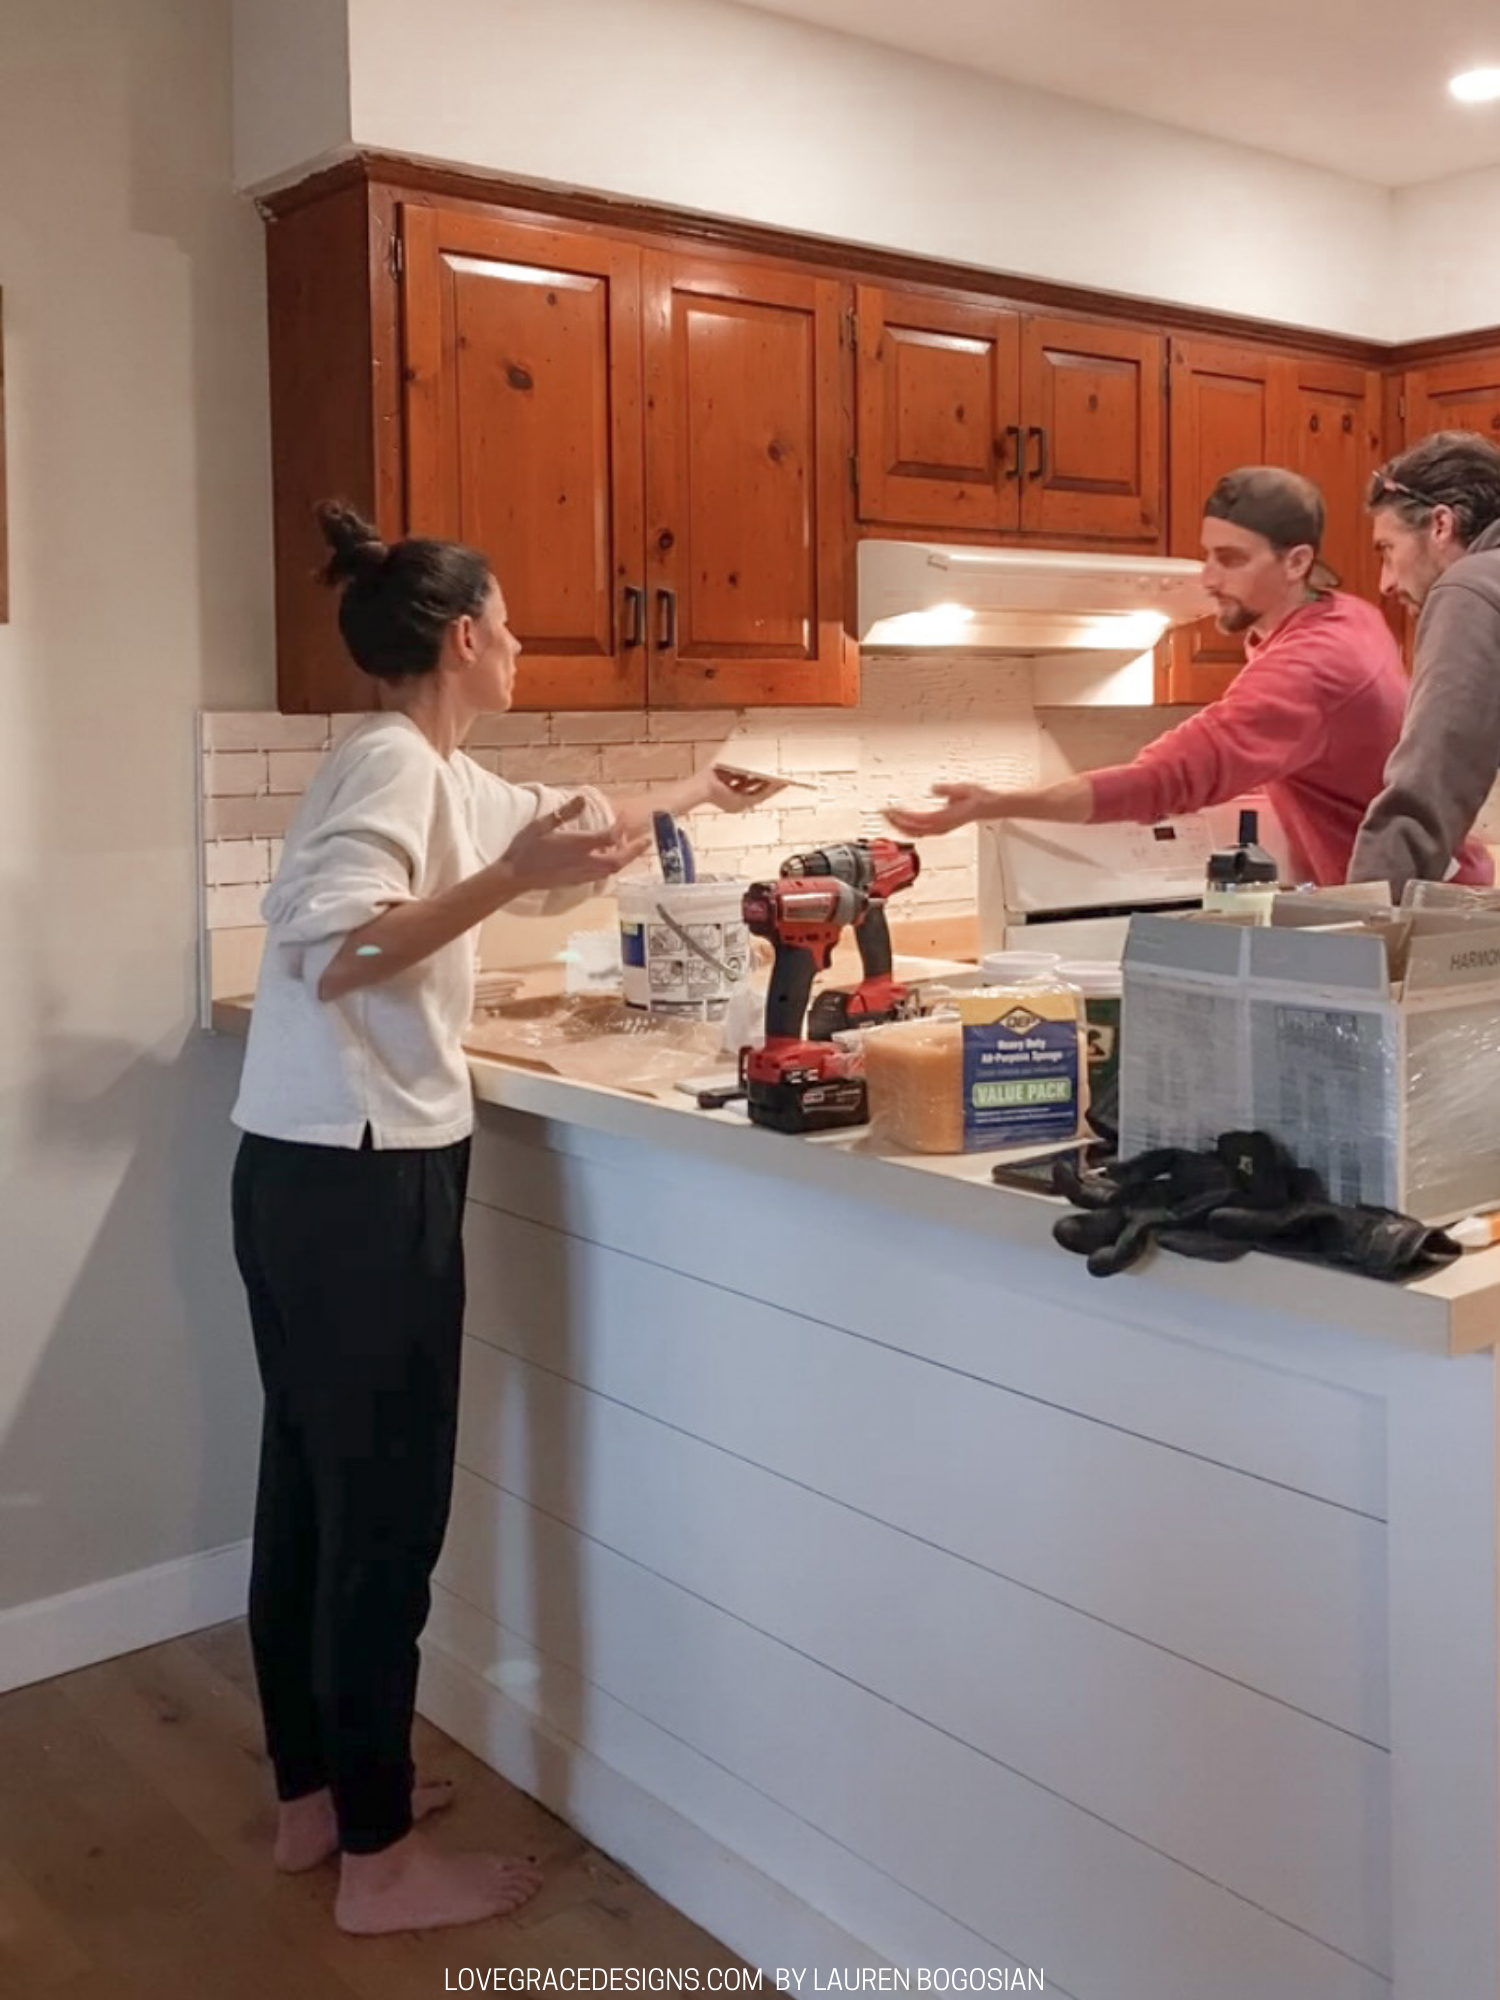
Once we got the tile in, we had to get a few items for installation. We luckily had the help of my husband’s brother who recently did his kitchen backsplash so he not only had all of the necessary tools, he had an understanding and experience of how to apply backsplash (and cut the tiles). The tiles we chose were individual so it did require more work than a sheet of tile which he was used to be it all worked out and was still completely doable! Just a bit longer of a process.
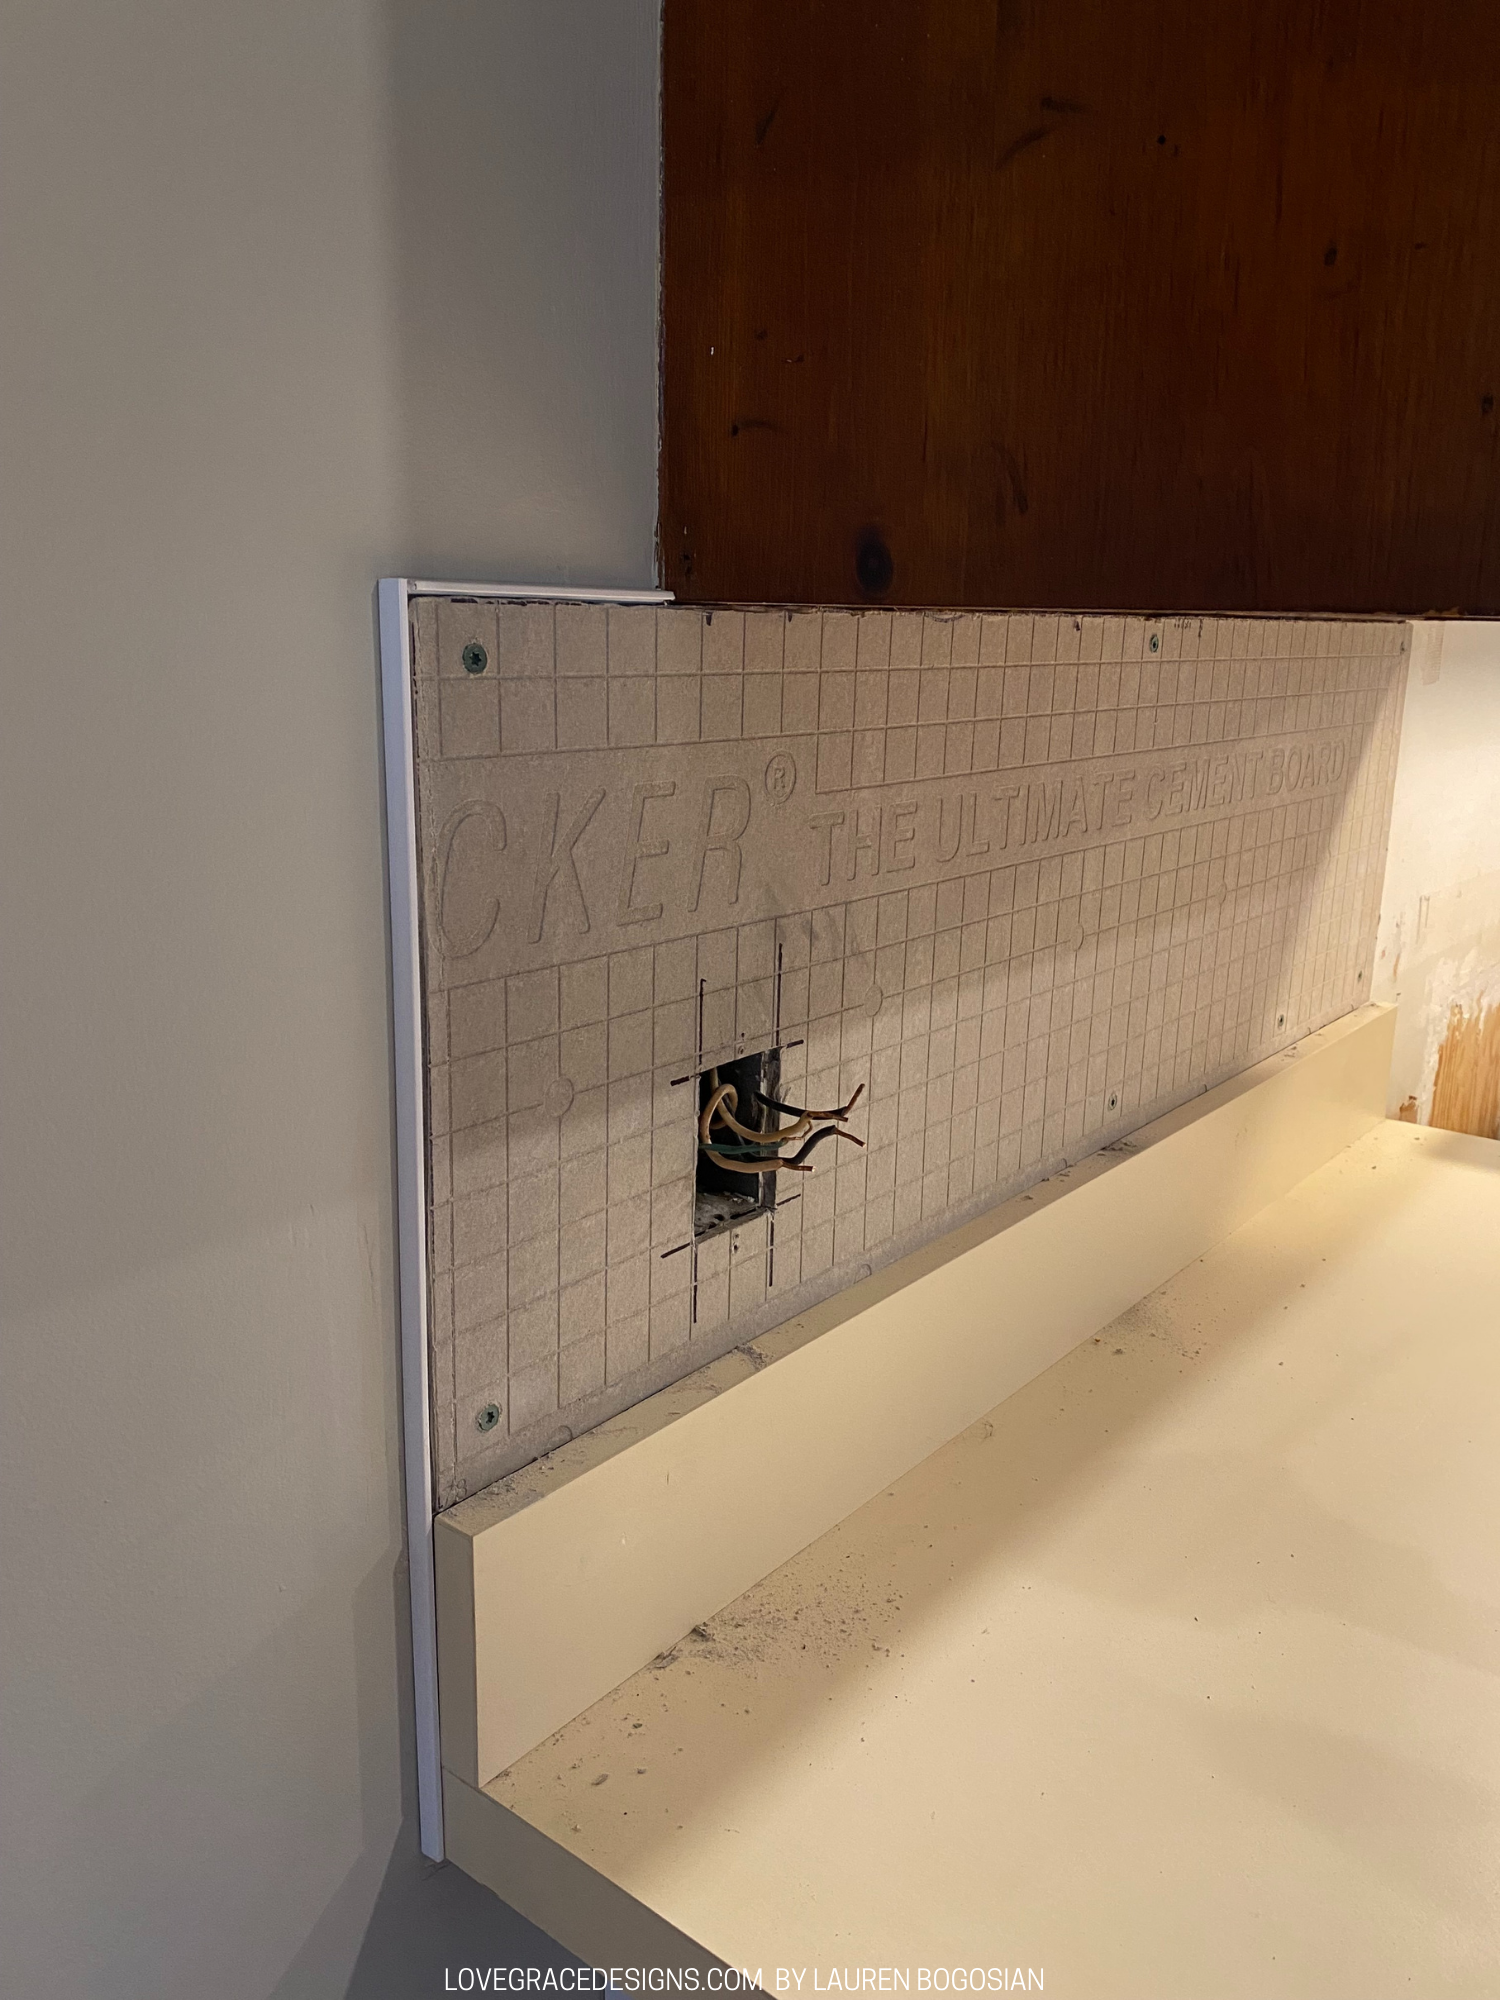
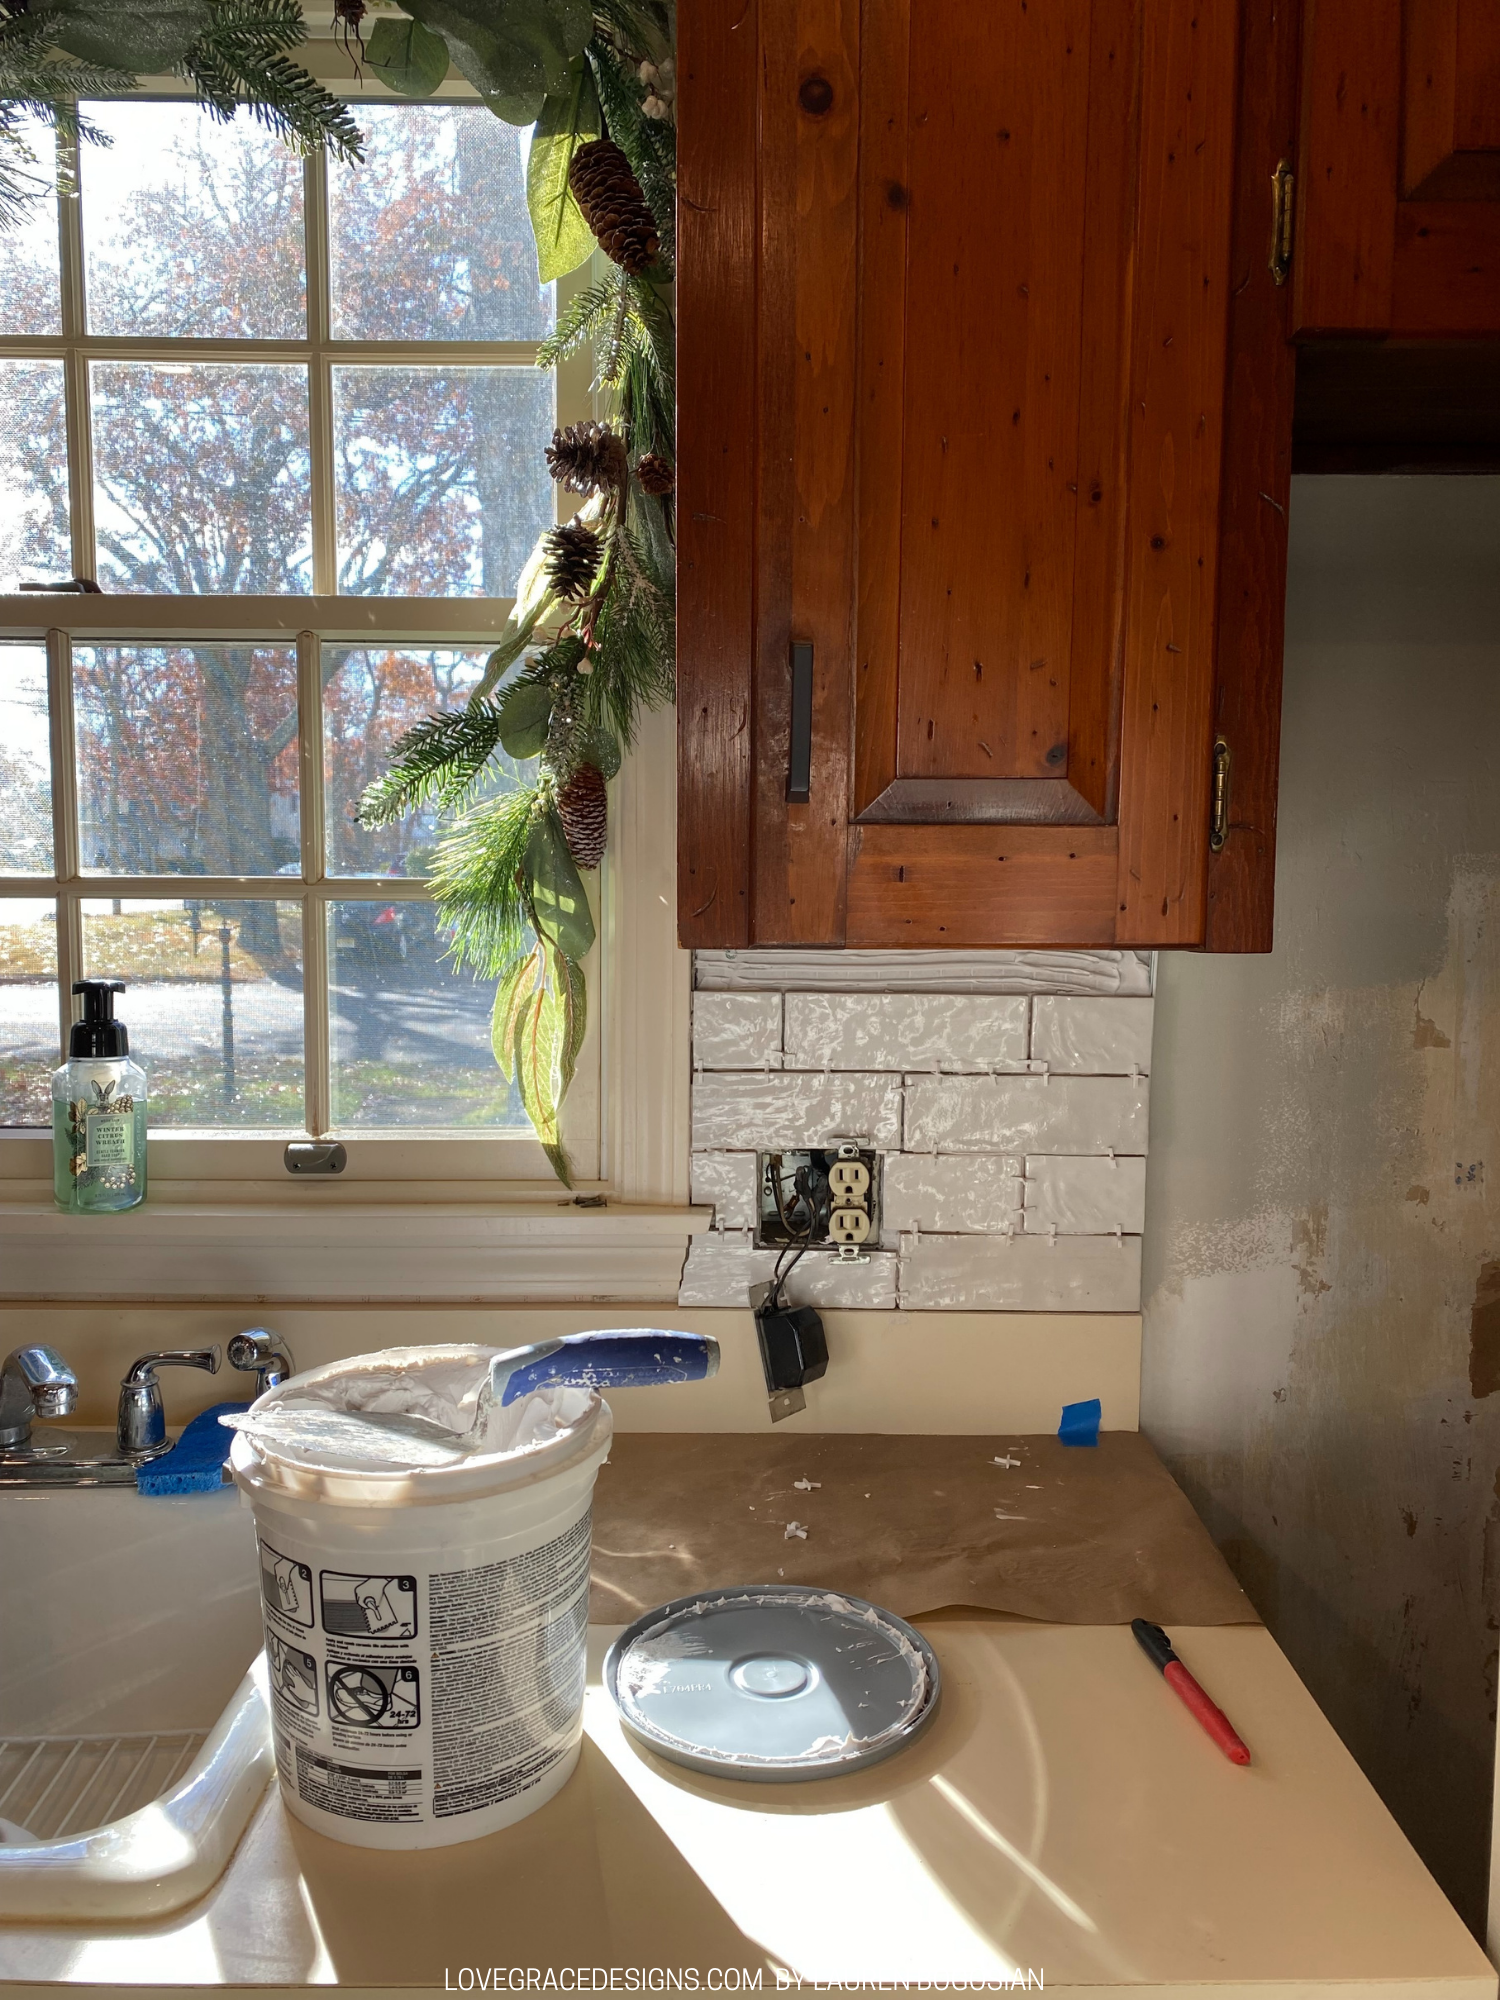
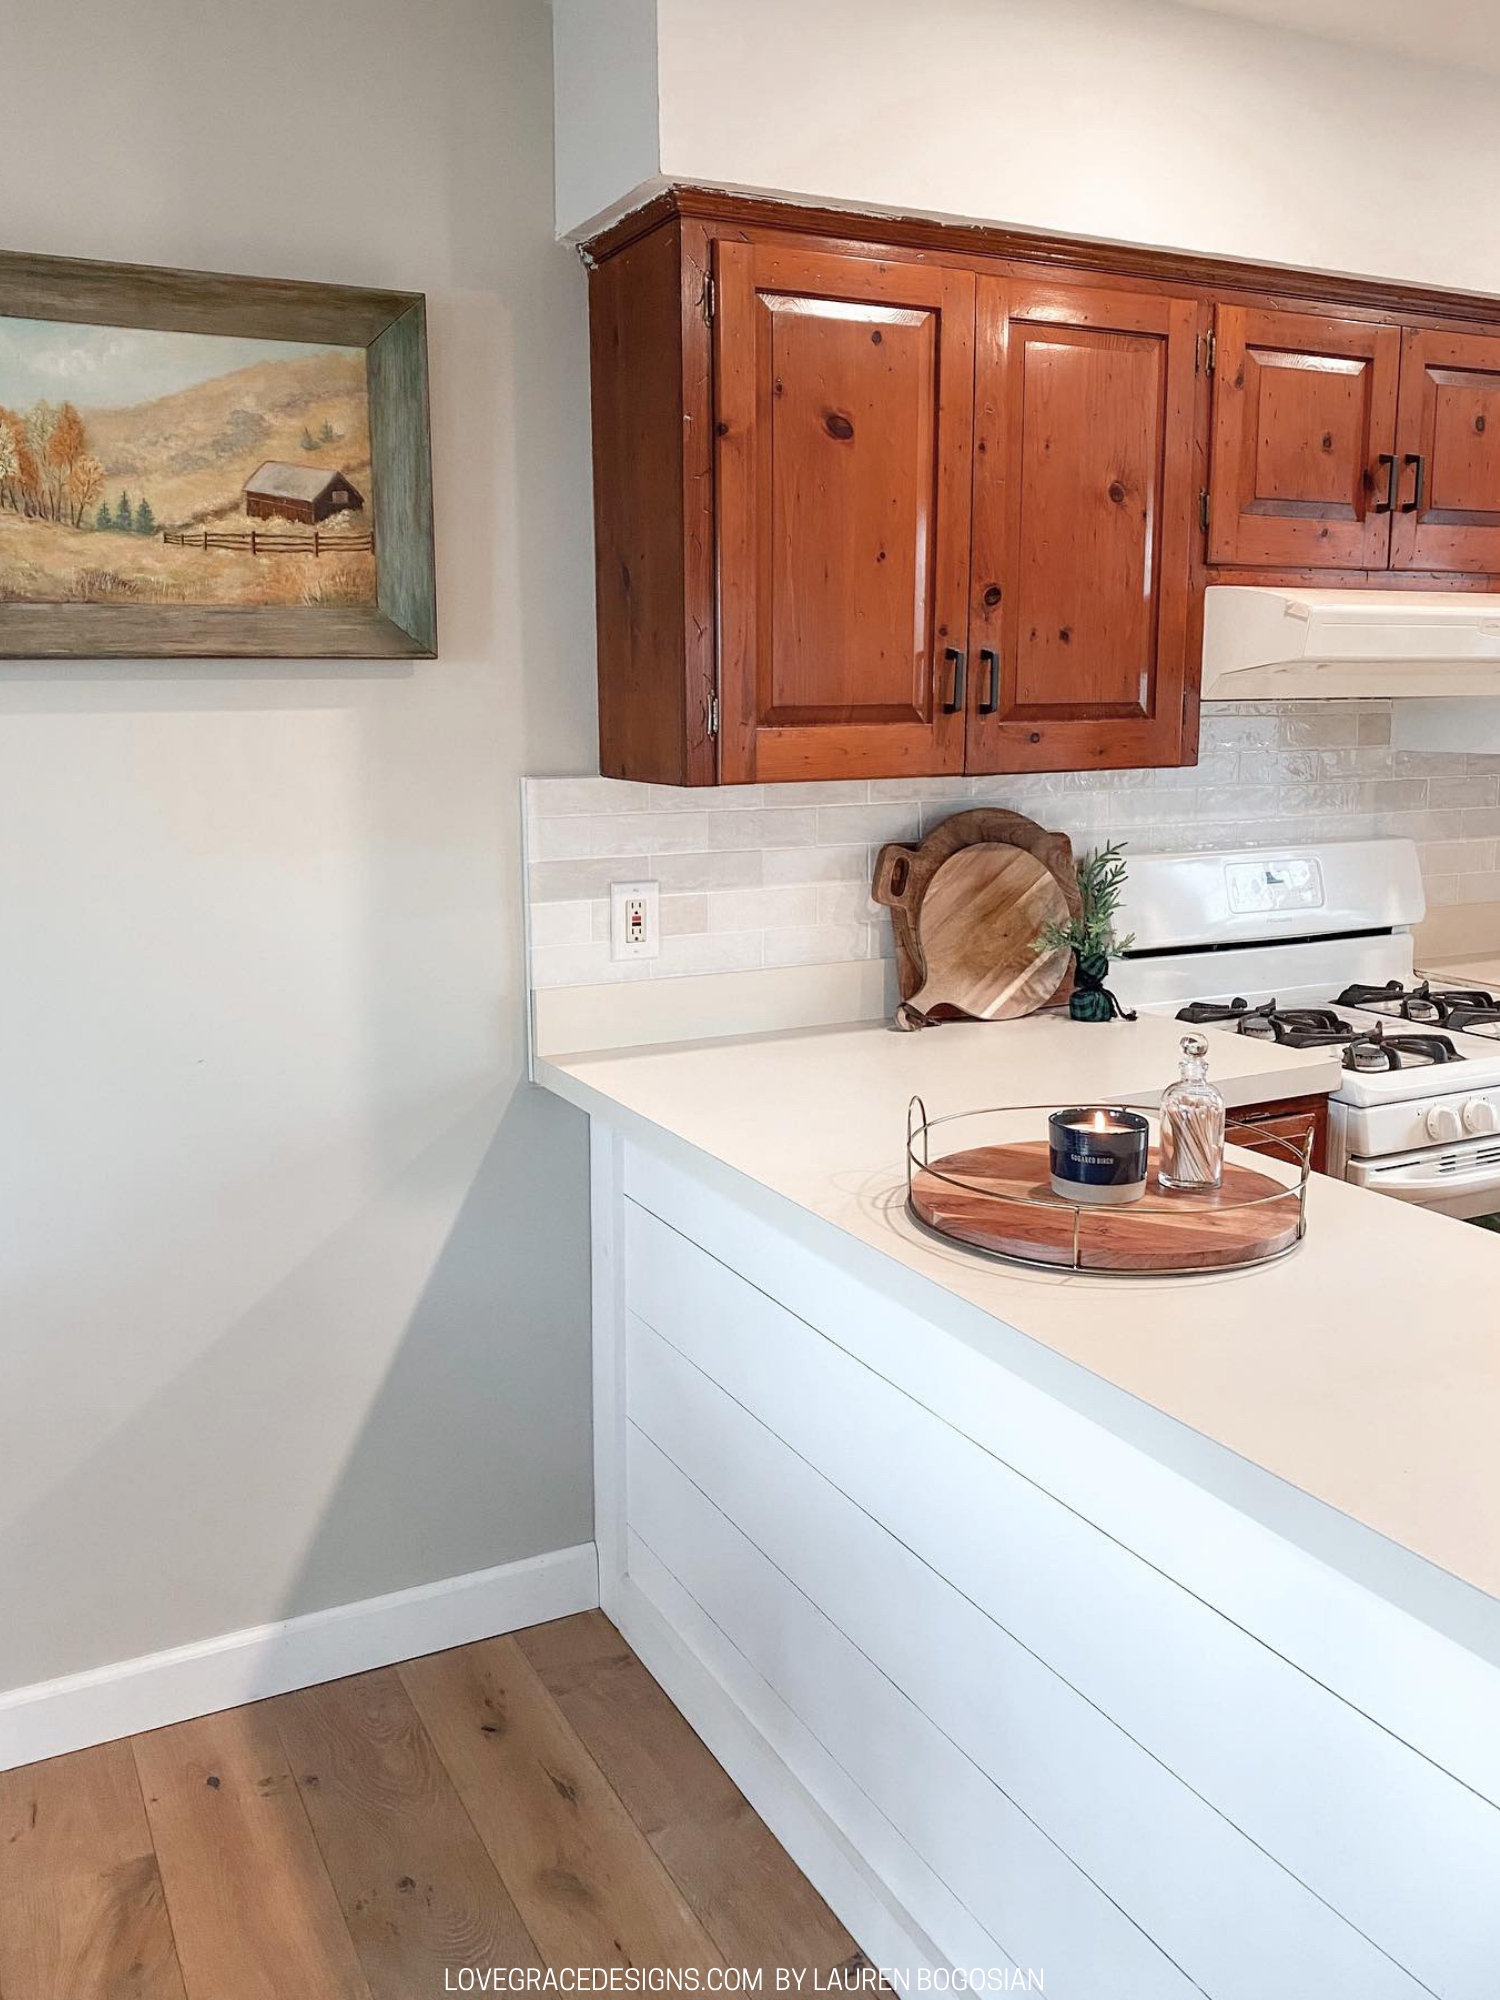
As I mentioned before, the first issue we had to tackle was that our walls in the kitchen were actually just plywood. That meant we needed to figure out a different way to adhere the tile since it isn’t recommended to adhere the tile directly on the wood. We picked up backerboard sheets to install along the walls where backsplash tile would be adhered. This added thickness to the wall so the tile would sit off the wall a bit more than a typical tile install. We hid the backerbaord that was visible on the one side with white tile edging trim. This also made our stove stick out just a bit further so we had to really make sure it was pushed back enough once we were done so our dishwasher could still open. If you need to use backerboard and you are in a tight kitchen, really be sure to take every small measurement and how it will account for the functionality of your current kitchen set up.
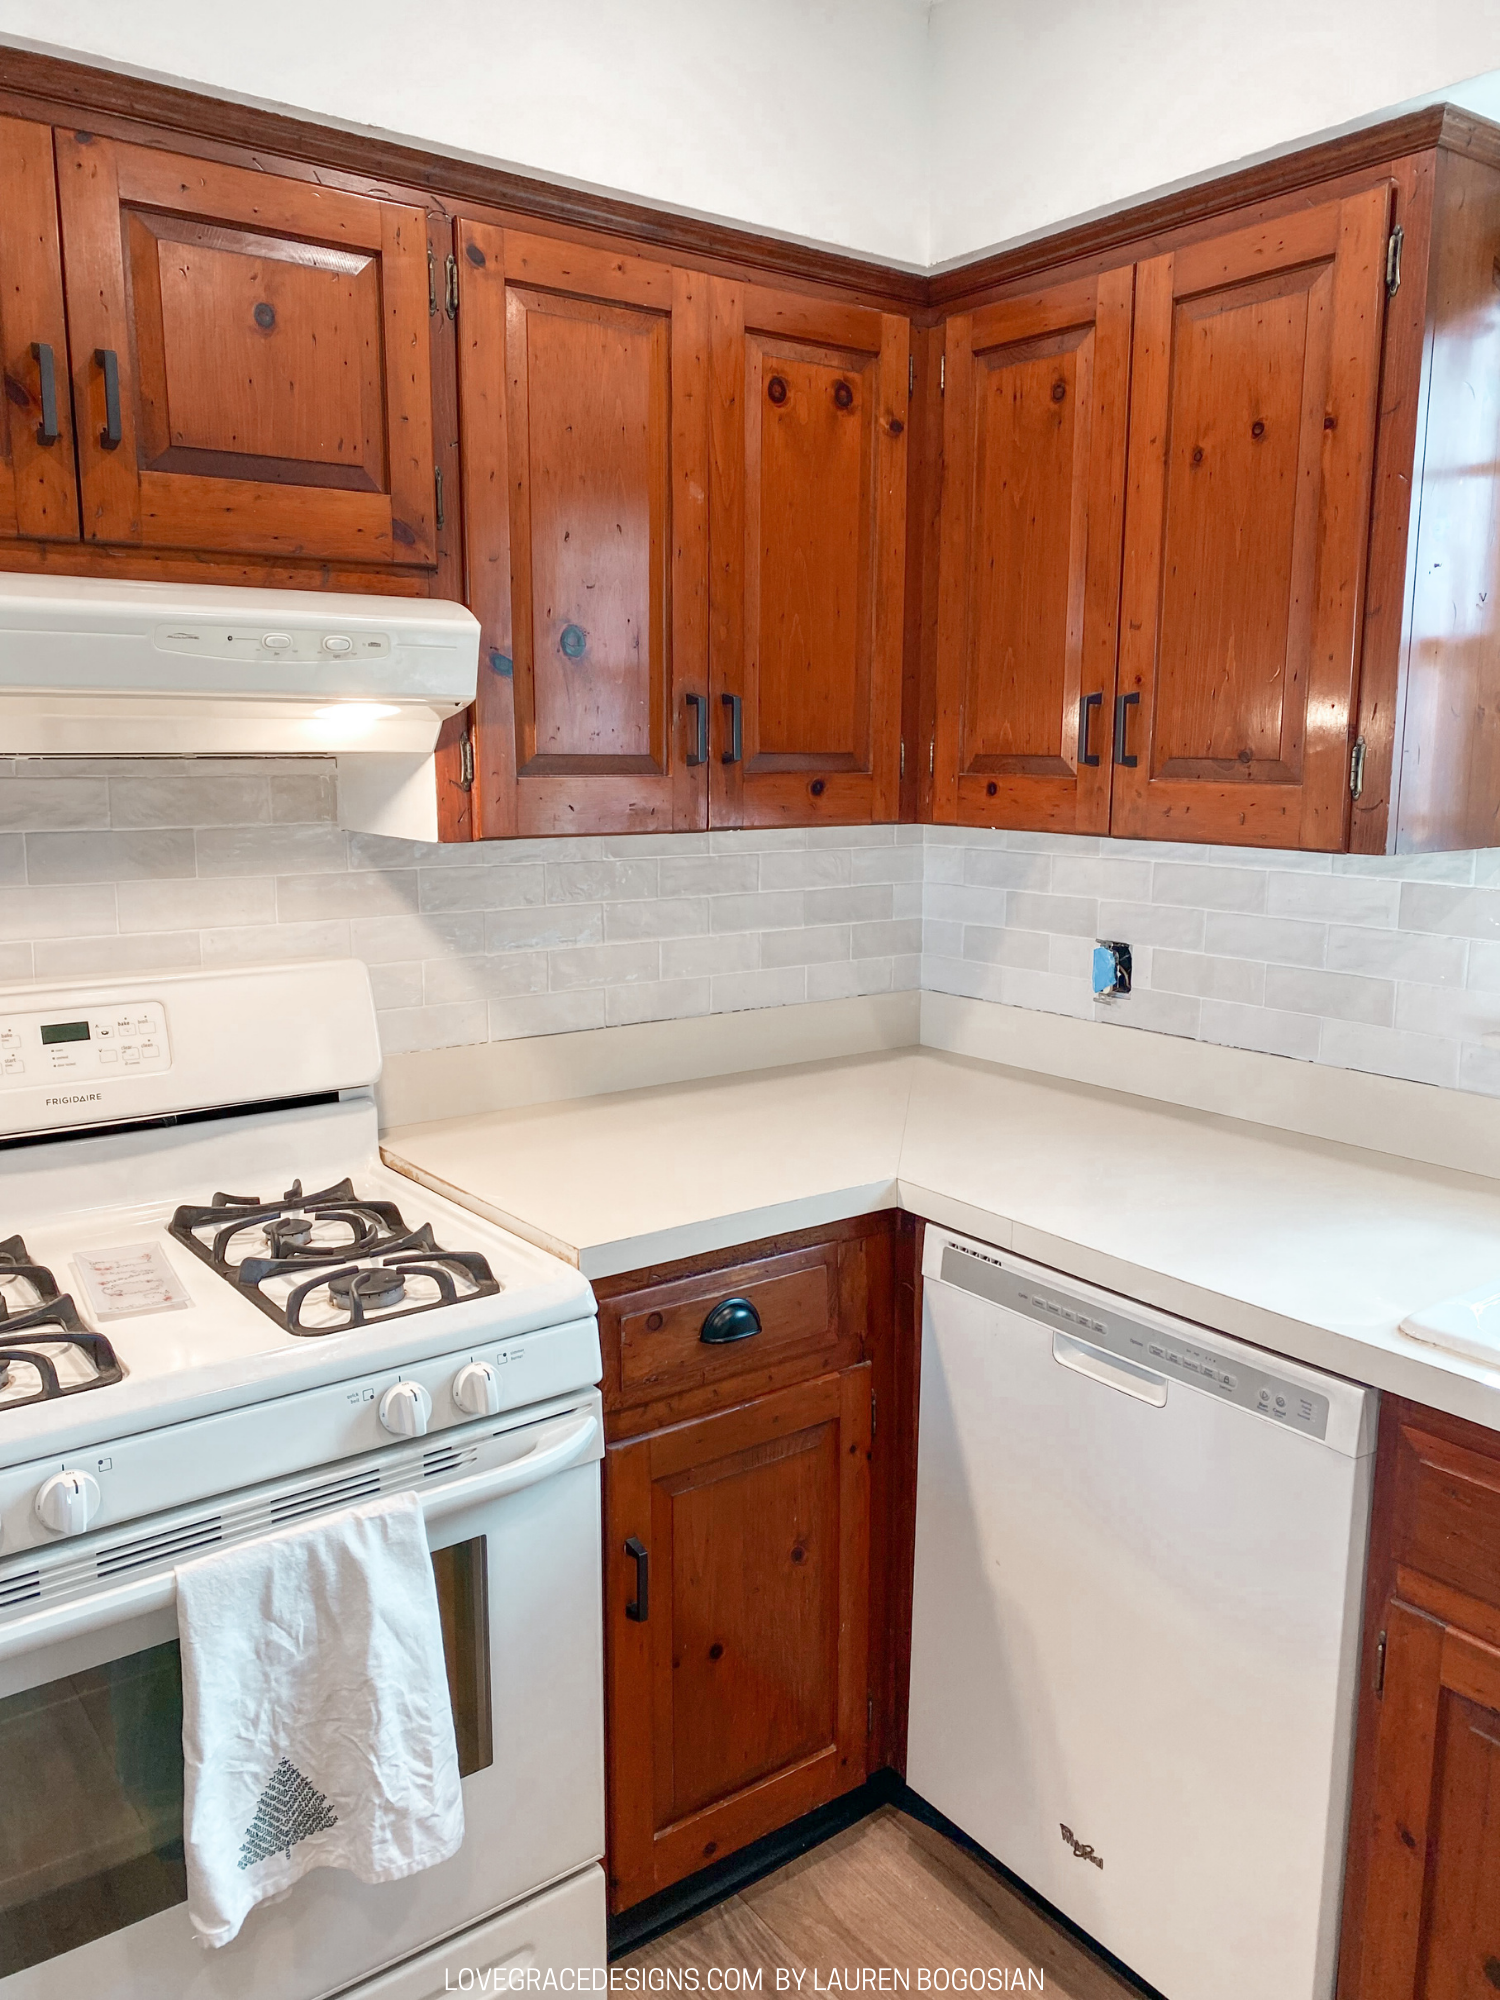
We opted for a step design where we put a tile above one starting halfway. Each tile has a slightly different color to it but when you are pulling them out of the box, you can’t tell at all. If you use these tiles or similar tiles that have slight color variations, I would suggest taking a good amount out and laying them next to each other to see if they are the same color or not. If they are the same color, try to get some other tiles out to mix in so there aren’t big areas with the same colors as some patches on our backsplash are. We even made sure to take tiles from different boxes and sections of the boxes to try to mix it up but we never laid them out next to each other to see before hand. It doesn’t look bad at all, it’s just something I now notice that I would have made sure didn’t happen if I knew ahead of time.
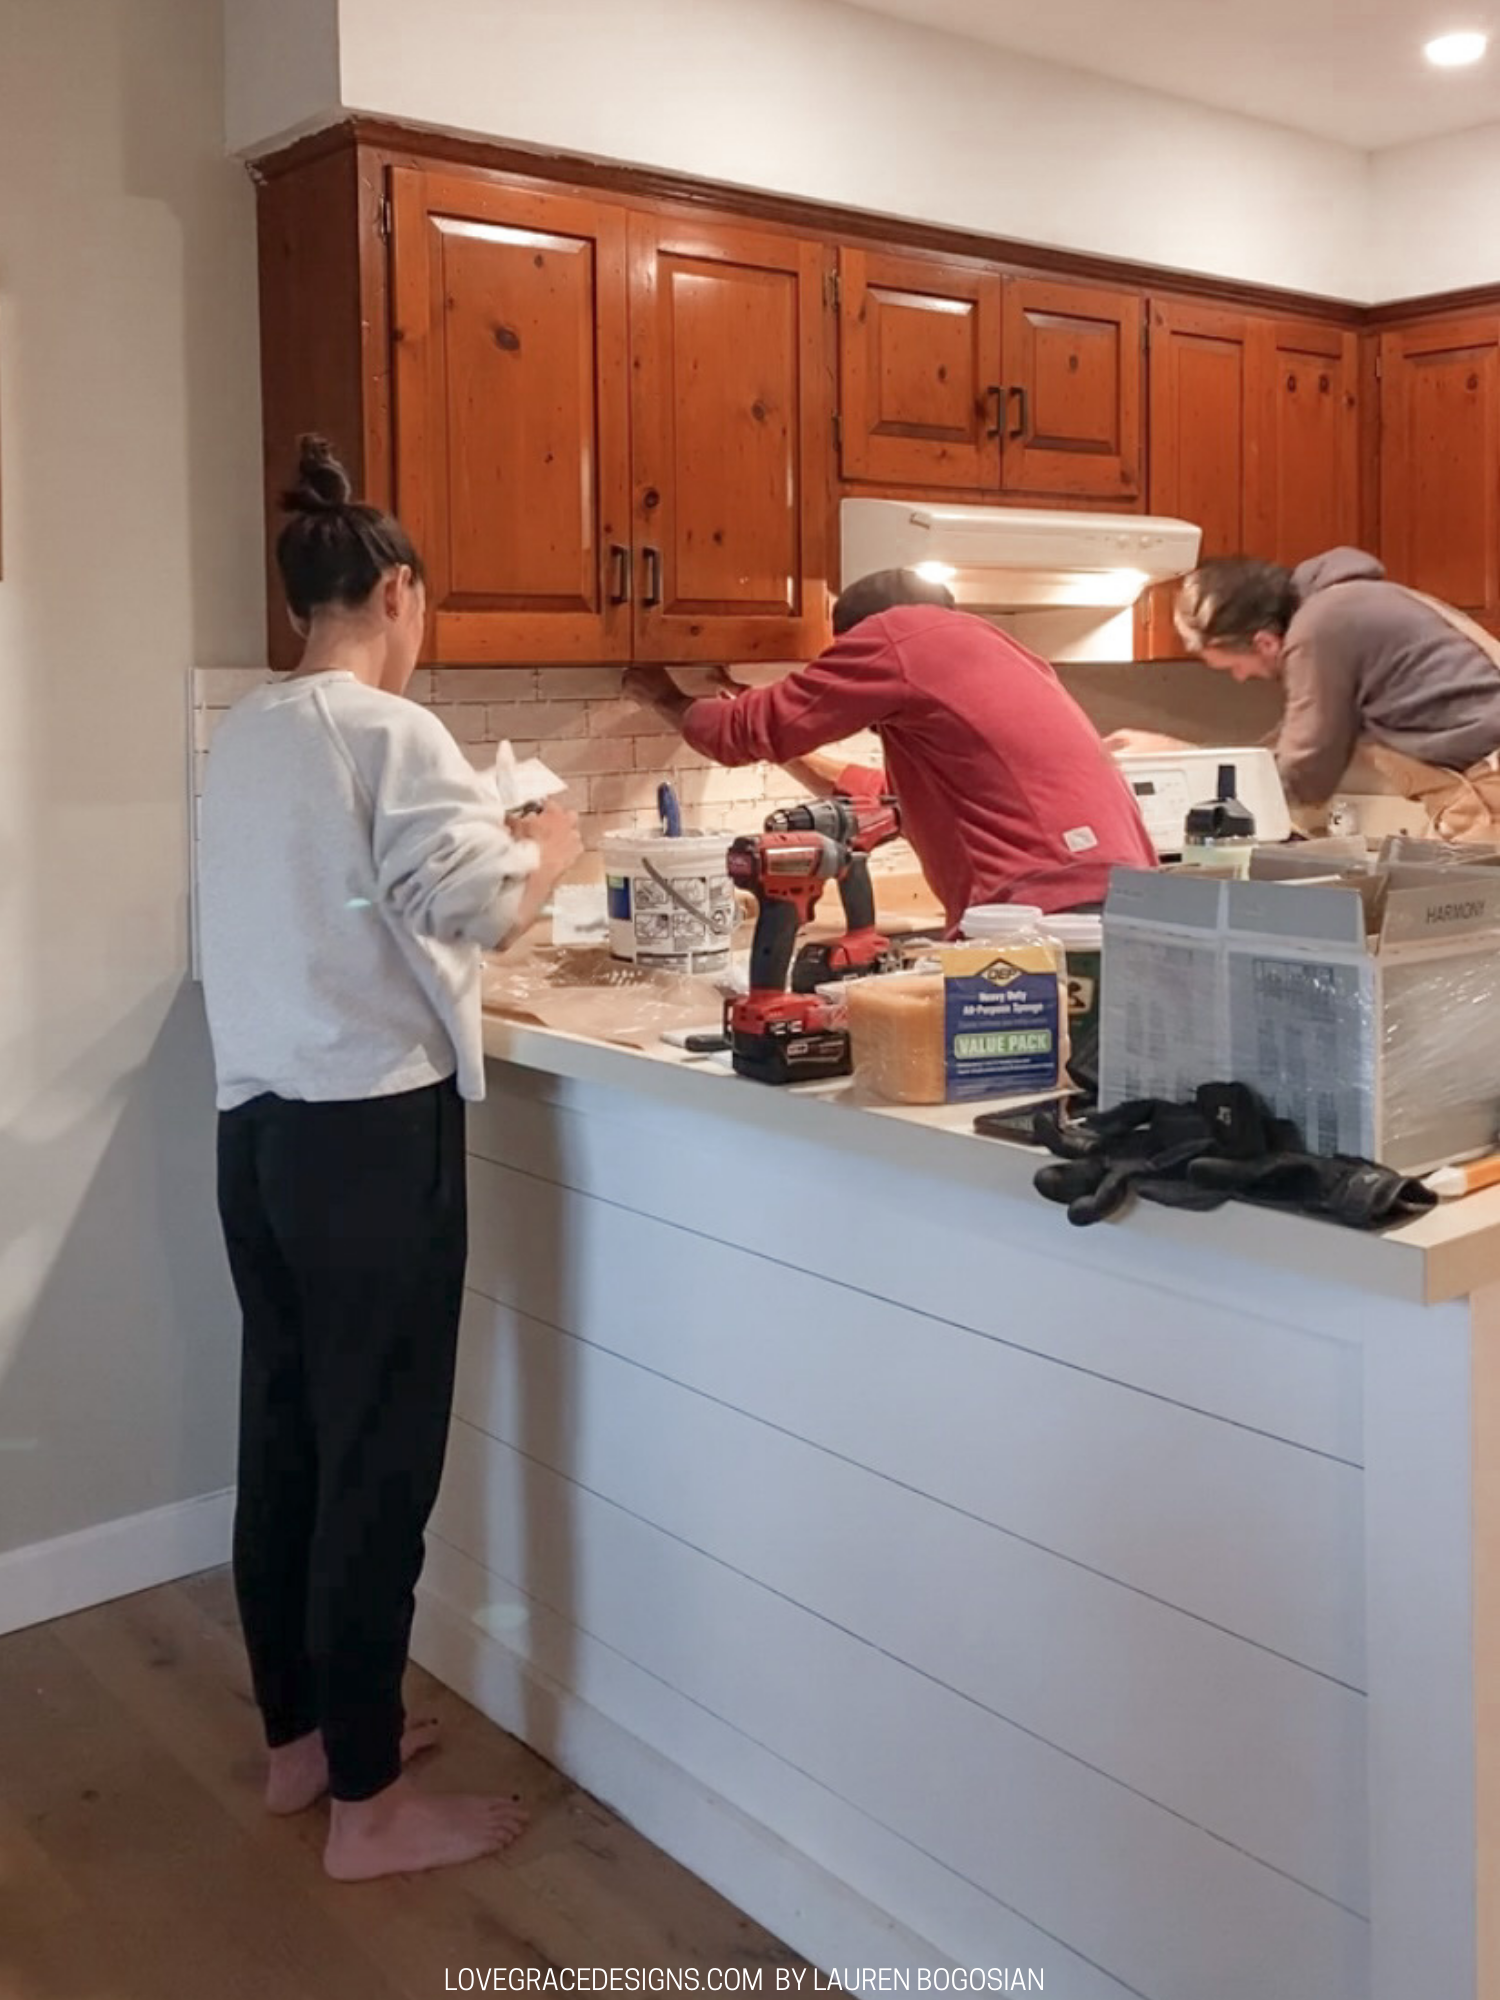
We used 1/16 tile spacers for a closer look and white grout so the tiles could stand out rather than larger grout lines with a darker color grout. Once it was all dry, we applied the grout with the grout float. After about 20 minutes we would go in with the sponge to wipe away the excess grout on the tiles.
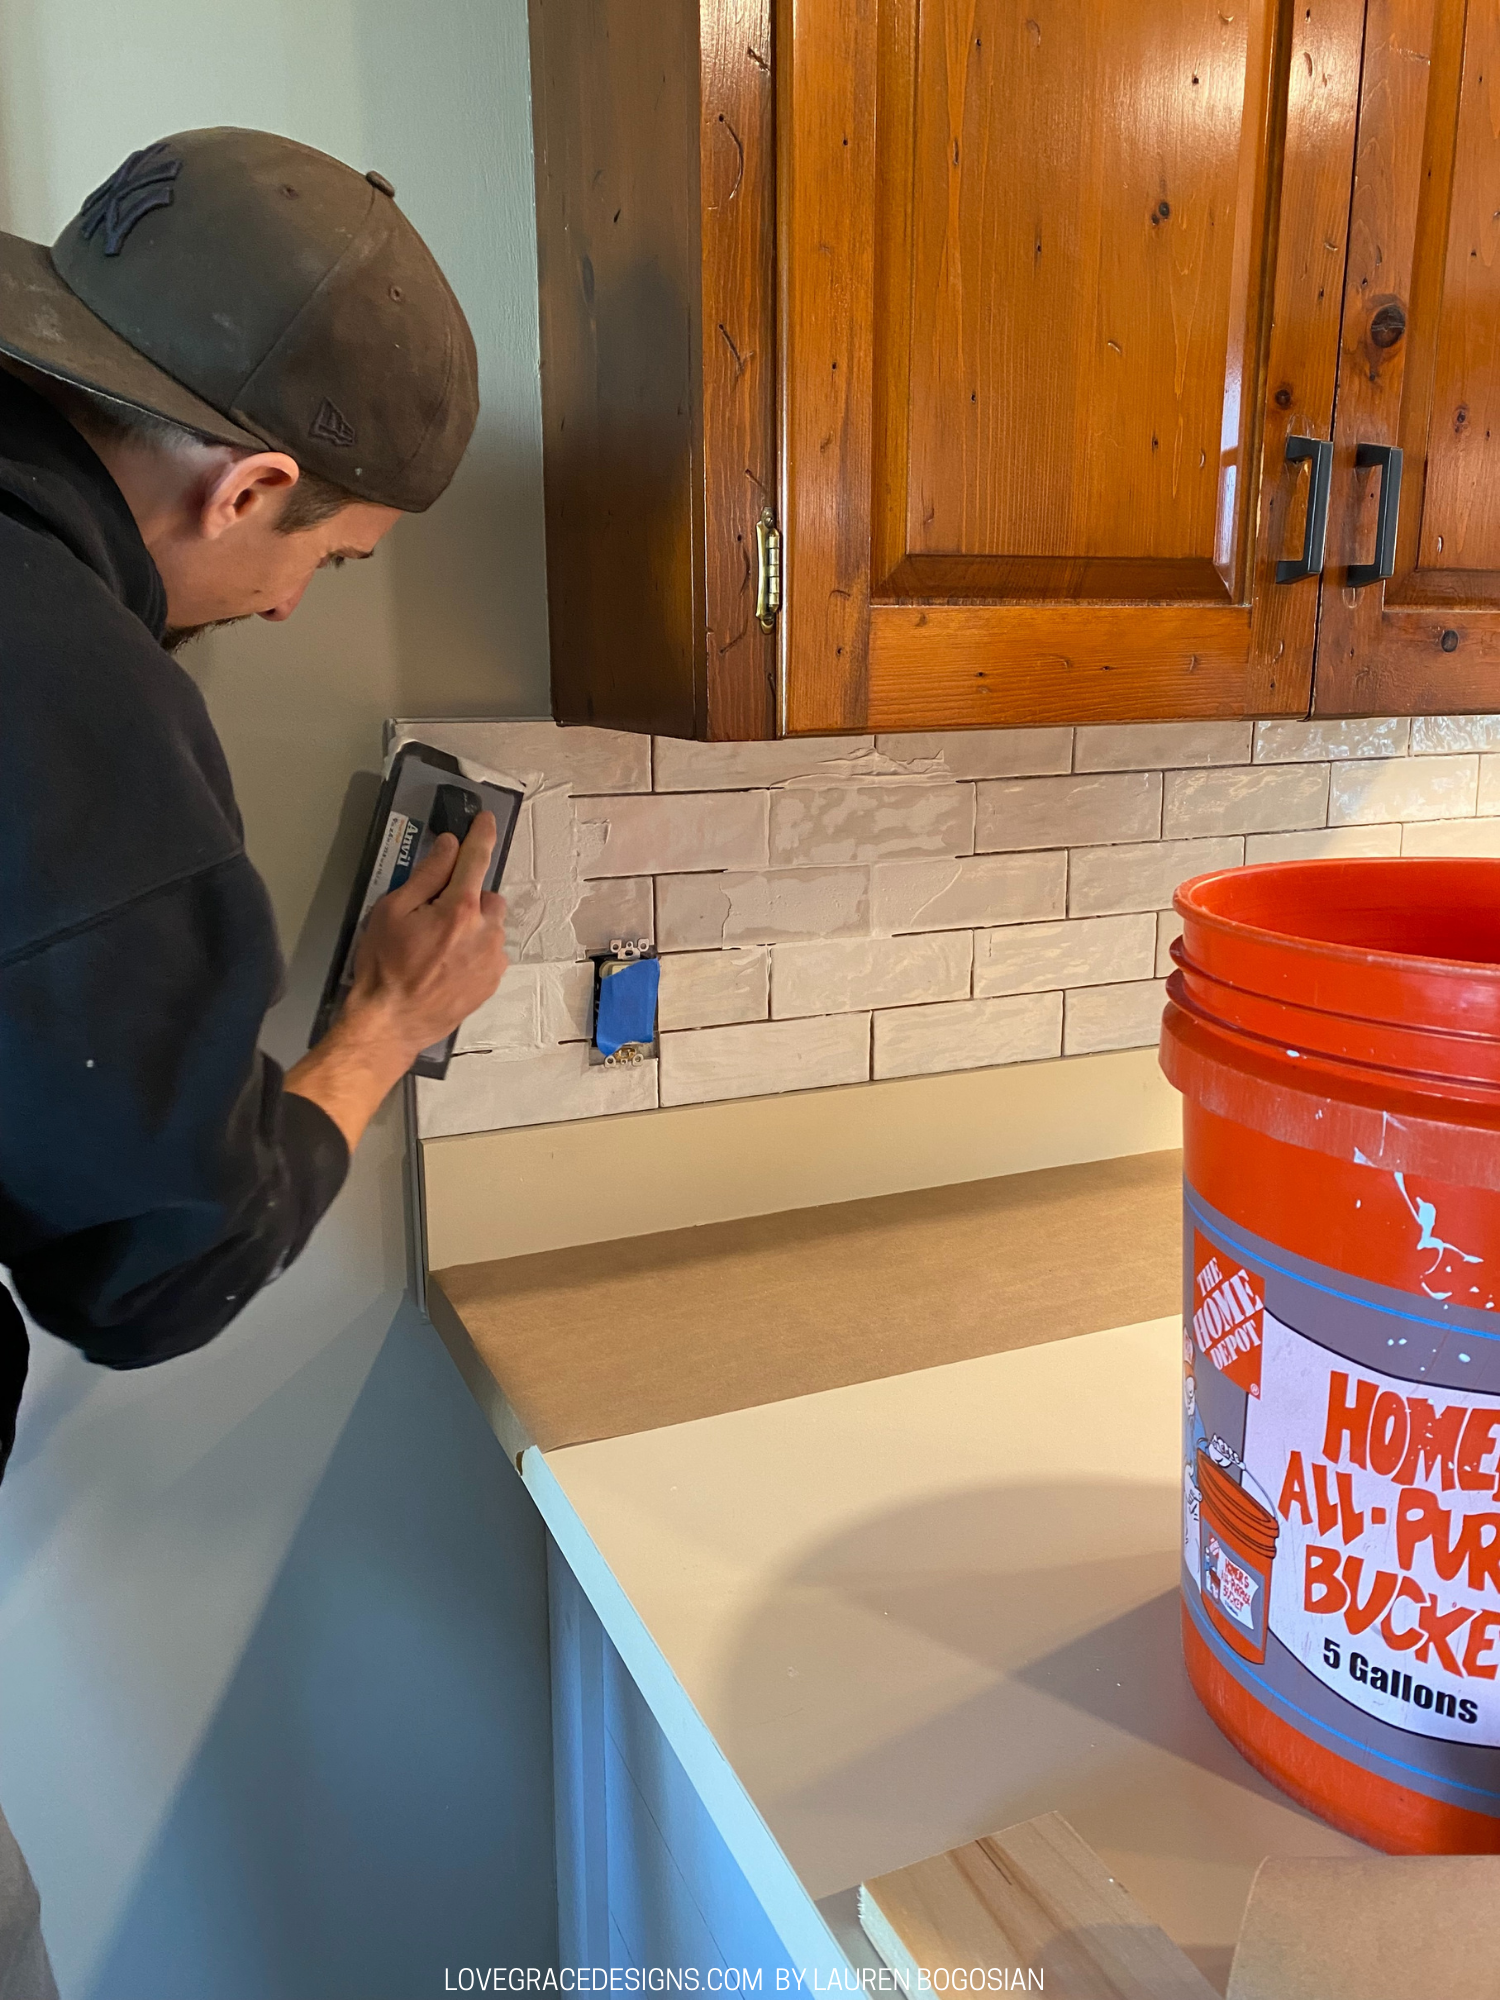
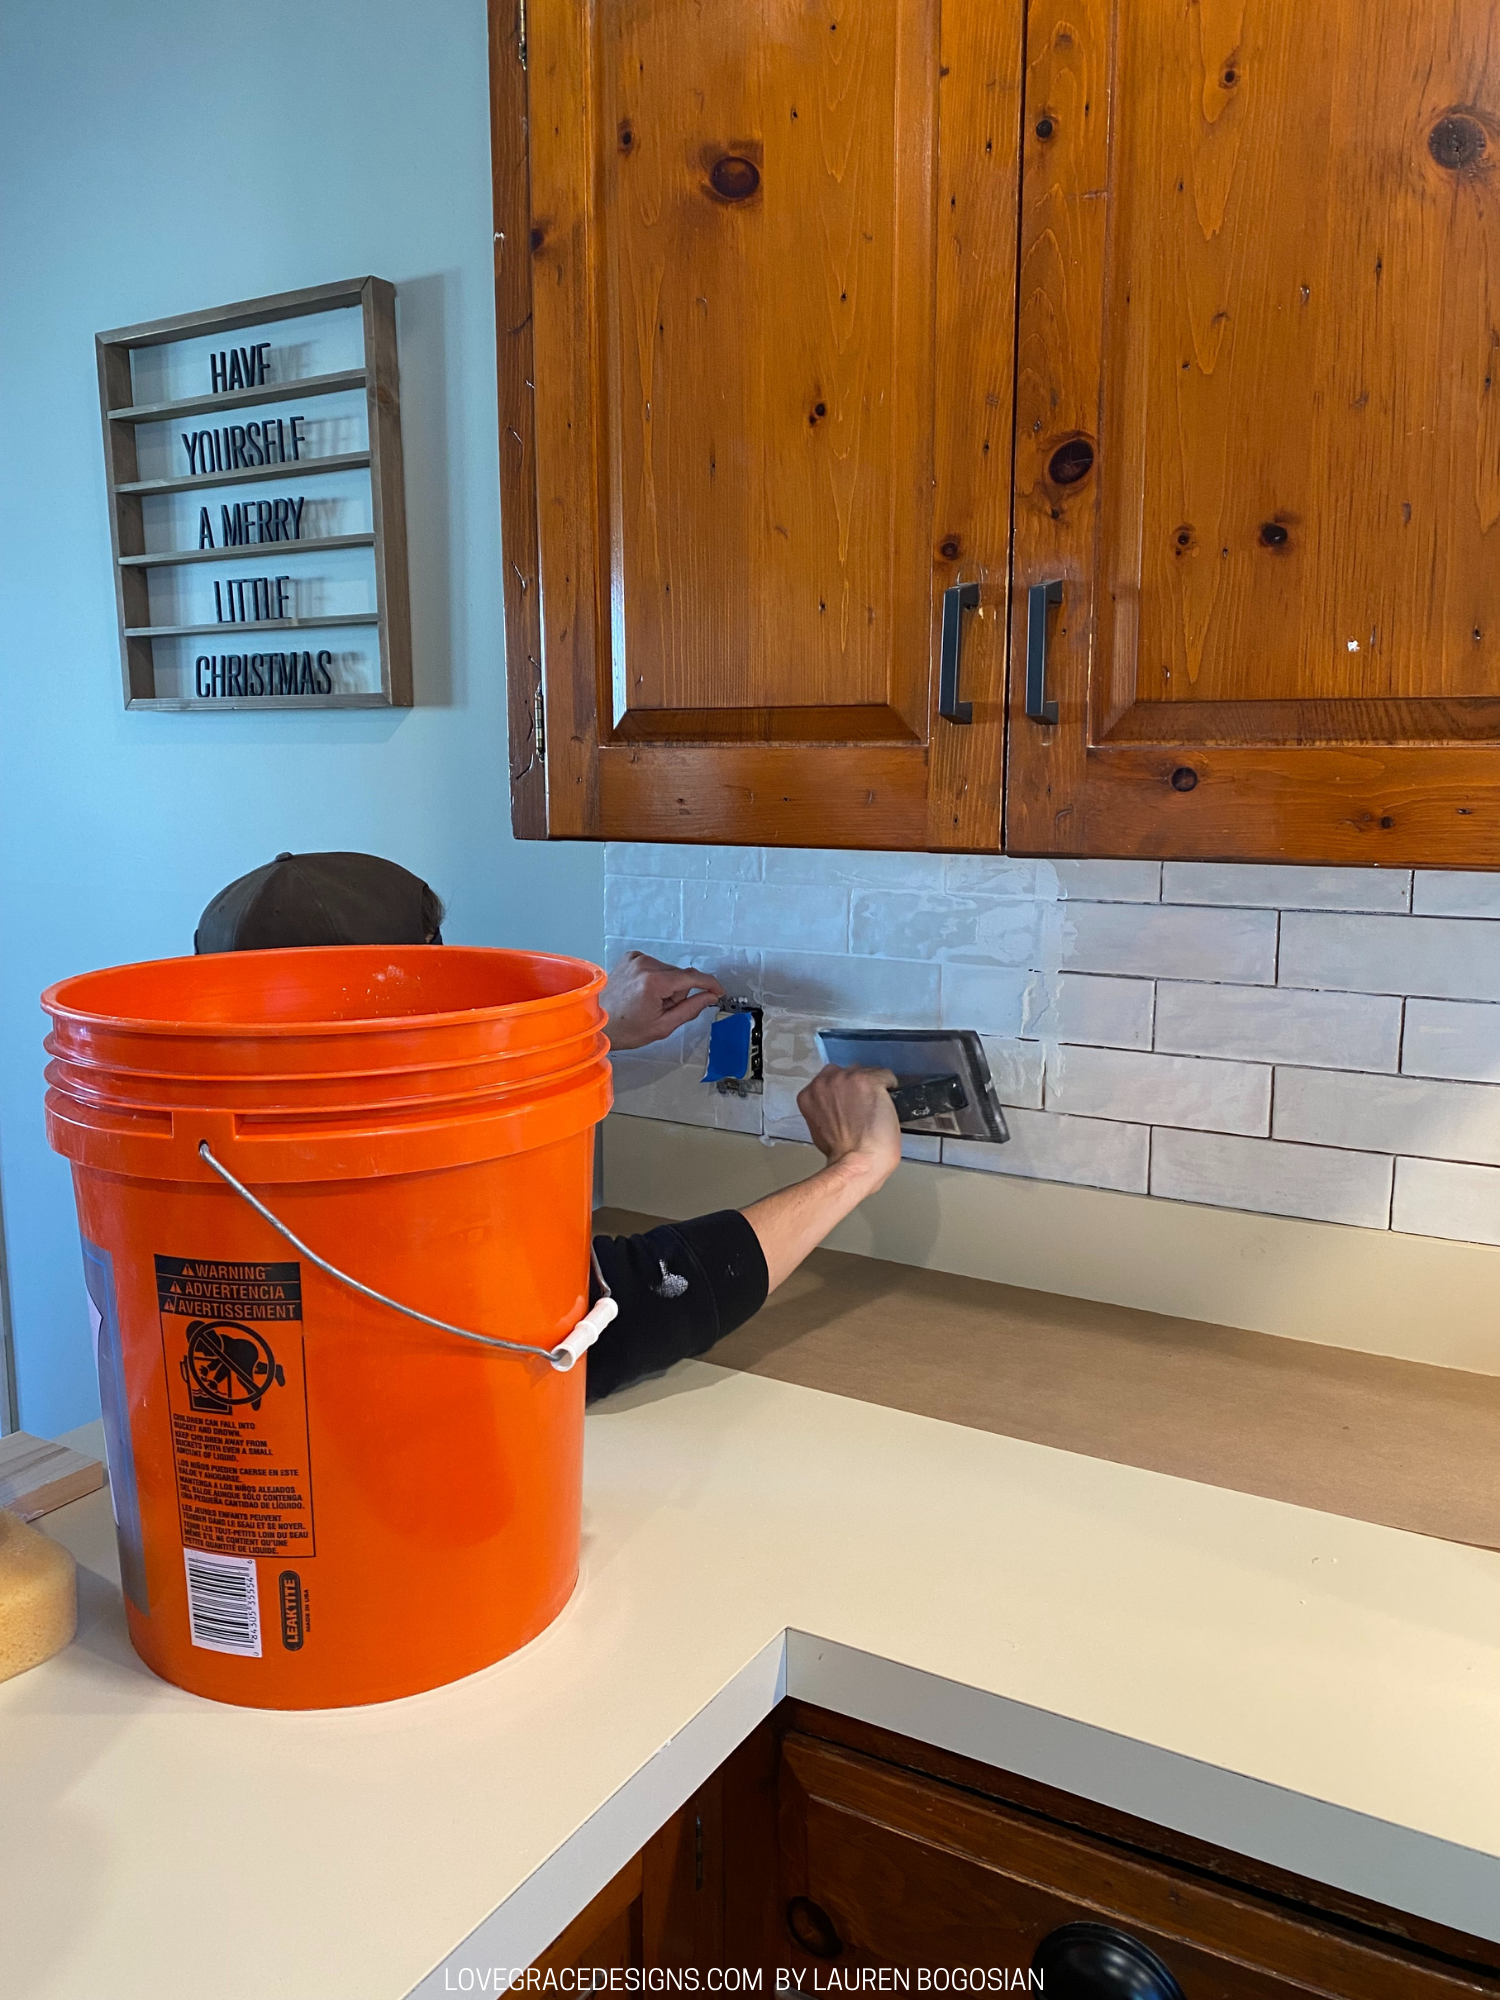
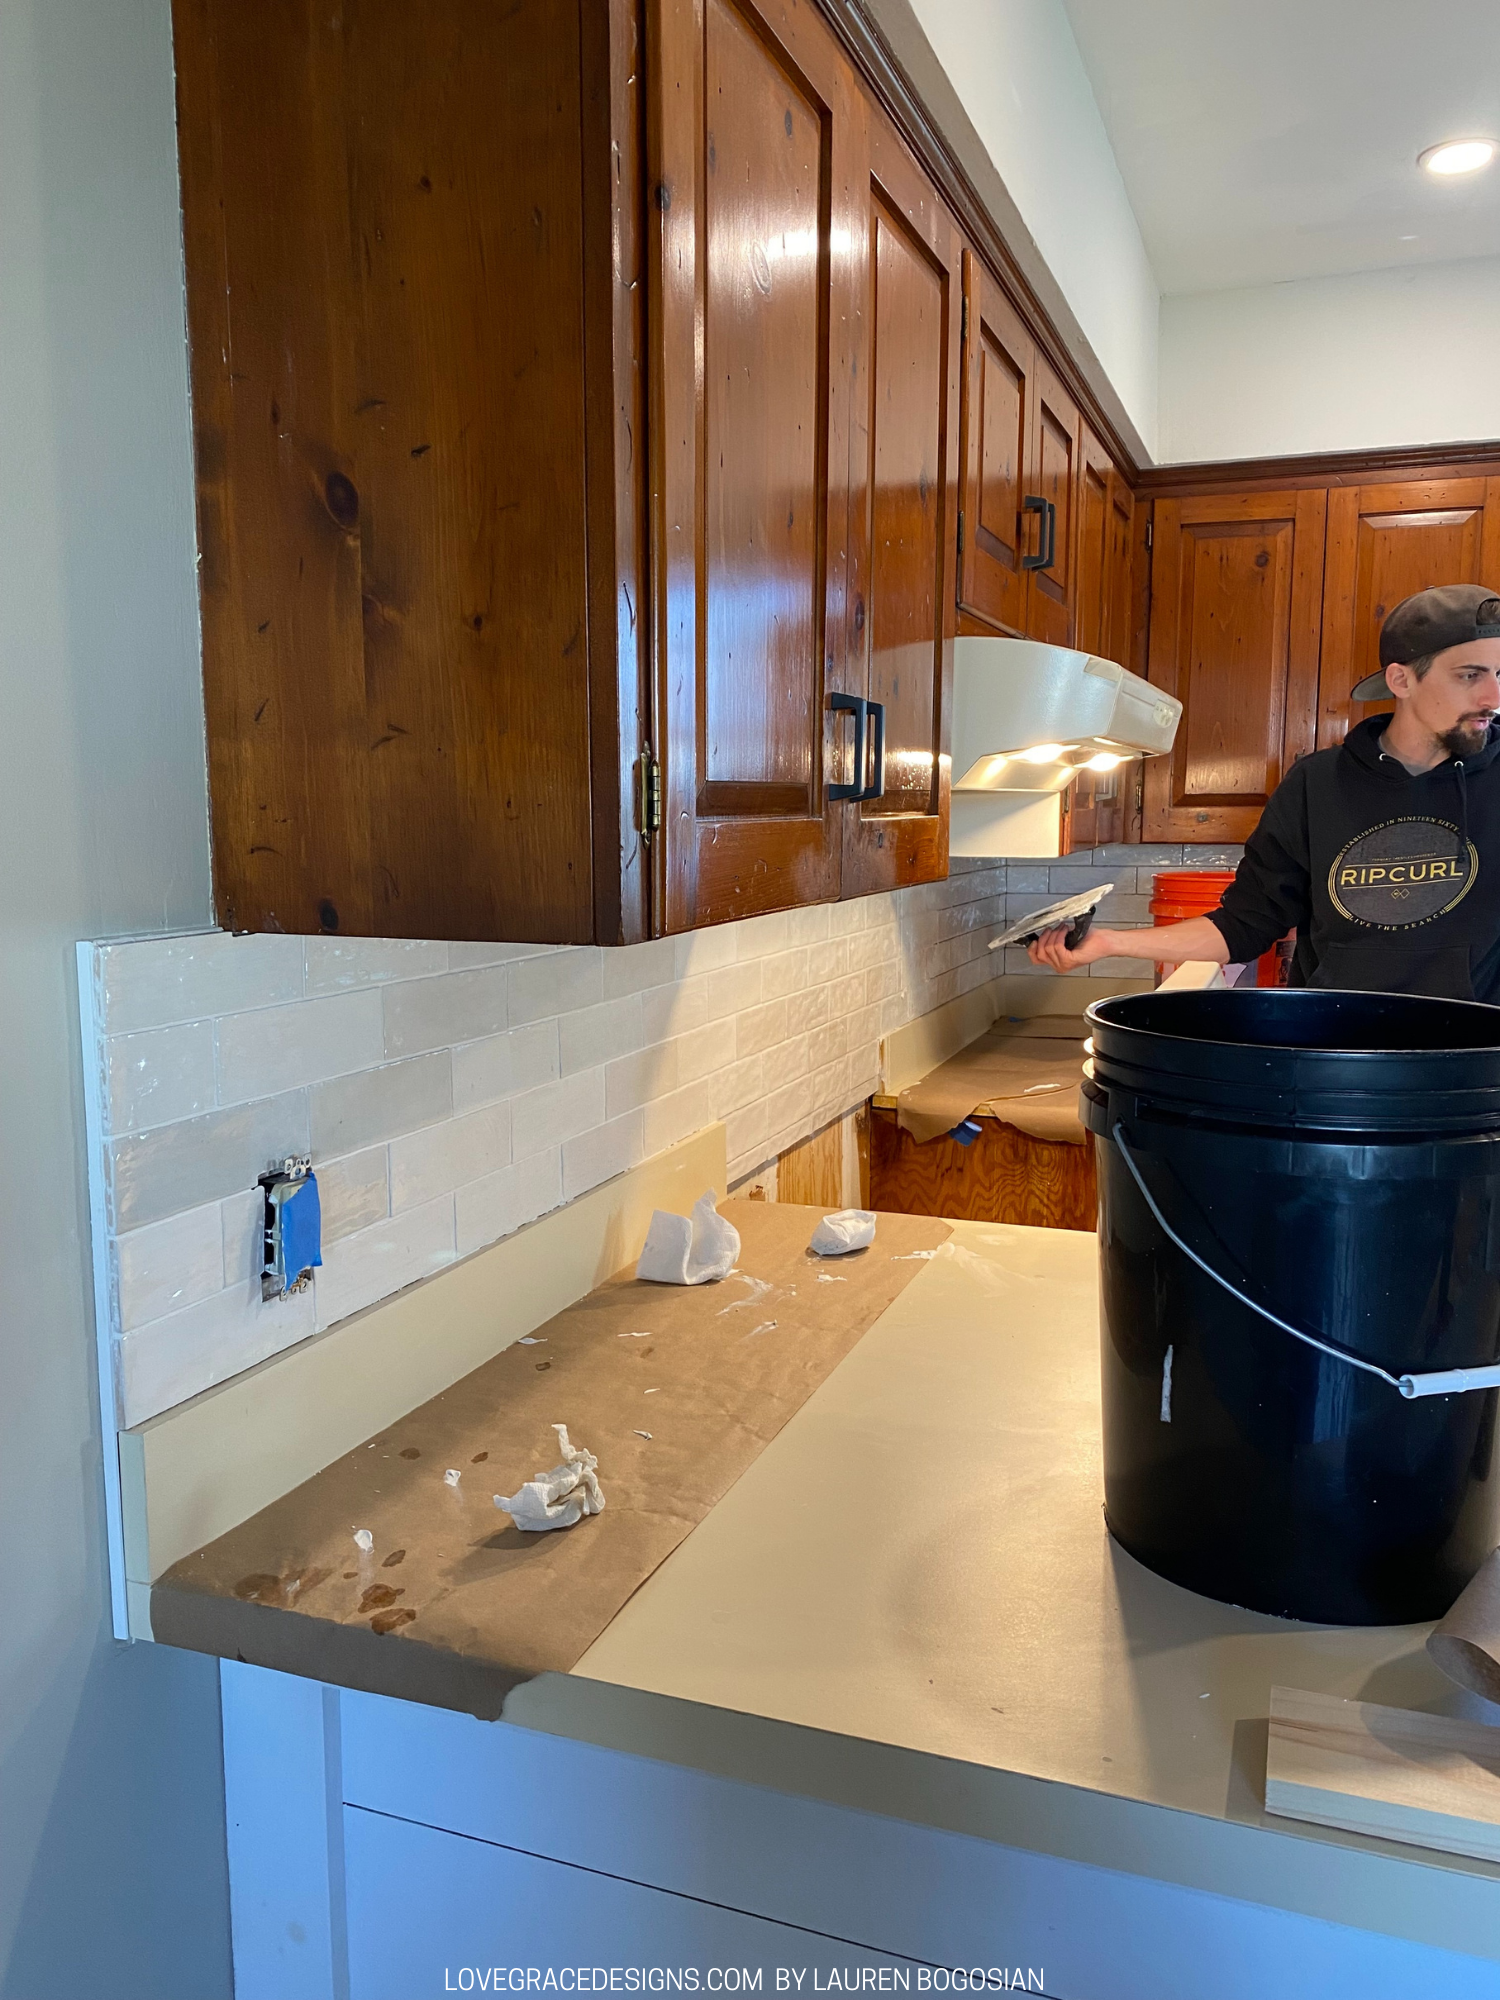
We finished at night so we went back in the next day to wipe the tile down with a sponge again. We did this a couple times that day beacuse dust from even the slightest bit of left over drying grout definitely continues to set on the tiles. We also went in that following week to caulk along the counter, along the top under the cabinets, and around the window.
Tools and Materials Needed
It should be noted again that my brother in law recently did his backsplash and had all the important tools to do tile work including a wet saw. This was much more affordable and doable for us because we already had the tools to use. If you are doing this for a small area like we did and do not have the tools, you could rent a wet saw or buy a cheaper tile cutter that can work for one job since a cheap one may not last for multiple tile jobs. If you know you will have a lot of tile jobs in the future, then investing in the tools needed could be a great option for you.
- Wet saw
- Drill
- Grout mixer attachment for drill
- Notched trowel
- Trowel
- Grout sponge
- Grout float
- Large pastic buckets (like a Home Depot one)
- Tile adhesive
- Grout
- Caulk
- Tile spacers
You may also need some other specialty items like we did such as backerboard. We tiled a row below our counter top behind our stove so you may need a small piece of wood to drill into the wall as an anchor for the tile to sit on that can be removed once the tile has fully dried. Some other basic everyday items for renovation projects will be needed too.
- Pencil
- Level
- Tape measure
- Drop cloths or surface protection paper
- Backerboard (*specific to project)
- Scrap wood (*specific to project)
- Screws and drill (*specific to project)
Save this post for future kitchen backsplash inspiration or for some helpful information!
