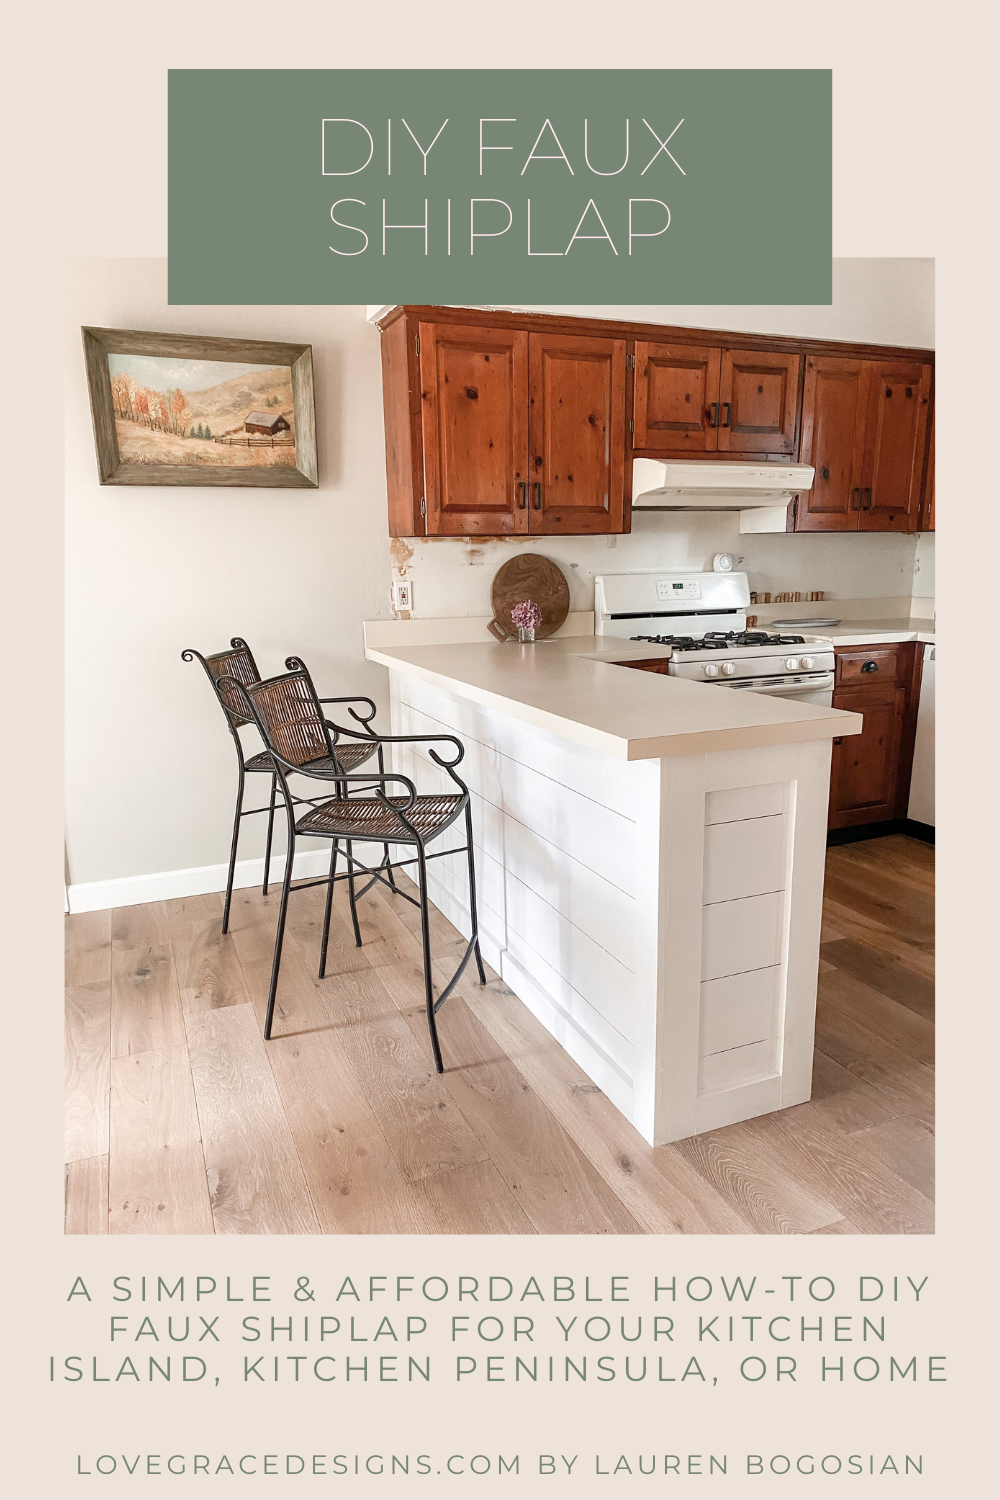
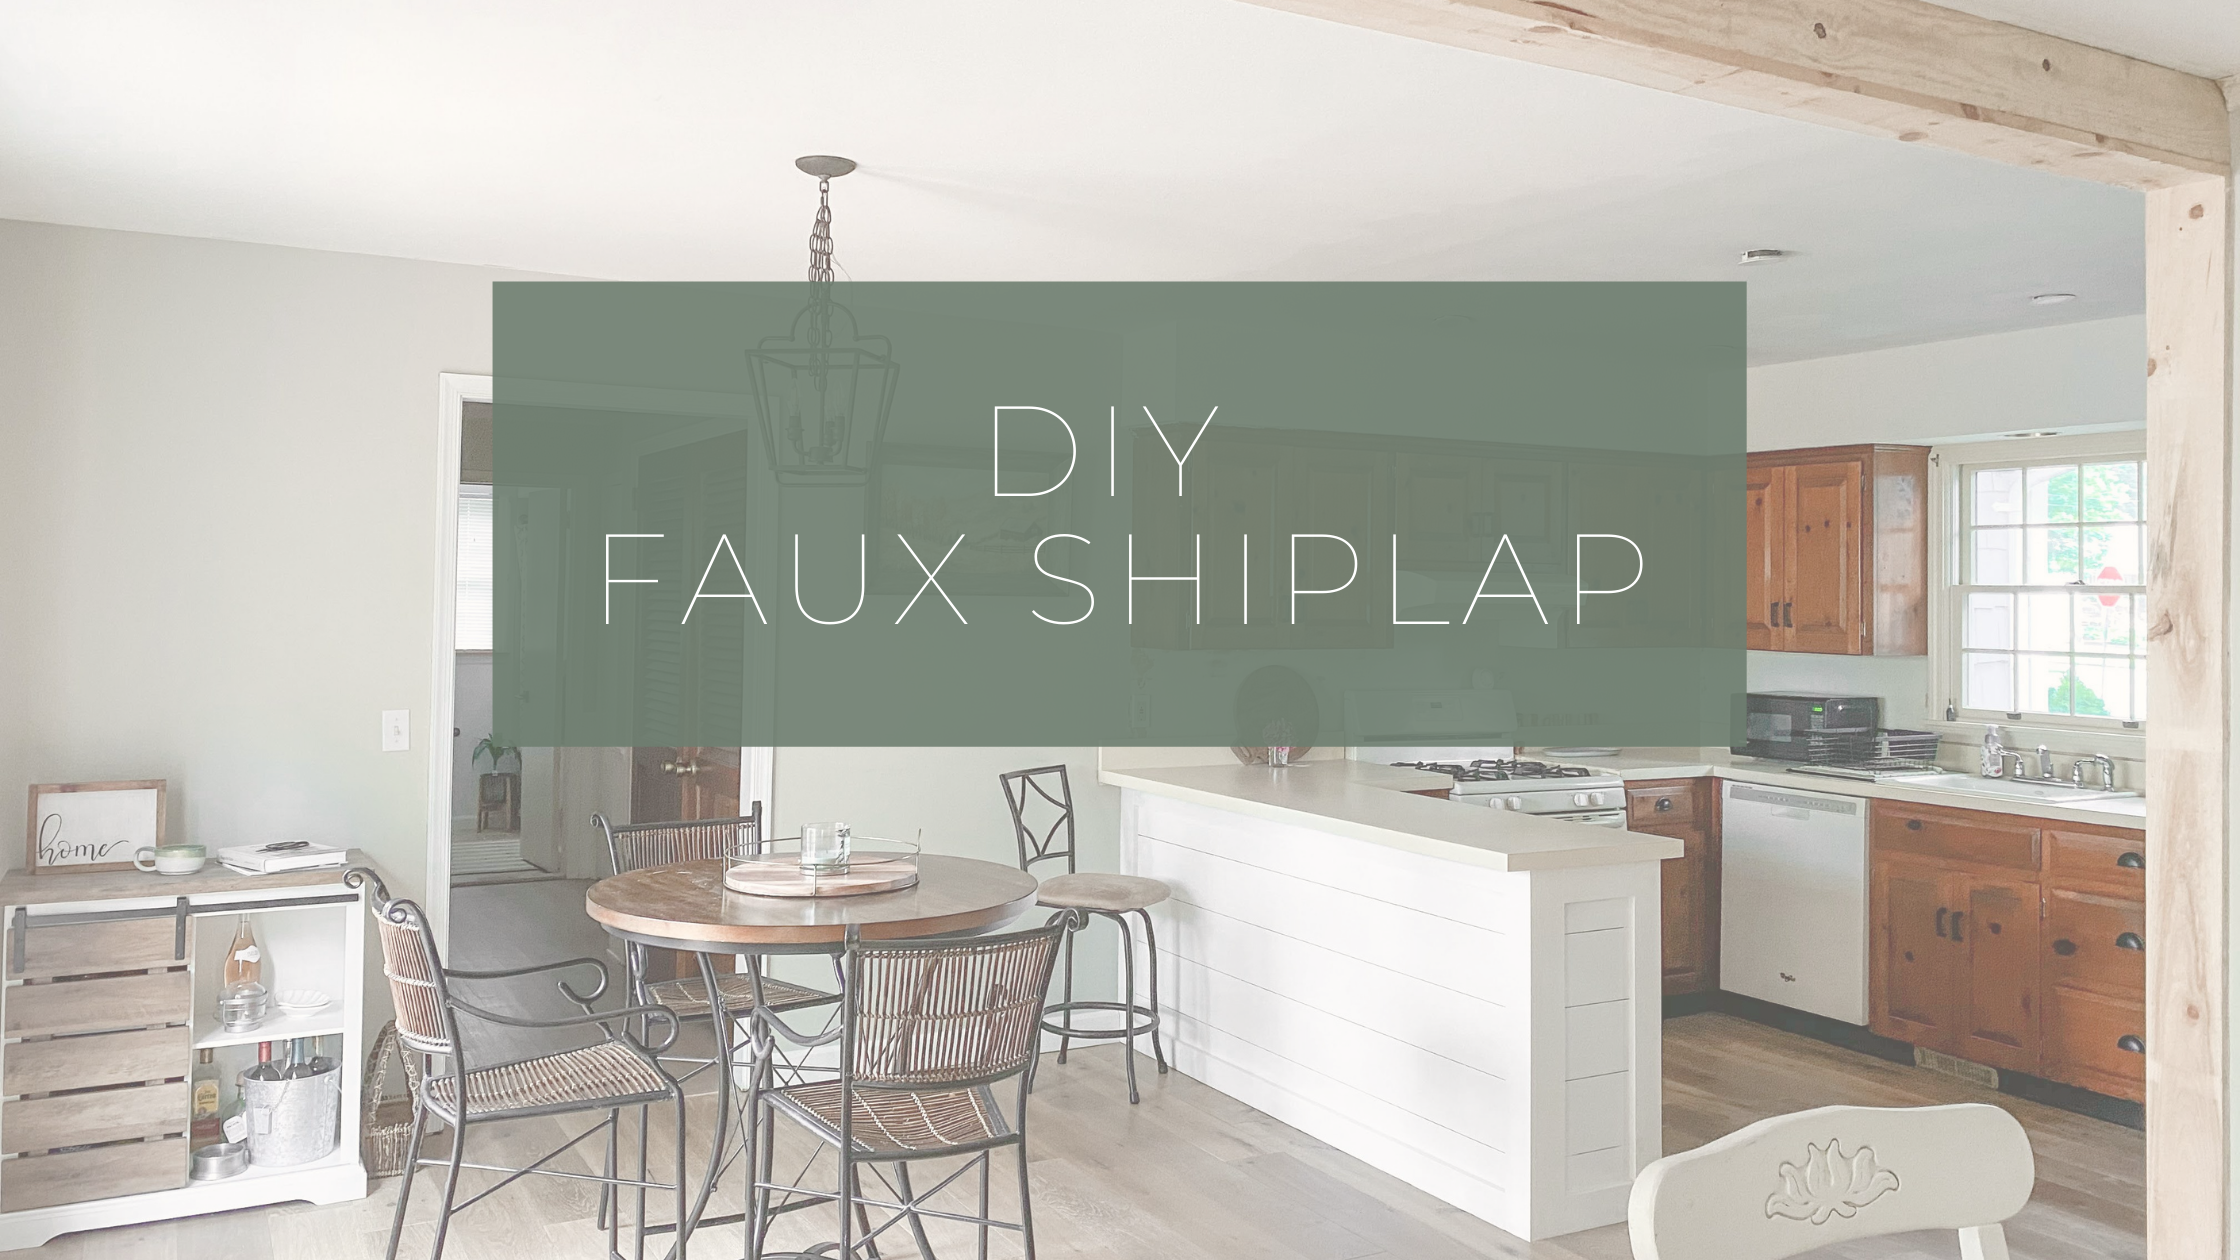
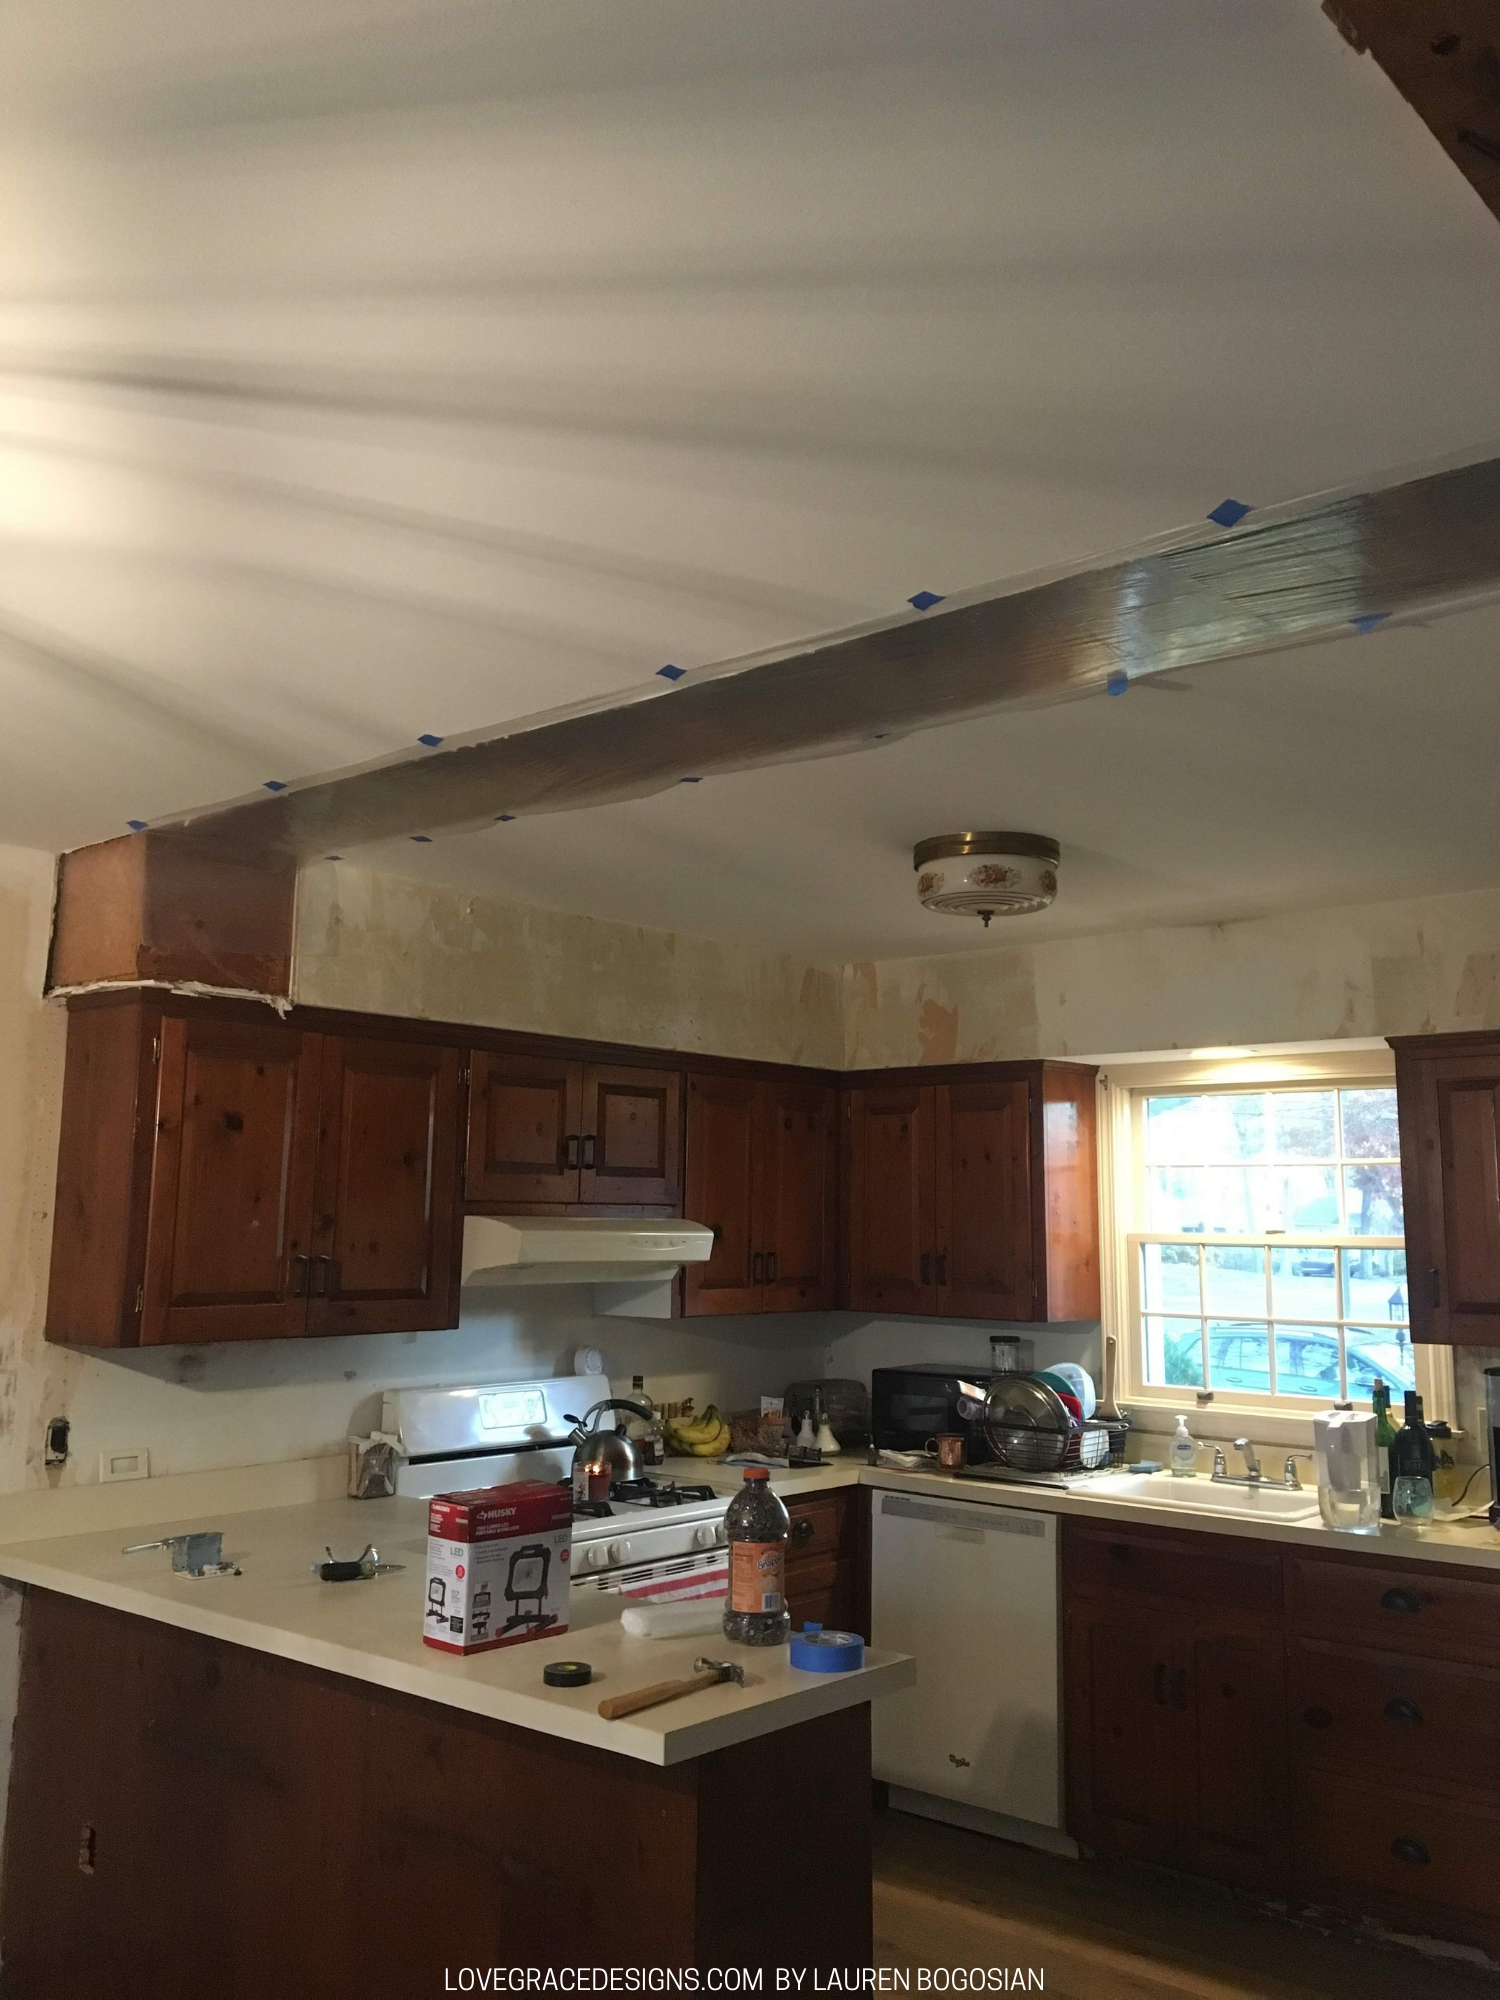
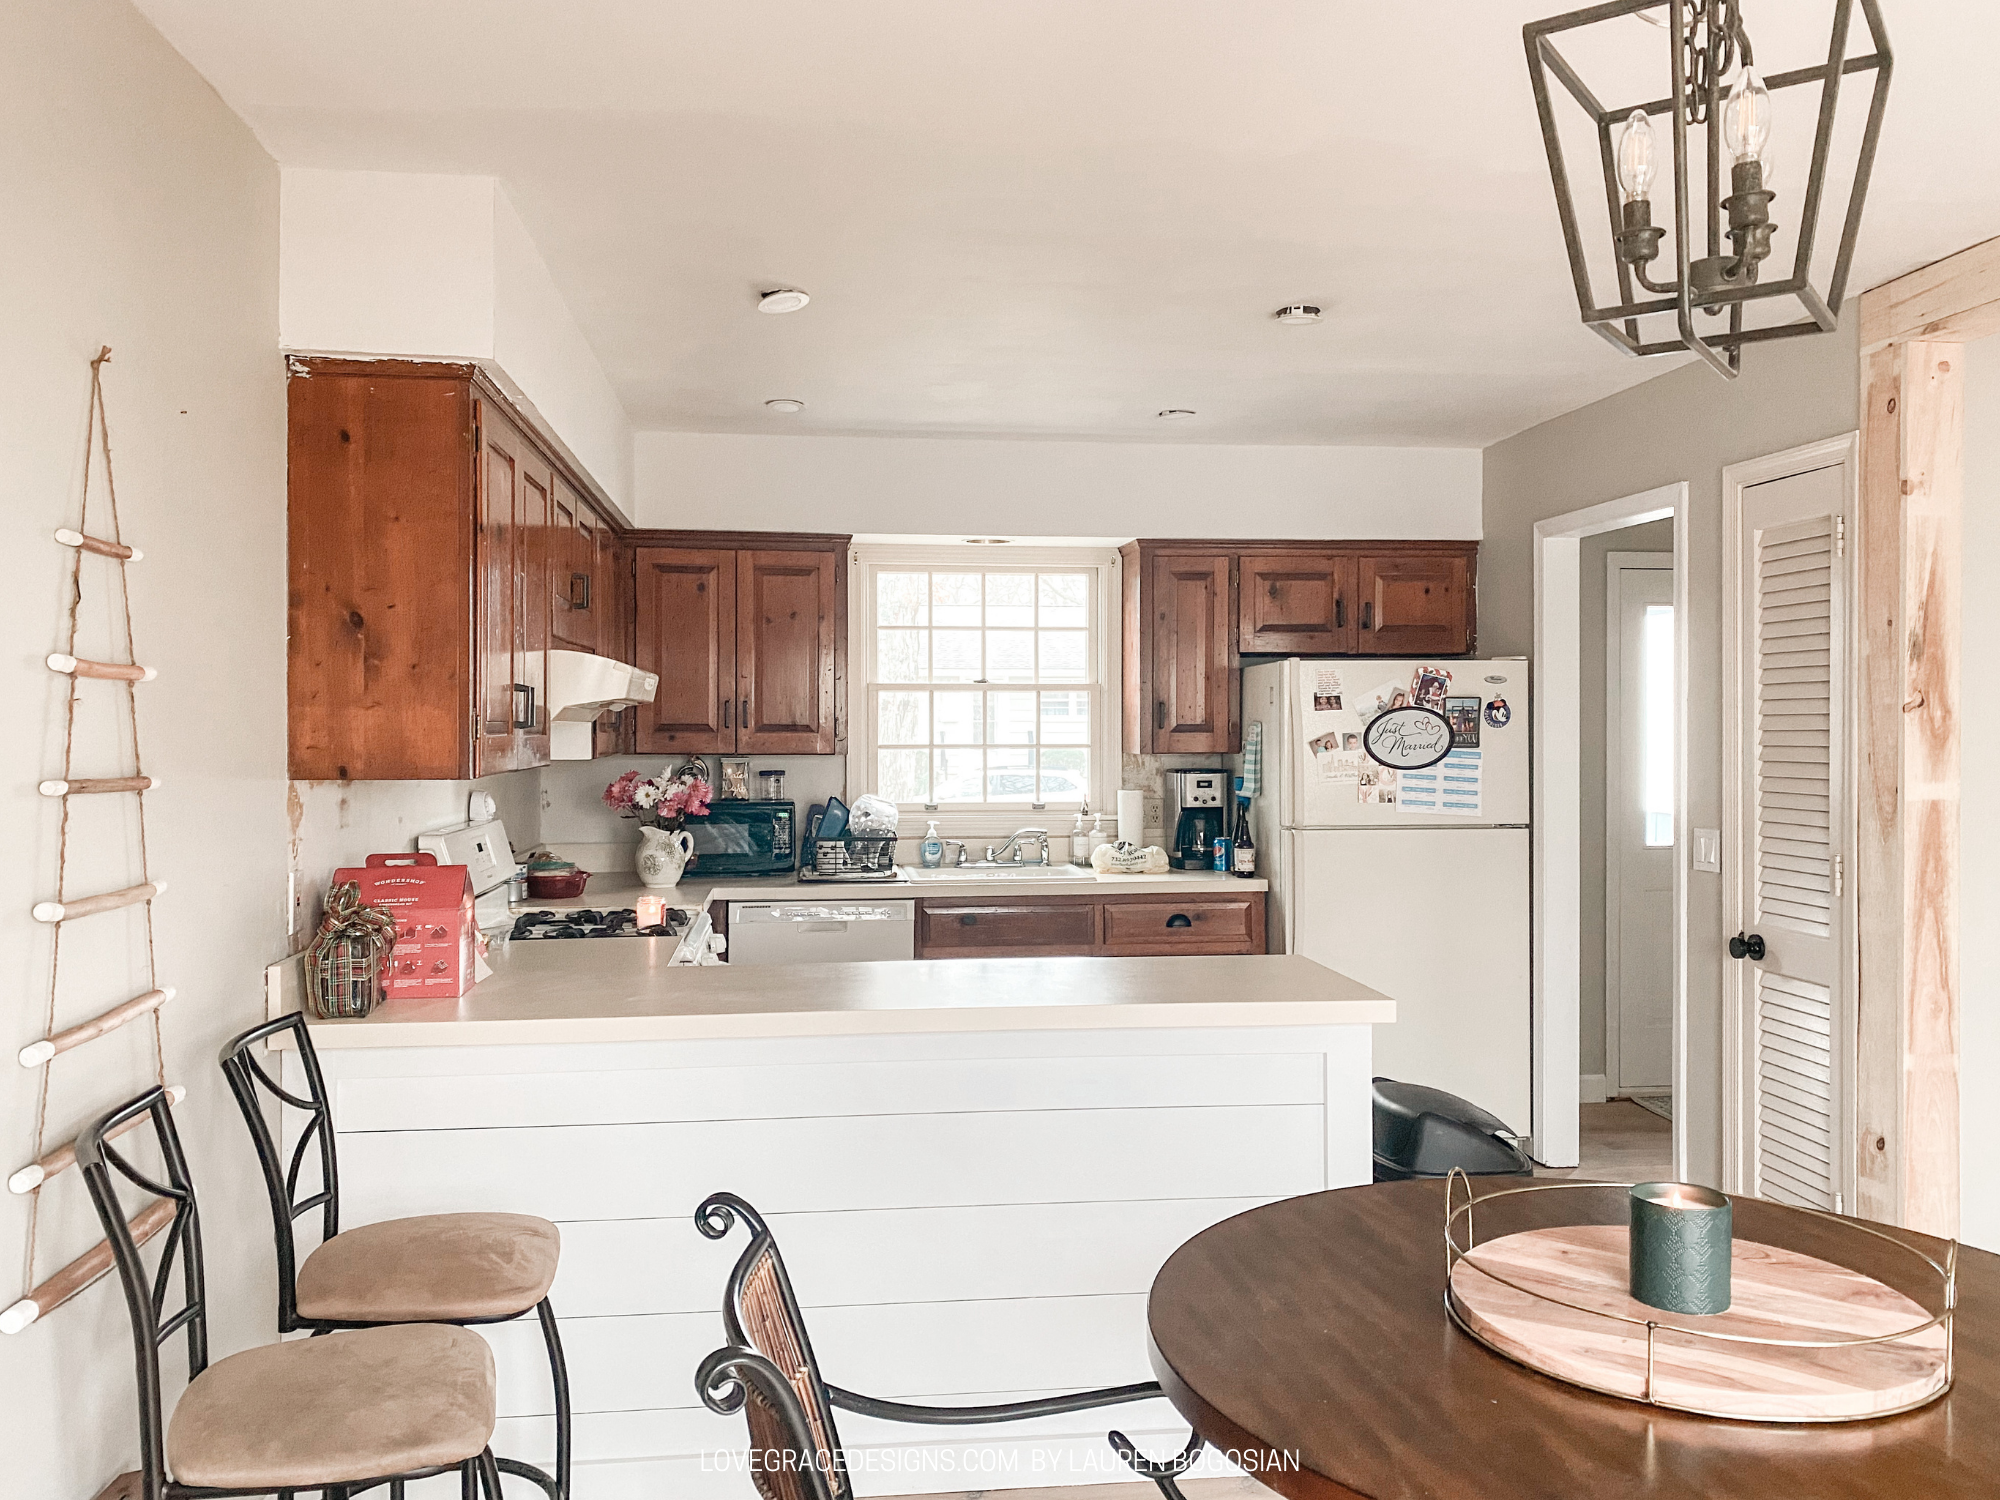
This post is long overdue! This shiplap kitchen peninsula DIY was something I thought of right in the beginning of our renovations after moving in. Once the floors were in, wallpaper removed, and walls painted, I decided to tackle this DIY project. I took a lot of progress and how-to photos of this project but it was on my old phone that died a couple months later. I haven’t been able to recover anything (neither has Apple) from that phone and as I say every time, I am still devastated! So bear with me since there isn’t too many before and during photos and the ones I do have are from Instagram stories!
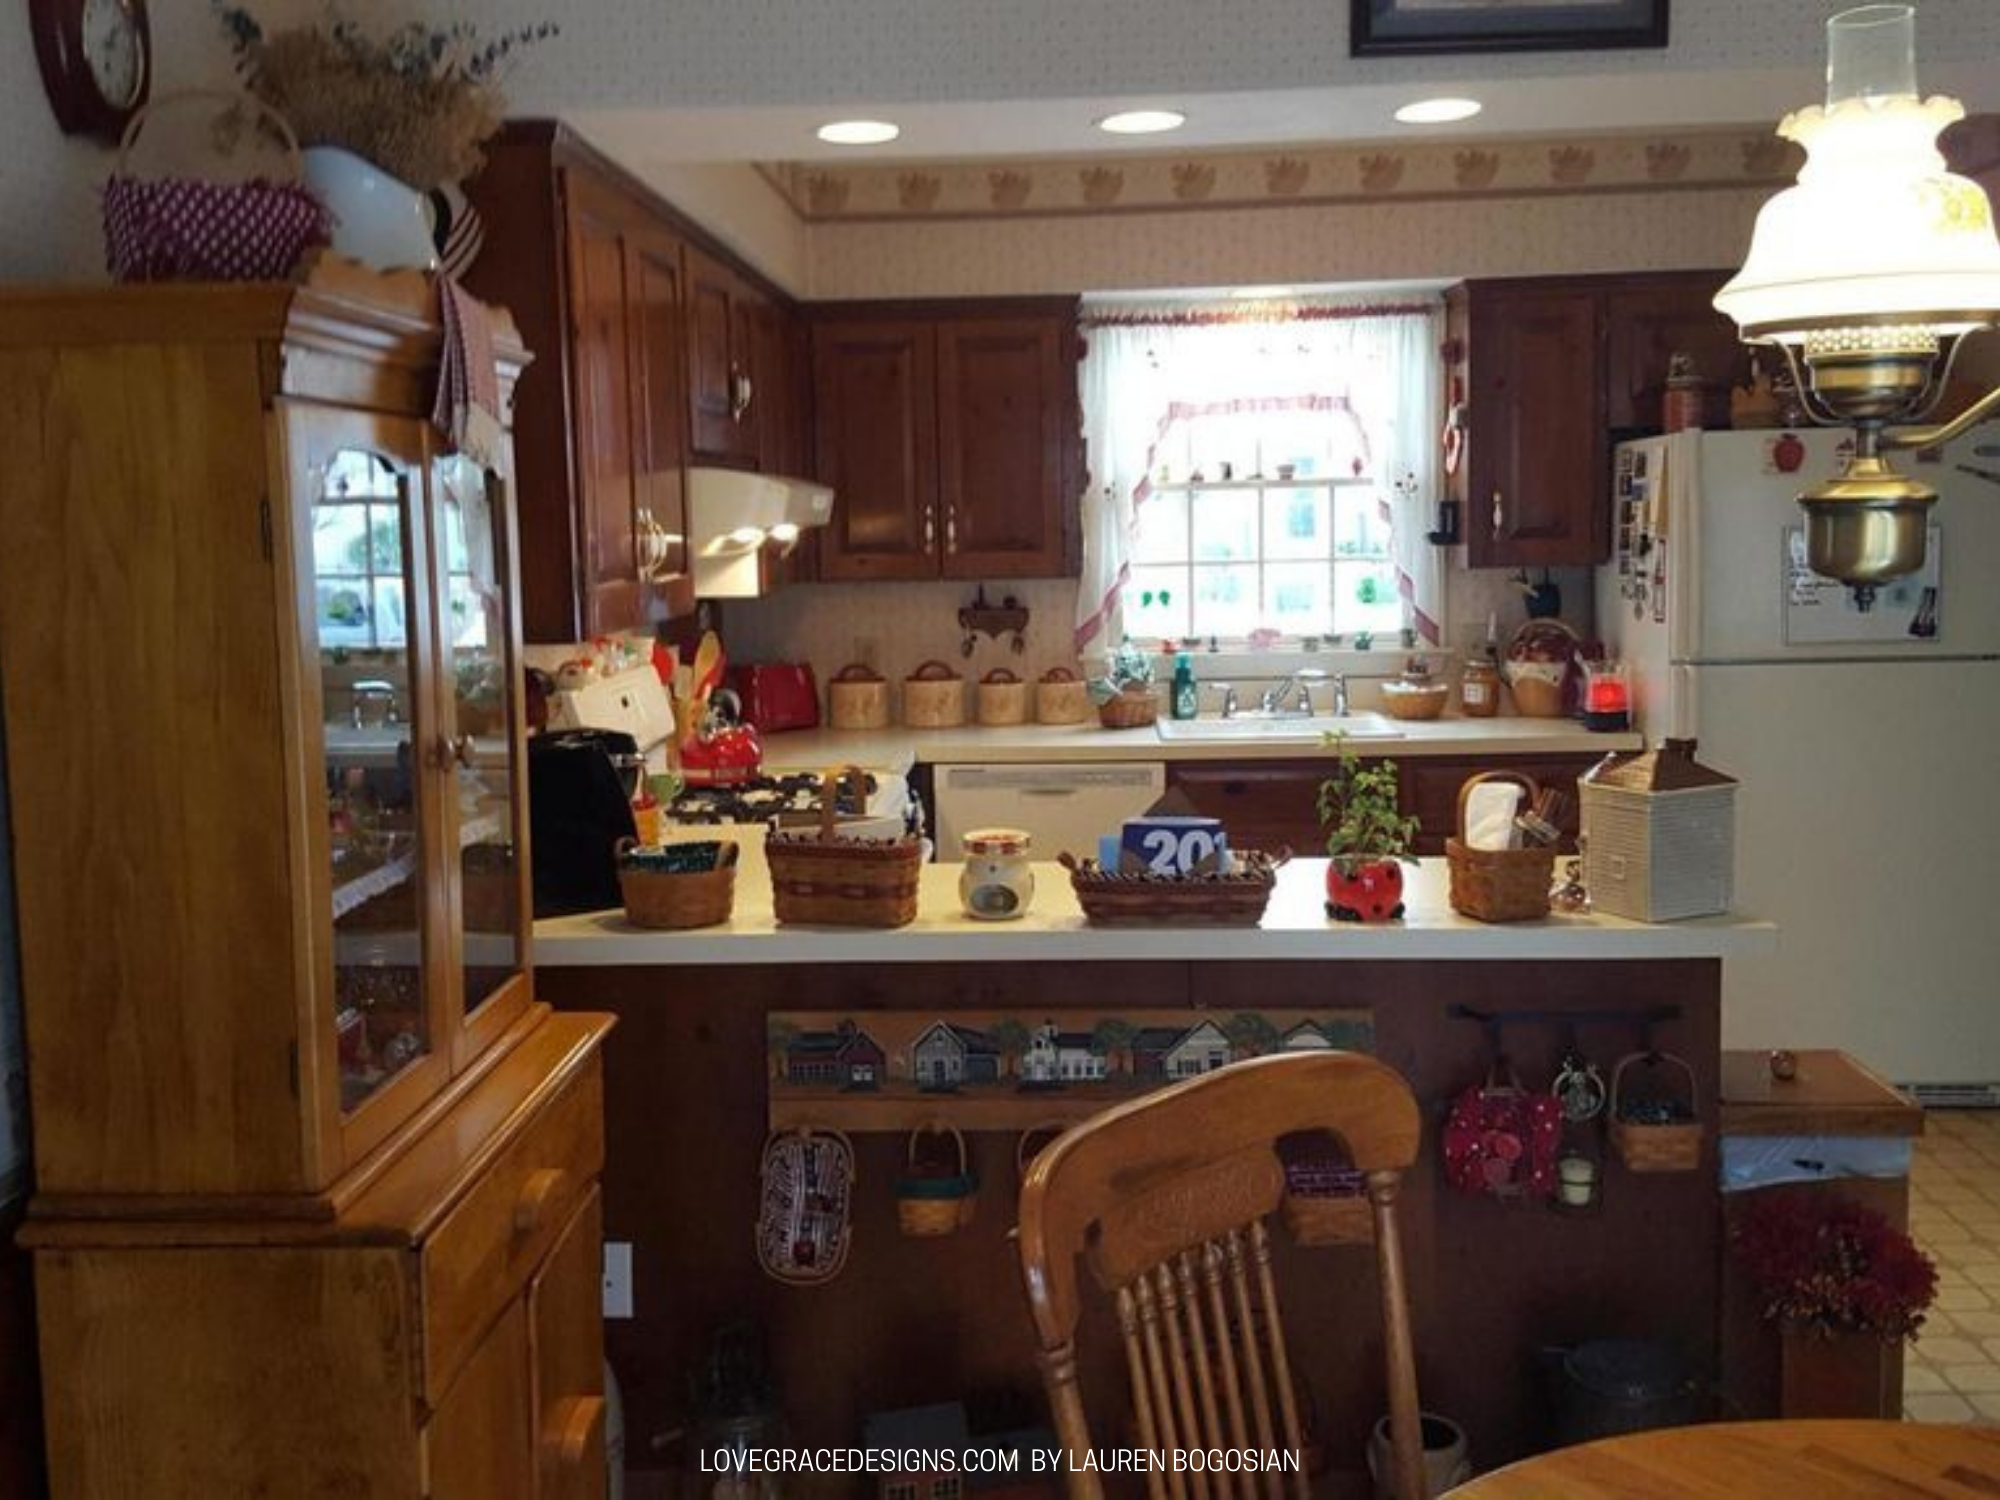
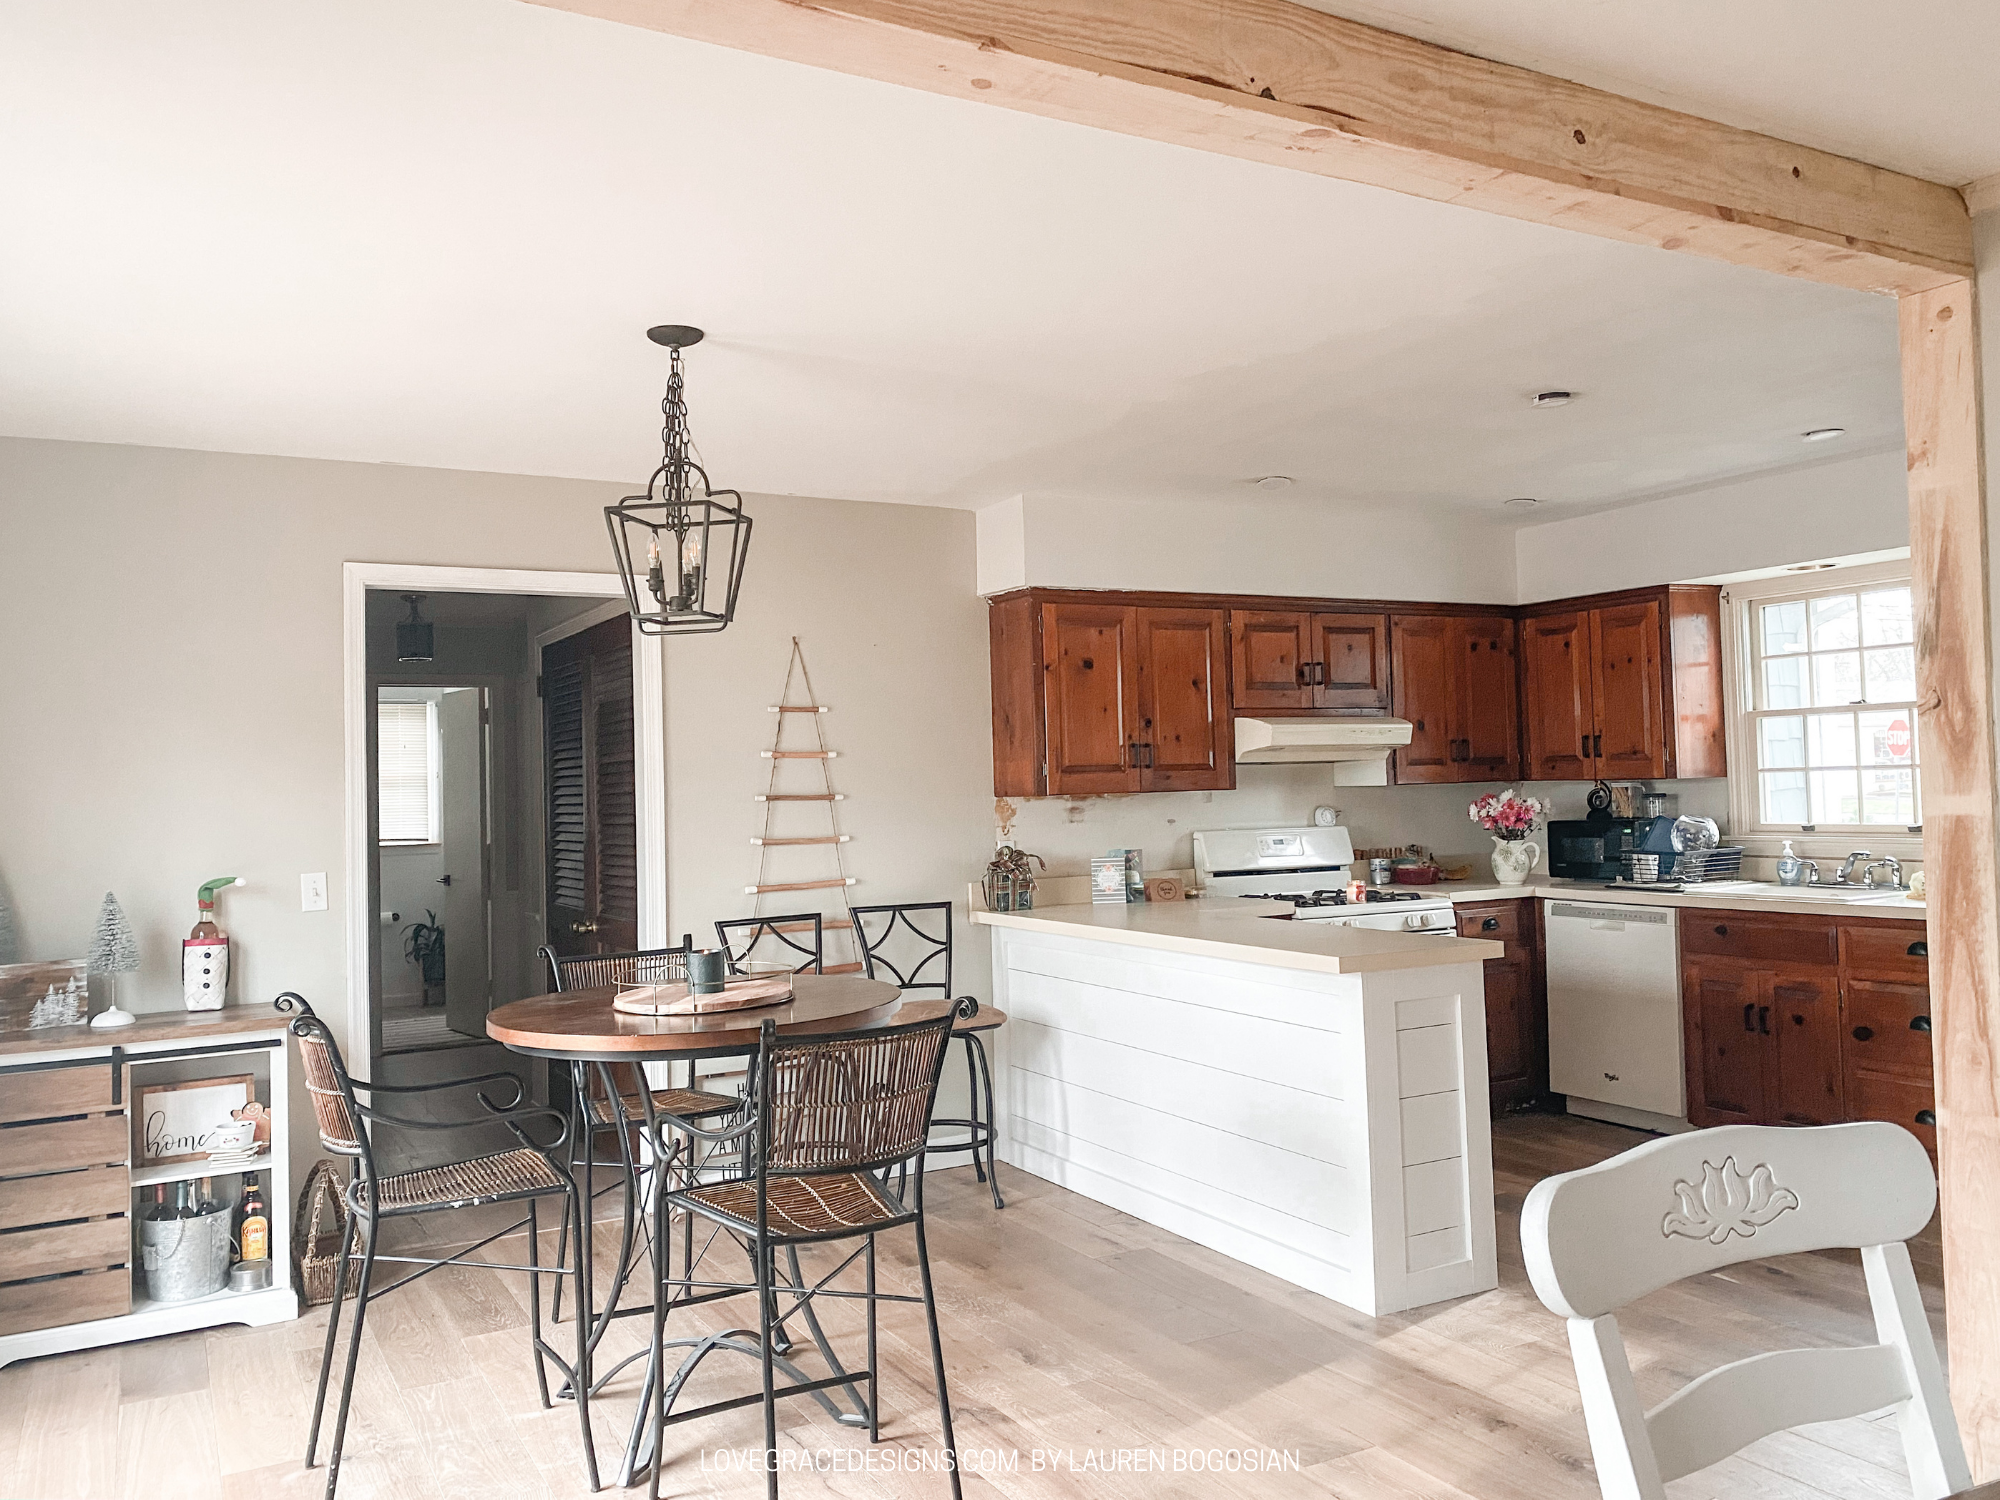
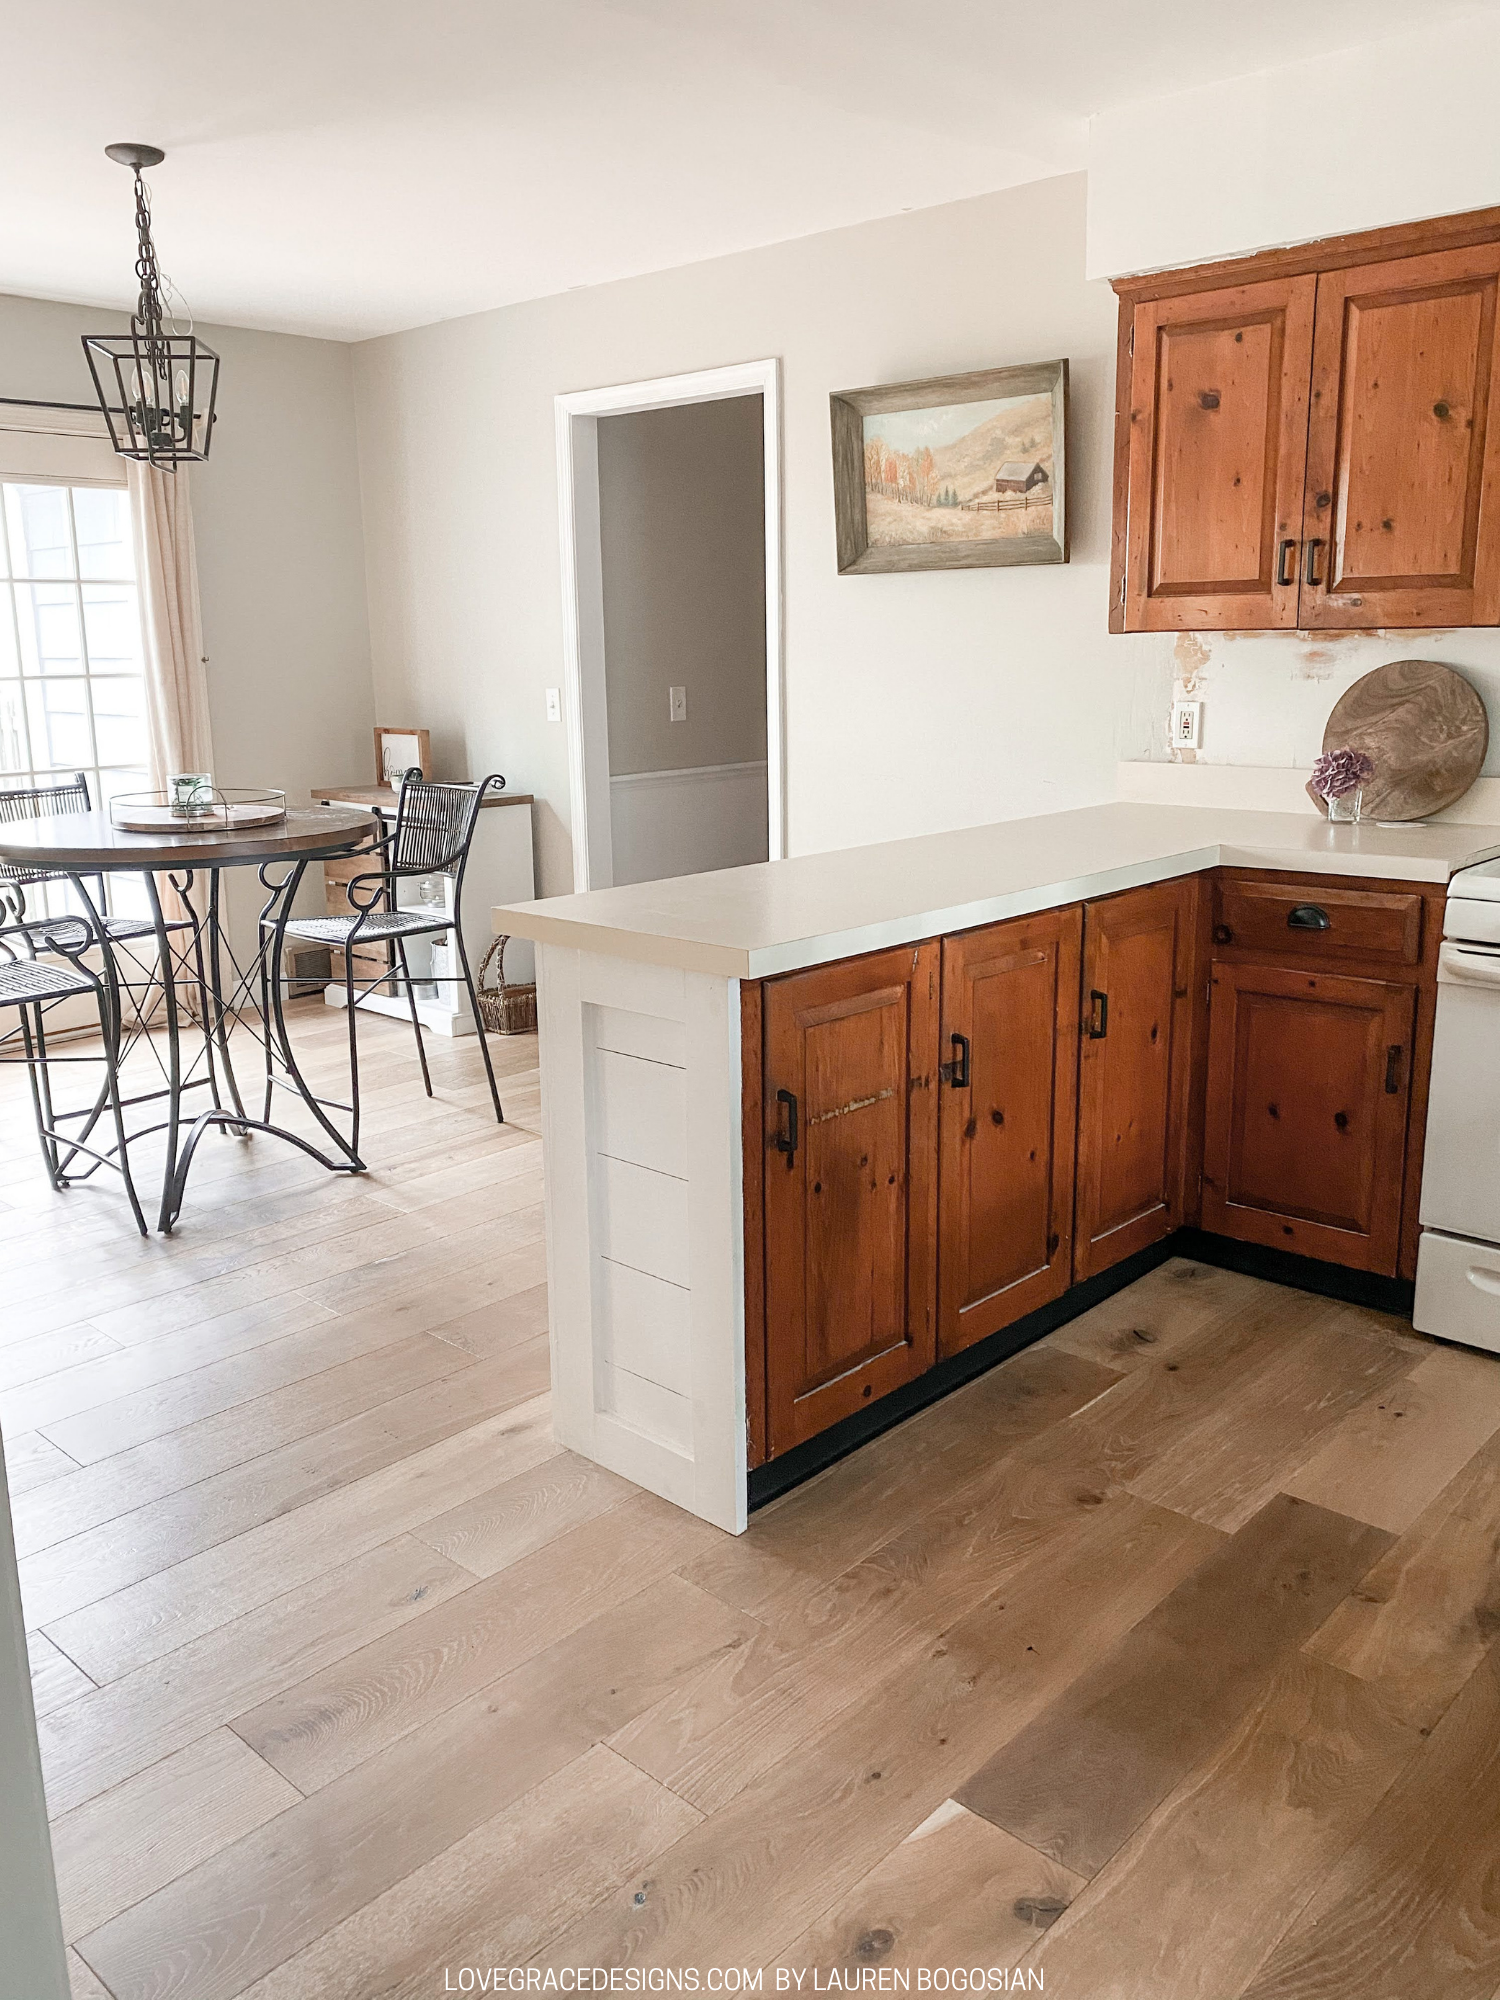
The back of this kitchen peninsula is a thin piece of plywood. There were nail holes and a jack for a phone that was just not aesthetically pleasing to always have visible. I figured instead of just painting it, shiplap could be a good design solution! This kitchen set up is not our forever kitchen. I would love to gut it clean and create more counter space (with new counters, obviously) and get rid of the peninsula to have an island instead. This DIY was a way to again, get it looking aesthetically pleasing and more of the style of the updated house without spending a lot at all.
Wood Materials
I am used to shopping in the plywood section of Home Depot for all of my calligraphy signs so I had the idea to use plywood or something similar for my faux shiplap. I decided to use an underlayment floor plywood. This particular one is a bit thinner and much smoother than common board plywood. I measured everything FIRST to know what size the pieces should be, both length and width. The length of our peninsula is 78 1/4in so in order for me to get one full piece length wise, I had to get a sheet of plywood longer than 6.5ft. We also had the side of the peninsula which is 16in so I had to factor that into what I was buying for my cuts. I decided that I wanted the shiplap to be wide…after measuring the peninsula (which is 35 7/16in tall), I found that cutting the plywood into 7in strips would be best. Home Depot was nice enough to do these cuts for me so remember to always ask when you are there!! I also picked up 1x4’s for the framing of the peninsula.

Nailing The Shiplap
Every island or peninsula is different so be sure to know how yours is built. Again, the back of ours was just a thin piece of plywood. On the inside of the cabinets of the peninsula, there are small, thicker pieces of wood that go up about 1/3 of the way. Those pieces are where we nailed the shiplap to, in addition to the bottom piece of the original cabinet framing and the sides. We marked where those small, thicker pieces of wood were located so we knew where we will be nailing some of the pieces.
Before we put this strips of plywood up, we added wood glue onto each strip. Starting with the first piece, we decided to lay this directly along the bottom to be even with the floor. This piece will be partly covered up by the framing but it will make it all cohesive with the depth of the pieces on the peninsula. During this process, we used nickels as spacers because we didn’t have real spacers…it works just as well and we just used 2! After the first piece was nailed in using a nail gun, we moved on to the second piece. Adding glue, sticking it to the peninsula, spacing it with the nickels, and then nailing it in. The second piece is where we needed to follow those markings to know where to nail. If we missed a mark, that would mean the nail would go straight through the plywood and into the cabinet where our pots and pans are…which means we couldn’t miss our marks.
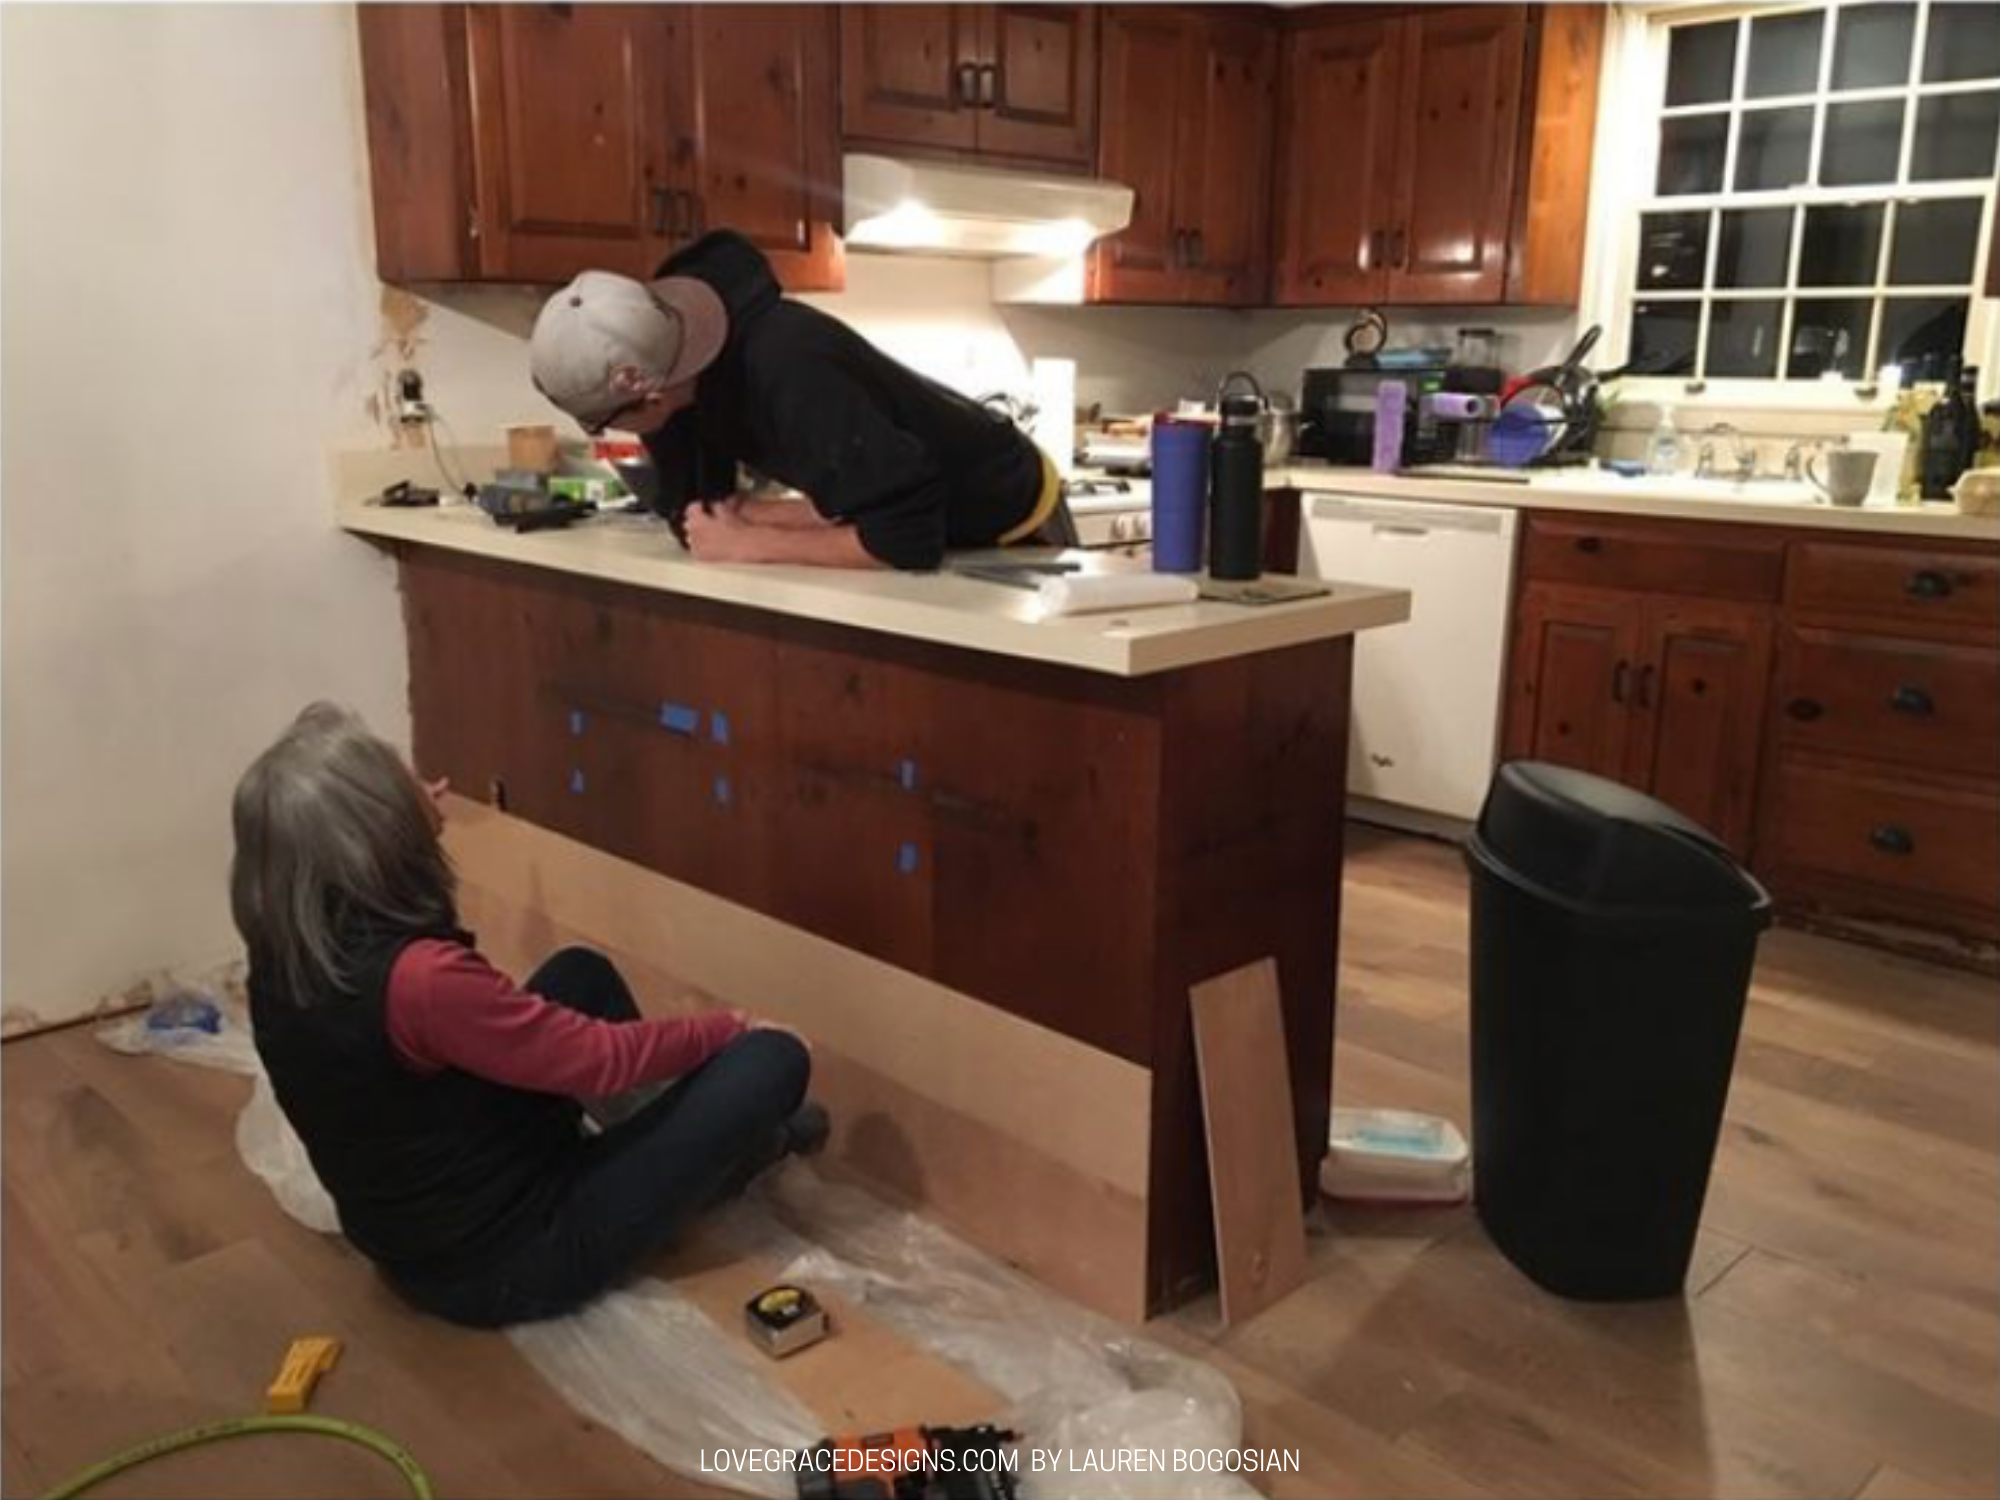
We continued this all the way up. Where those small, thicker pieces of wood stopped, we just made sure to get the wood glue stuck to the peninsula and nail on the sides. We were able to get almost every piece nailed to those small, thicker pieces of wood even if it was just one nail on the bottom of the strip.
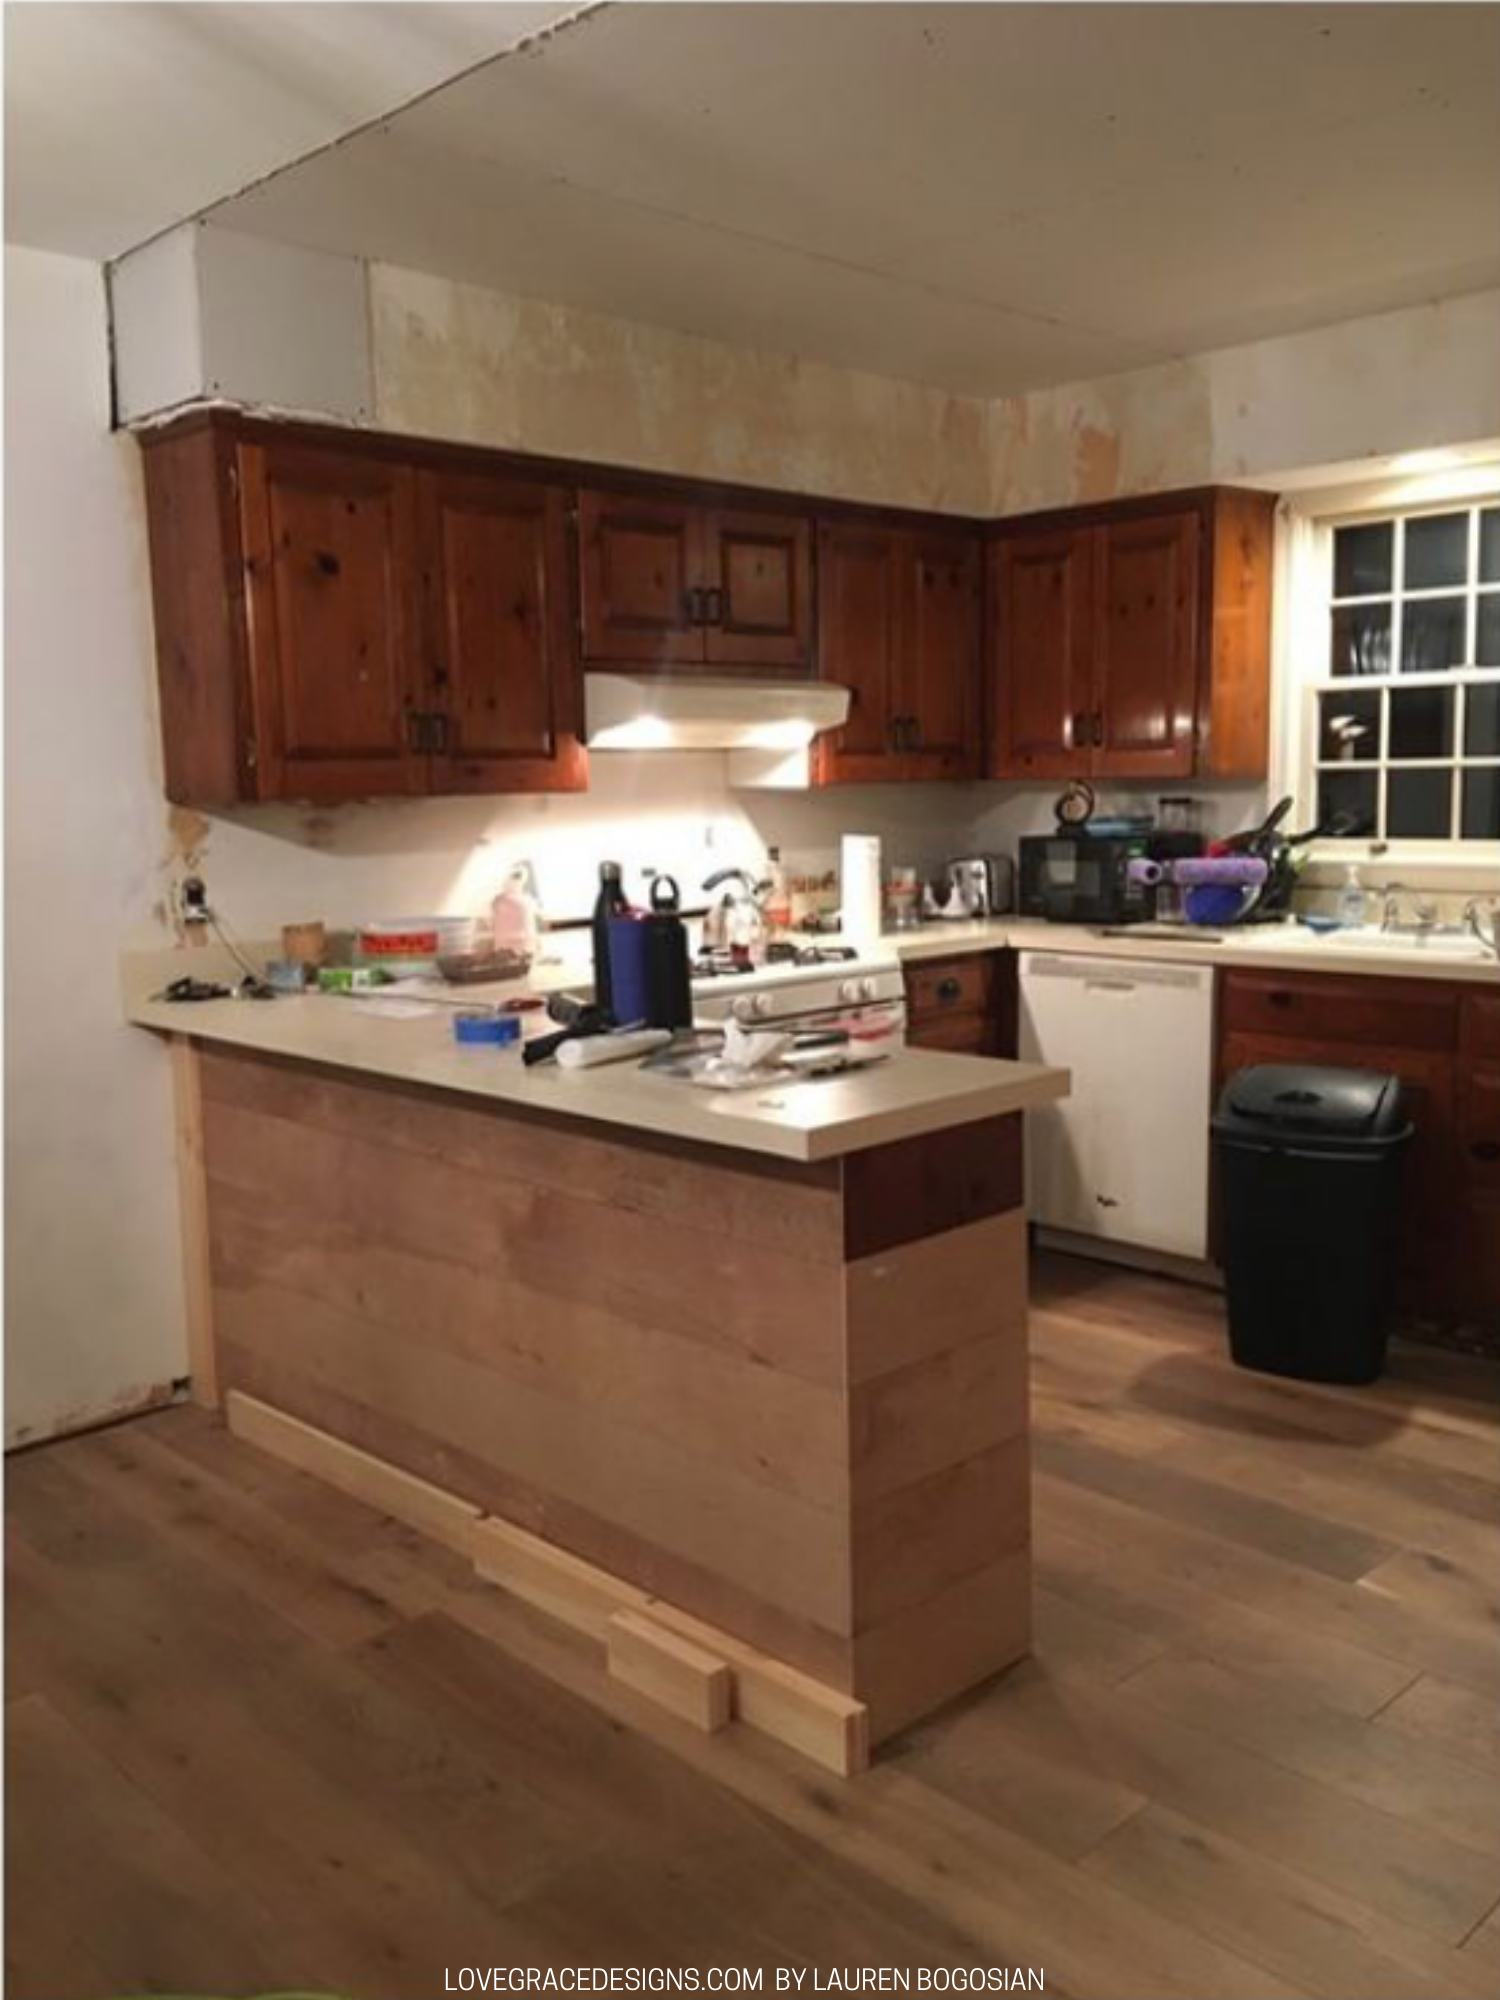
Once we got to the top, we had to strip that piece of wood so fit. The counter comes down and is in the way so instead of creating a notch, we just stripped it. The reason why? The 1x4 for the top framing piece would again cover it and you would never be able to see. We did the same on the side as we did on the main back section. We try to use pieces that lined up perfectly with each other. Keep in mind: even though they were all stripped to ‘7in’ wide they were not perfectly exact to each other.
Shiplap Framing
Once all of the faux shiplap pieces were nailed to the peninsula, we moved onto the framing. We decided to have the side pieces go the full height from right under the counter to the floor and then have the top and bottom pieces sitting inside the frame. This set up is all preference so you can definitely do the opposite. We cut the side pieces first then wood glued and nailed them in place. We then cut the top and bottom pieces to the exact measurement of each section. Keep in mind: not every section will be the same length so be sure to measure and note each section and which pieces go where. We made sure these pieces fit snug and then wood glues and nailed them.
Once this was all set up, we caulked every seam of the frame (NOT the spacing in between the strips of shiplap). This steps makes it all look seamless (hence caulking in the seams) and fully finished once it’s painted.

Paint
After it was caulked and dried, we painted it the same color as the trim throughout our house- Benjamin Moore Chantilly Lace. I used a small roller for the shiplap and then went in with a brush for the framing and any sections on the faux shiplap that the roller may have missed.
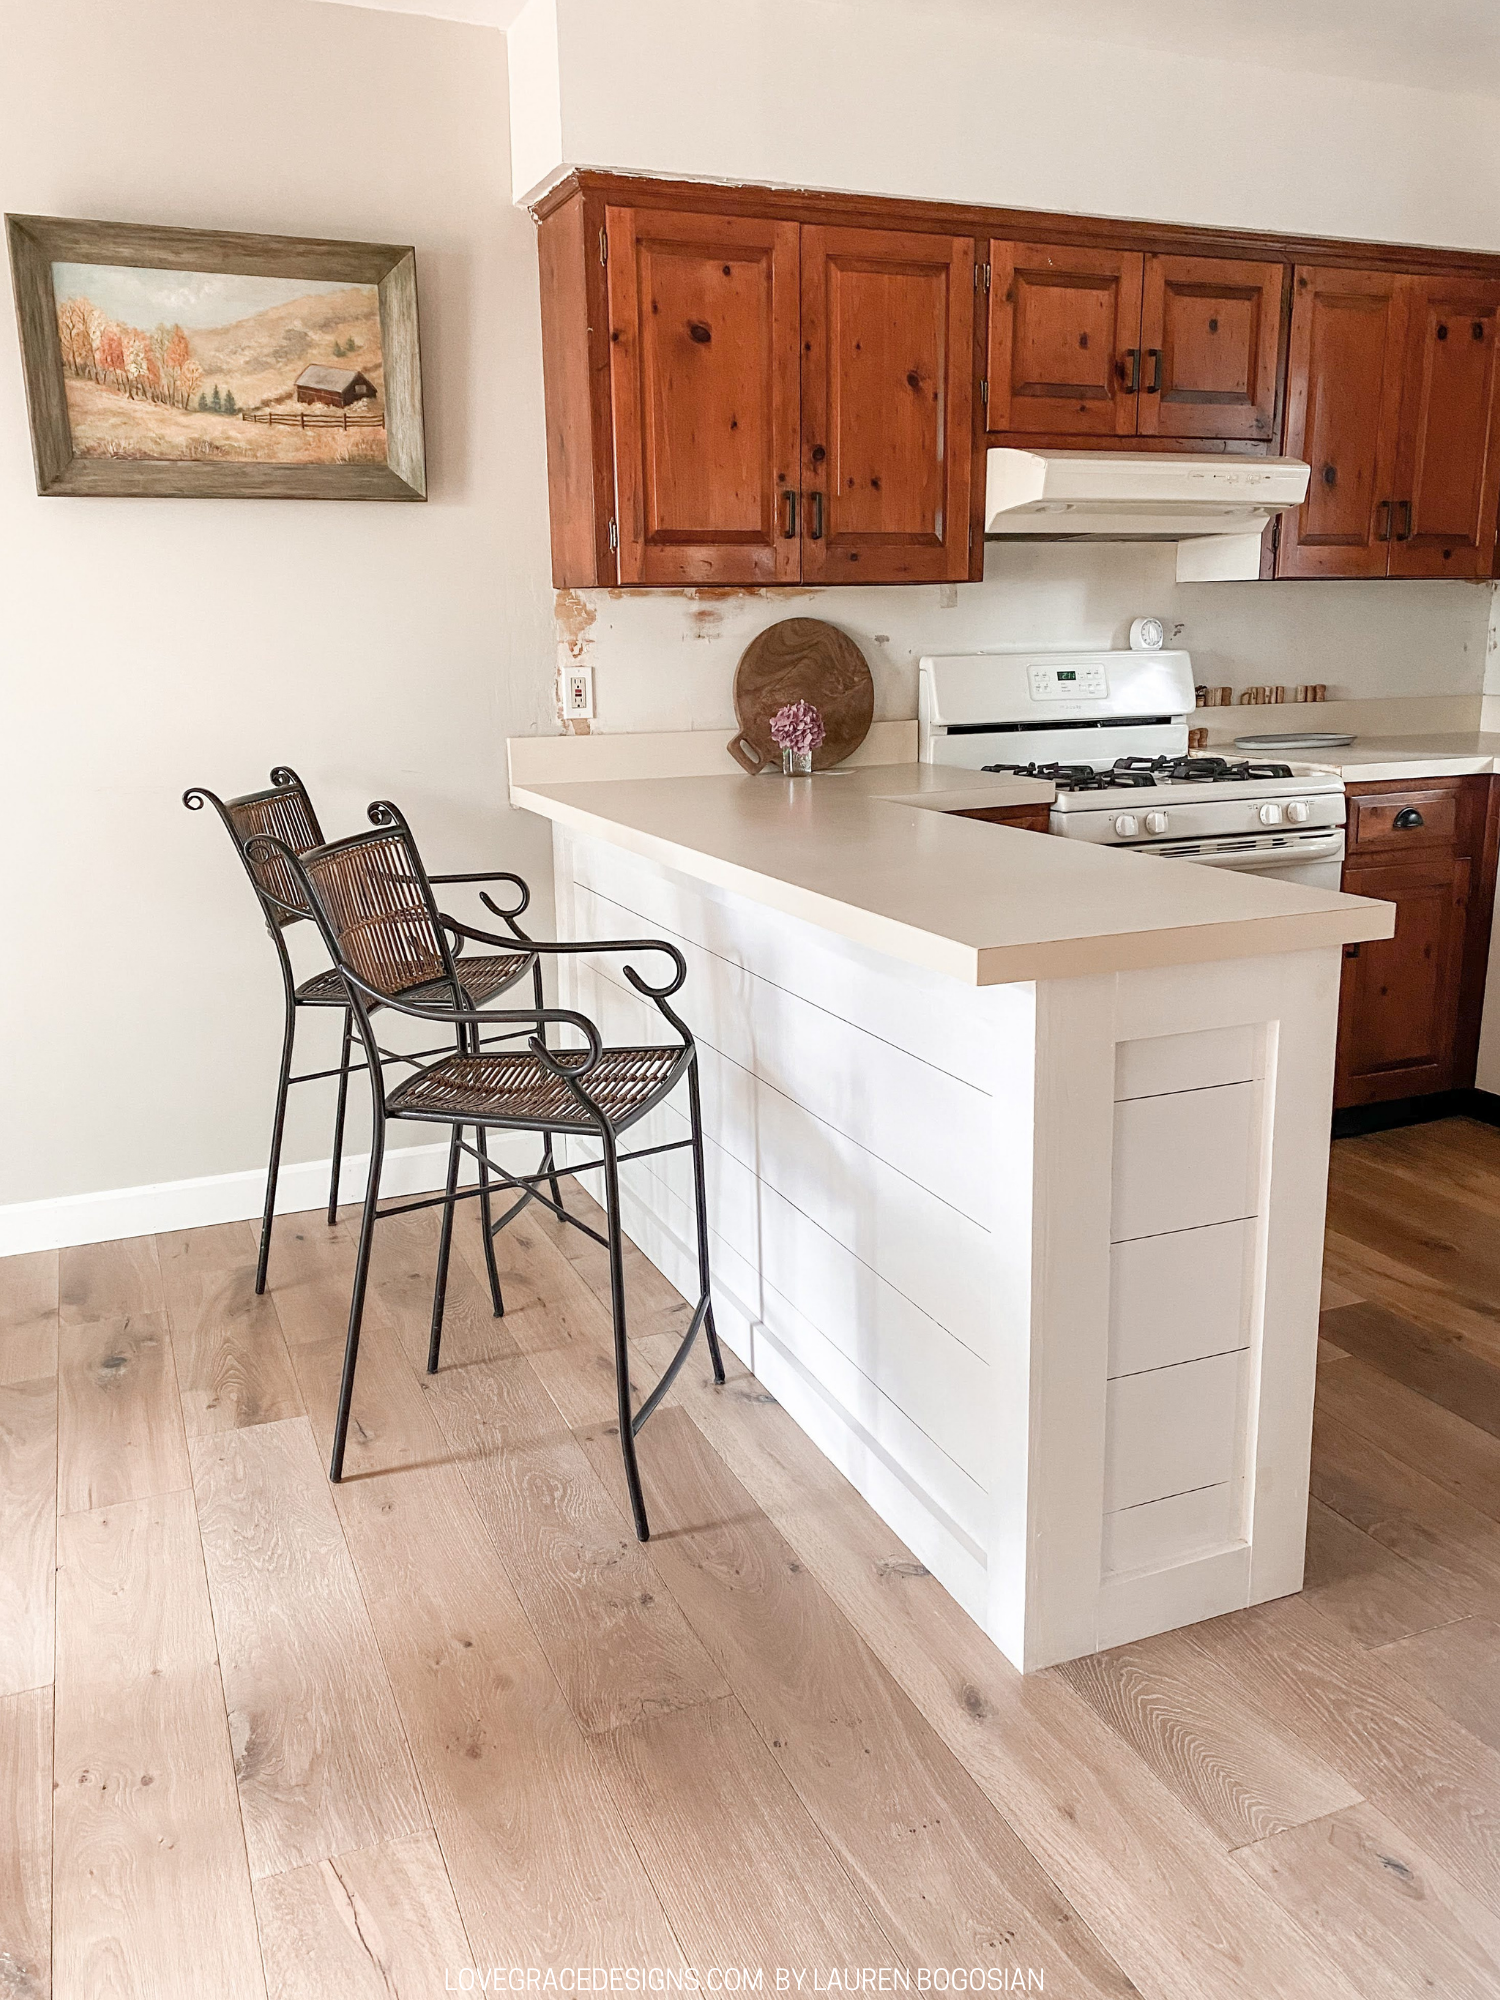
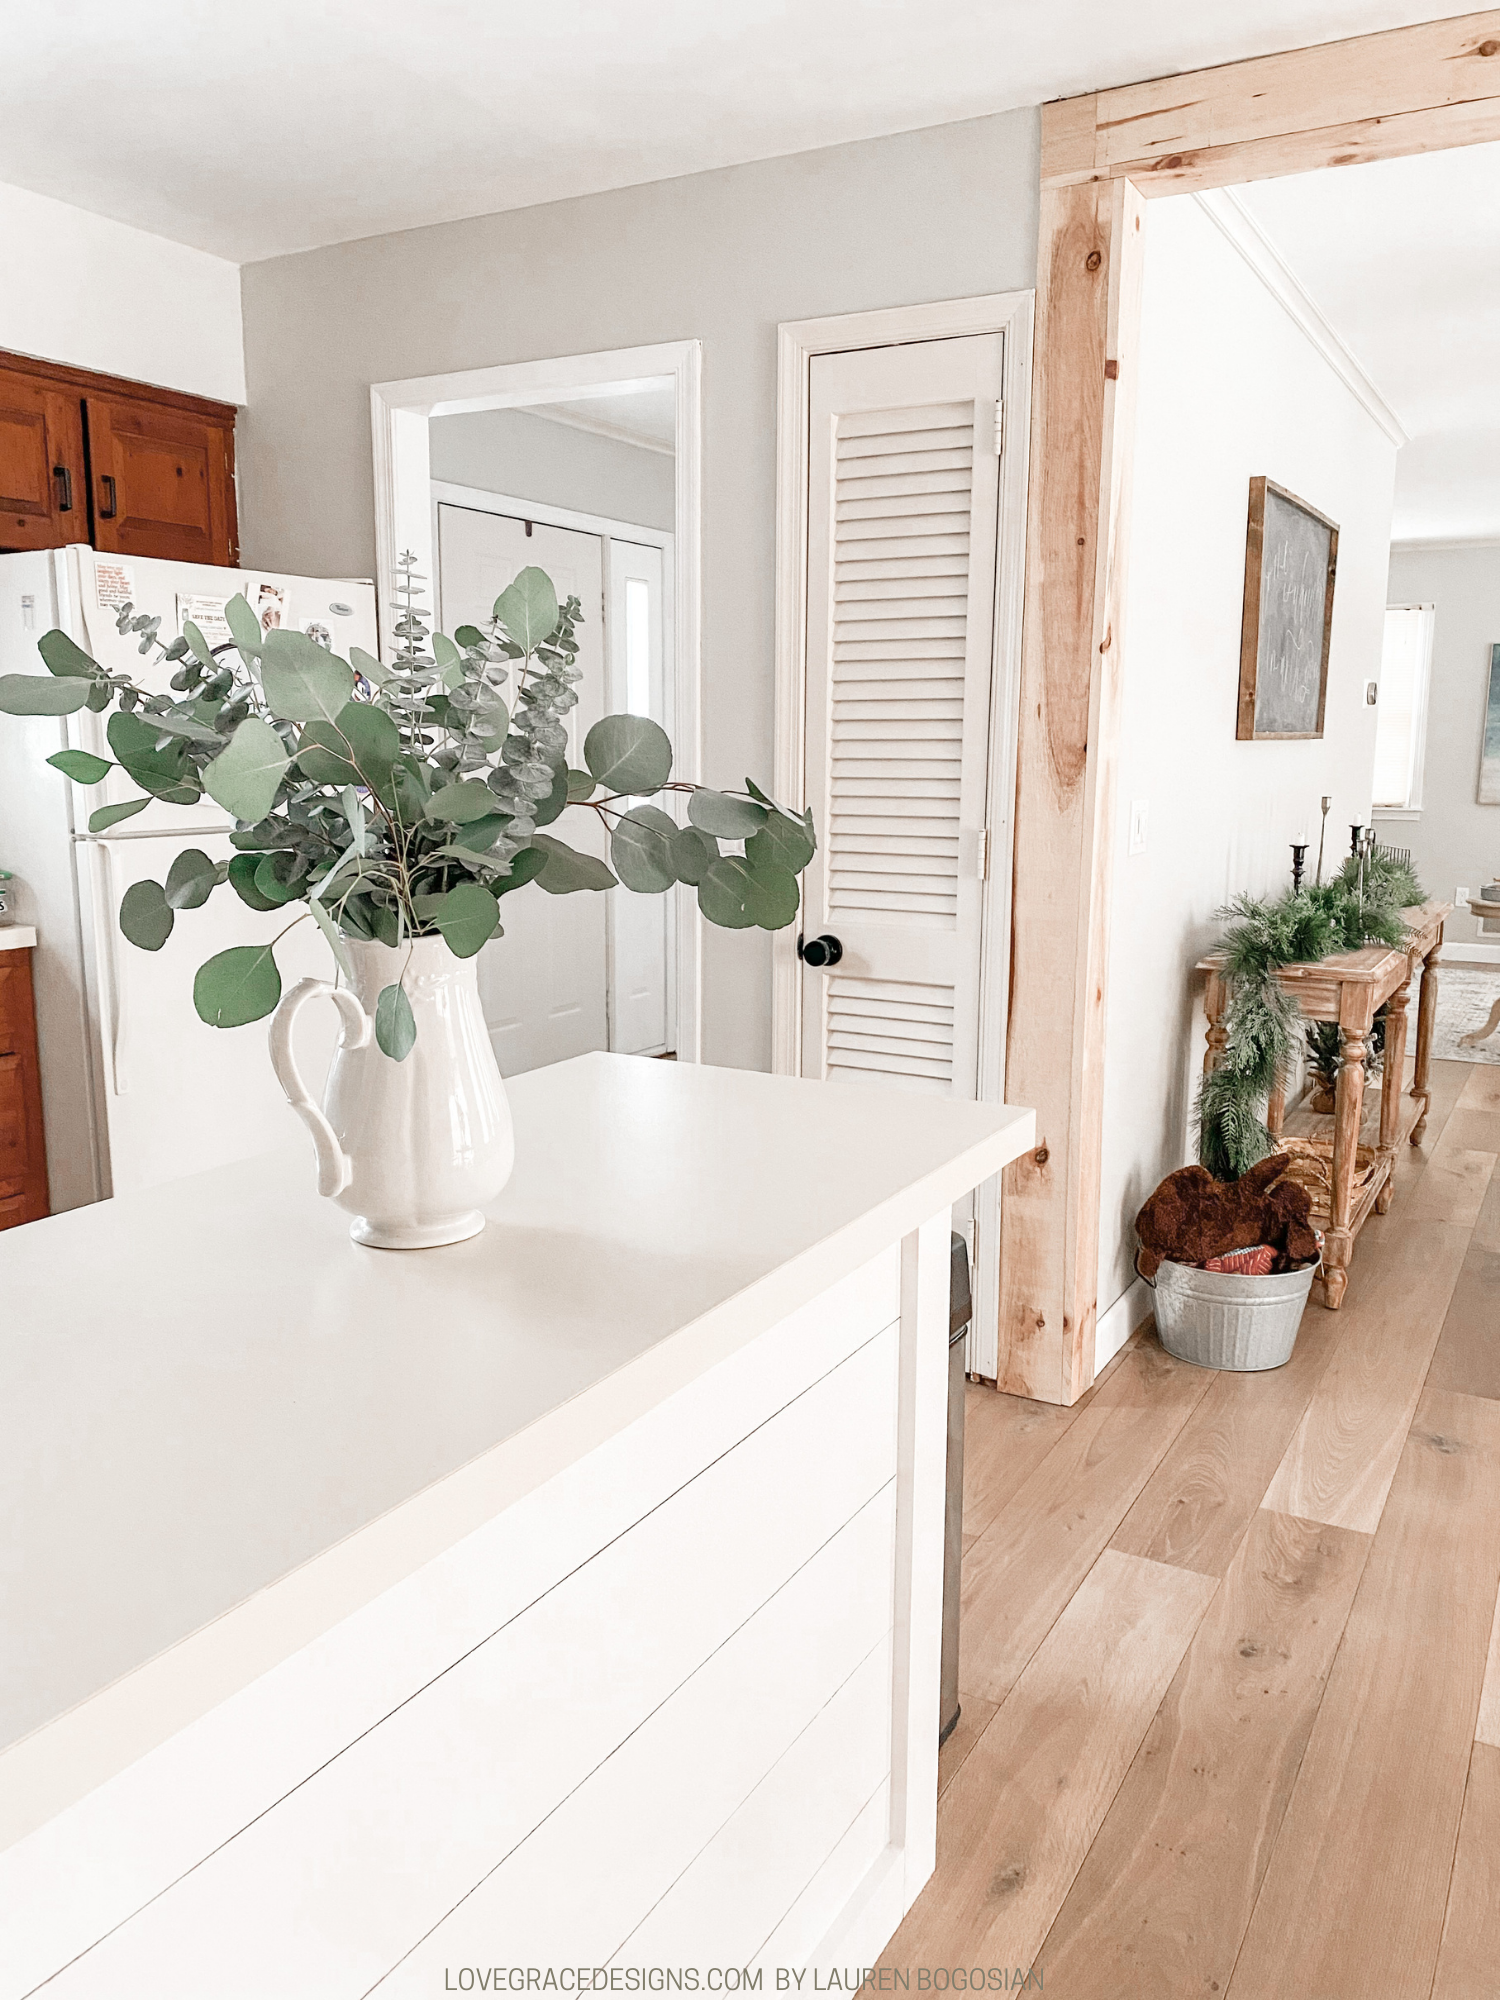
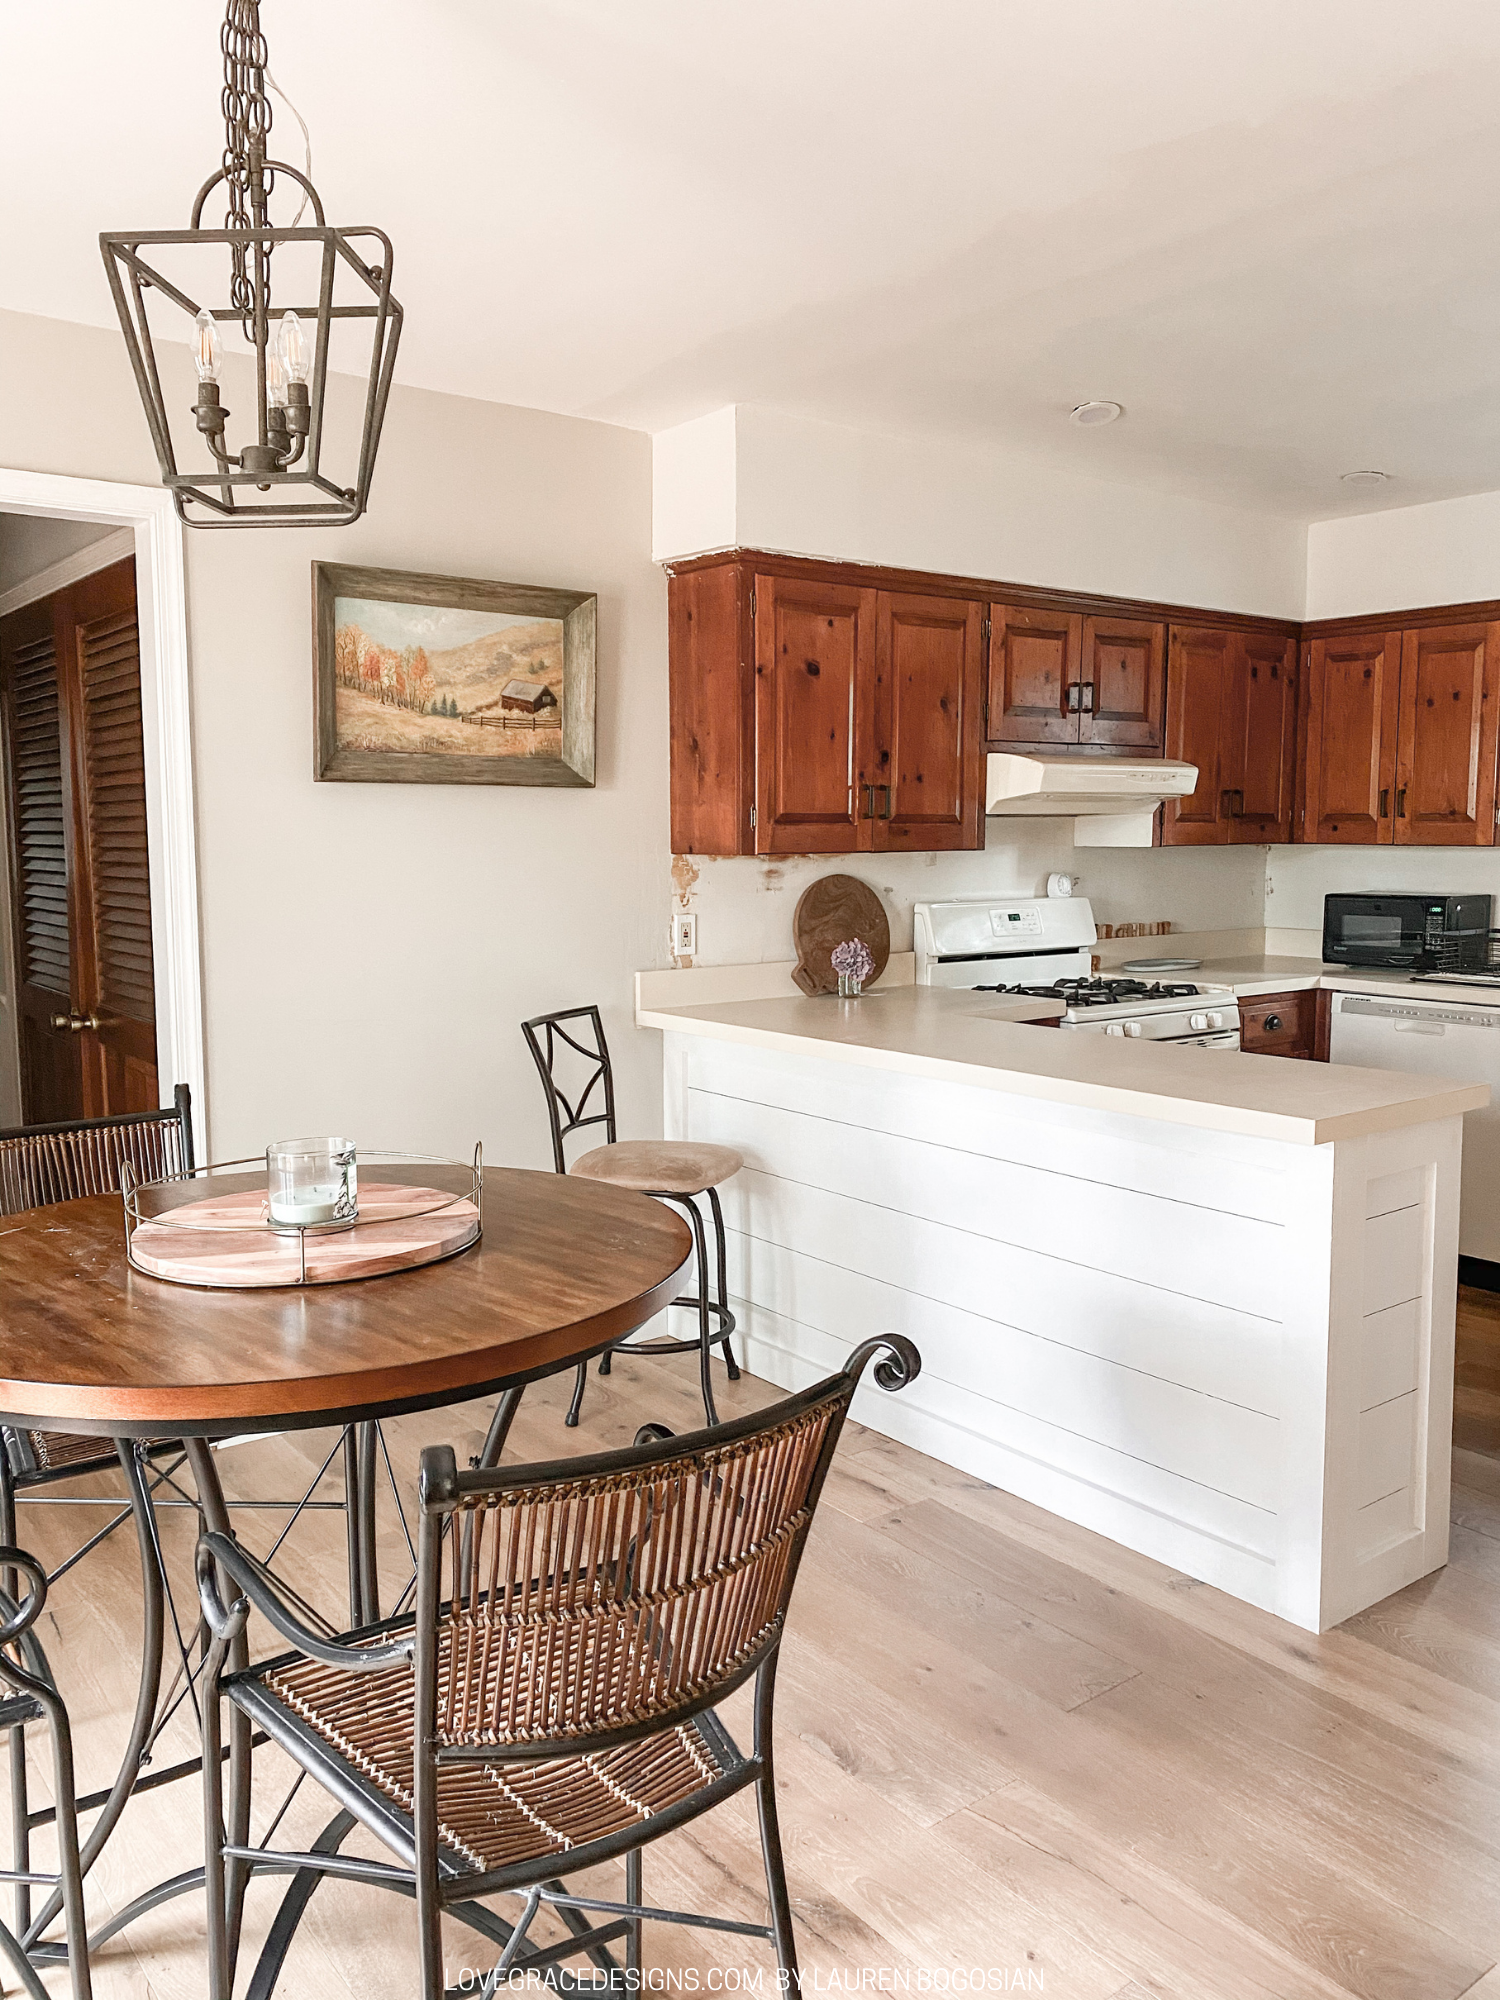
This DIY faux shiplap really transformed the space, helping brighten it up while making it feel more cozy! The best part is that it was extremely cost efficient.
From a design aspect, the addition of the shiplap and painting it white allows the wood cabinets to look like they belong and not be so dated. It’s definitely a less stressful and less time consuming option compared to painting an entire kitchen of cabinets!
So one last quick overview of this easy DIY faux shiplap project!
Materials:
Plywood sheets
1x4’s
Table saw
Chop saw
Nail gun
Wood glue
Nickels or spacers
Caulk
Paint
Steps:
1. Cut plywood into strips of desired width
2. Wood glue and nail using spacers in between each strip
3. Cut frame to your measurements
4. Nail to peninsula/island over shiplap
5. Caulk seams
6. Paint
This DIY faux shiplap can honestly be used on walls anywhere in the house as well! It doesn’t just have to be a DIY for a kitchen island or kitchen peninsula. Do you have something you’ve wanted to shiplap or are you in the same exact situation with your kitchen?! I’d love to see how you use this DIY in your own home. Be sure to save this how-to faux shiplap DIY on Pinterest to refer back to!
