Can you believe that Graham turned ONE?! Because I still can’t! You can read all about his first birthday party details here.
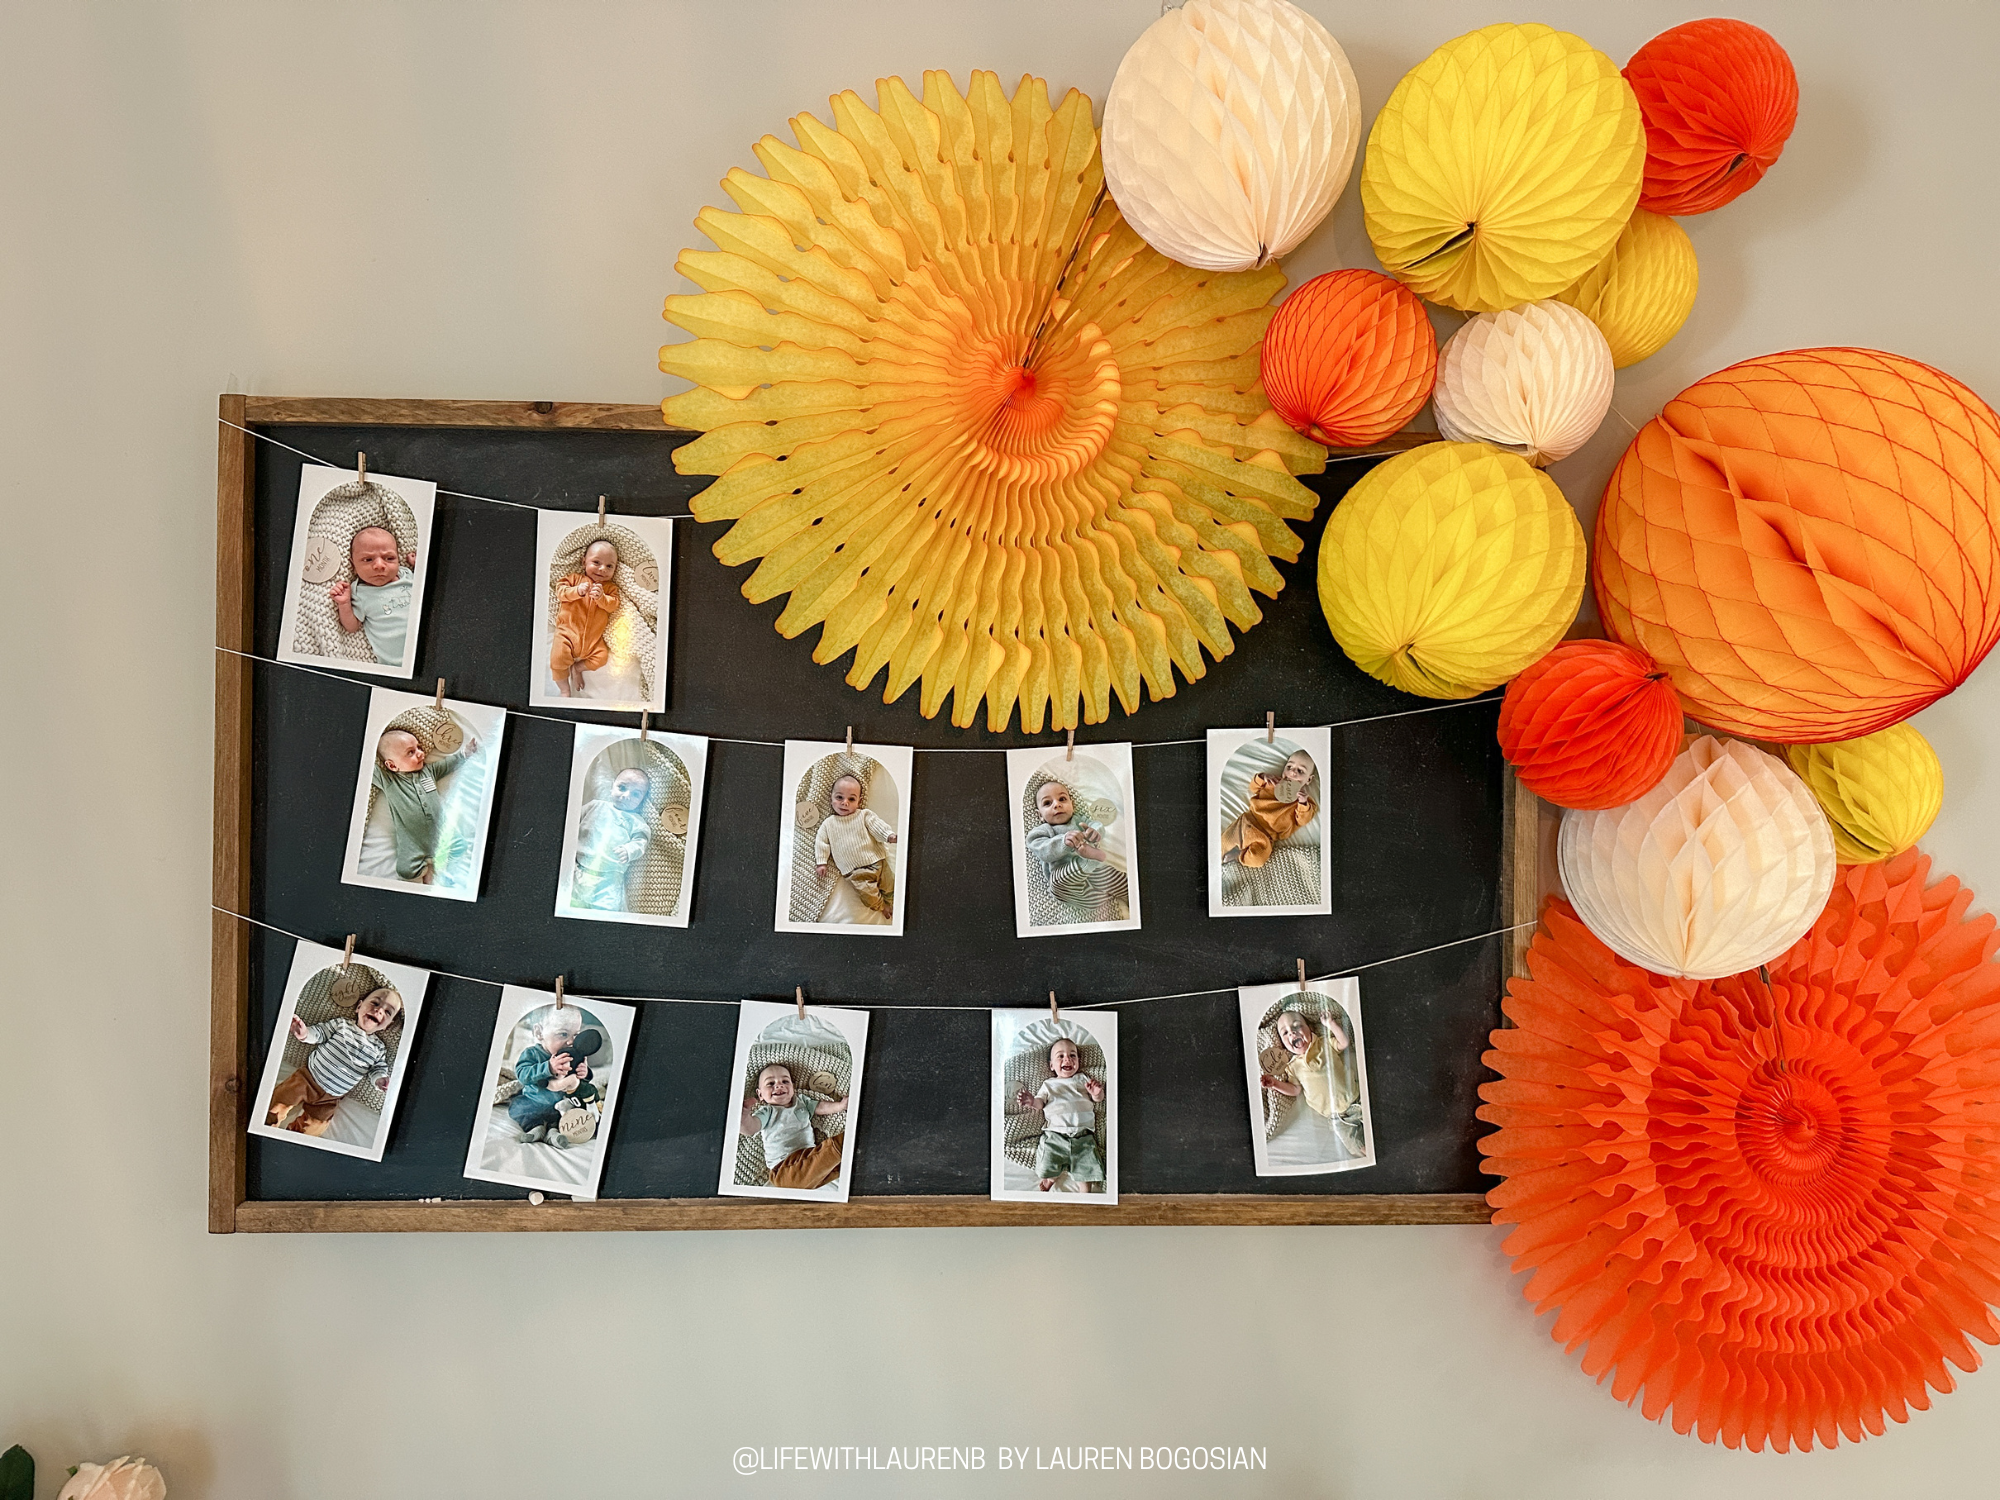
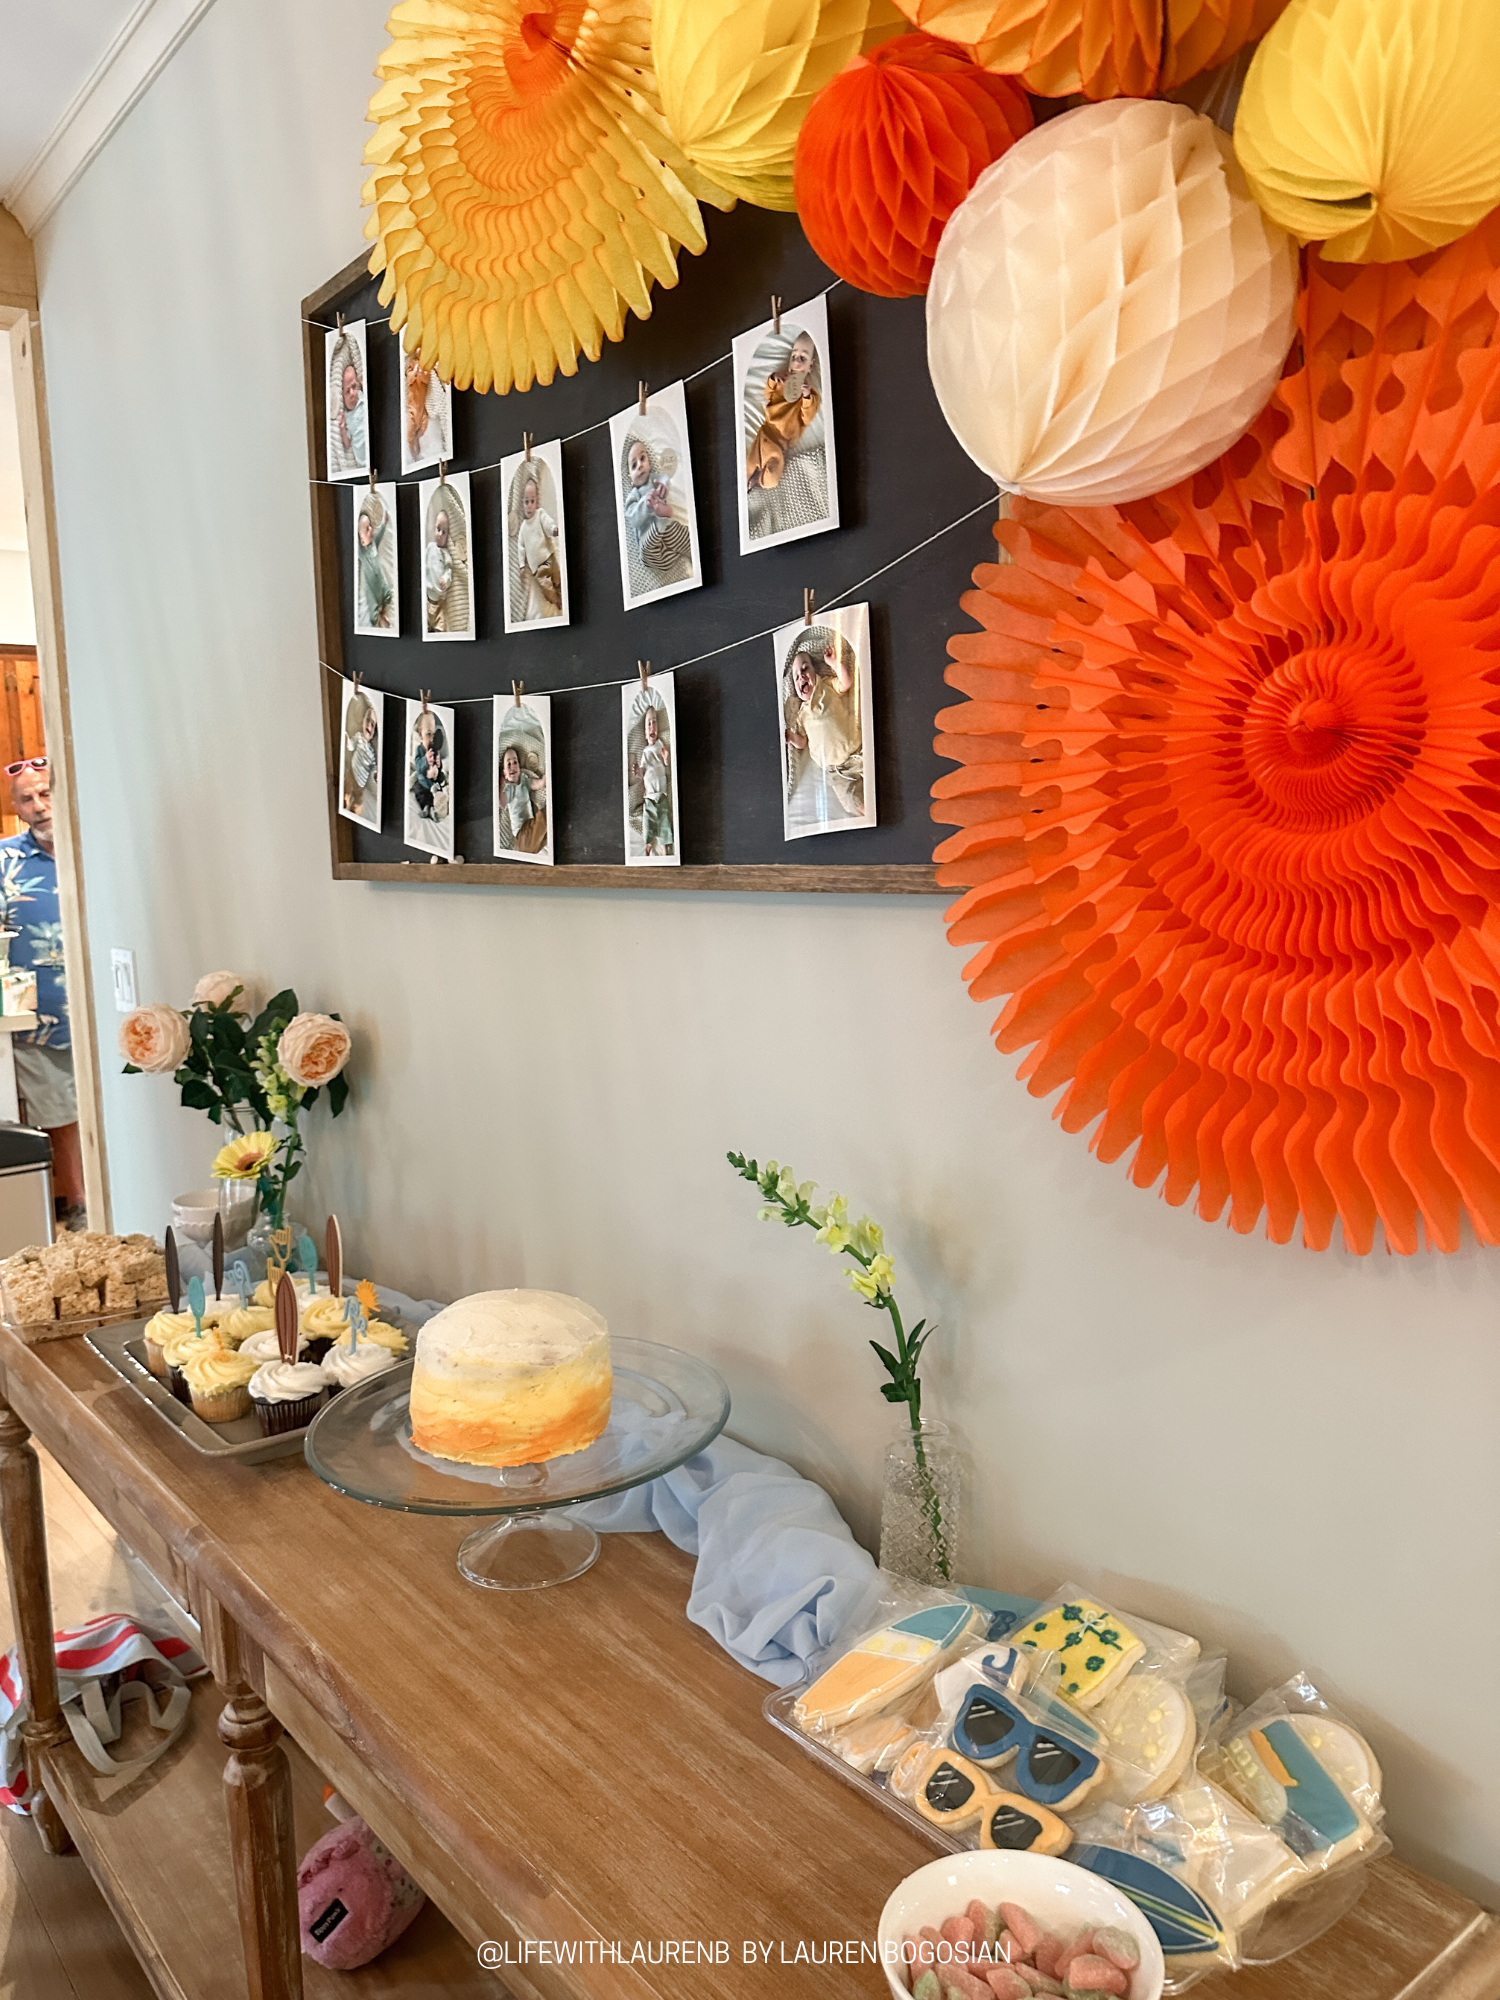
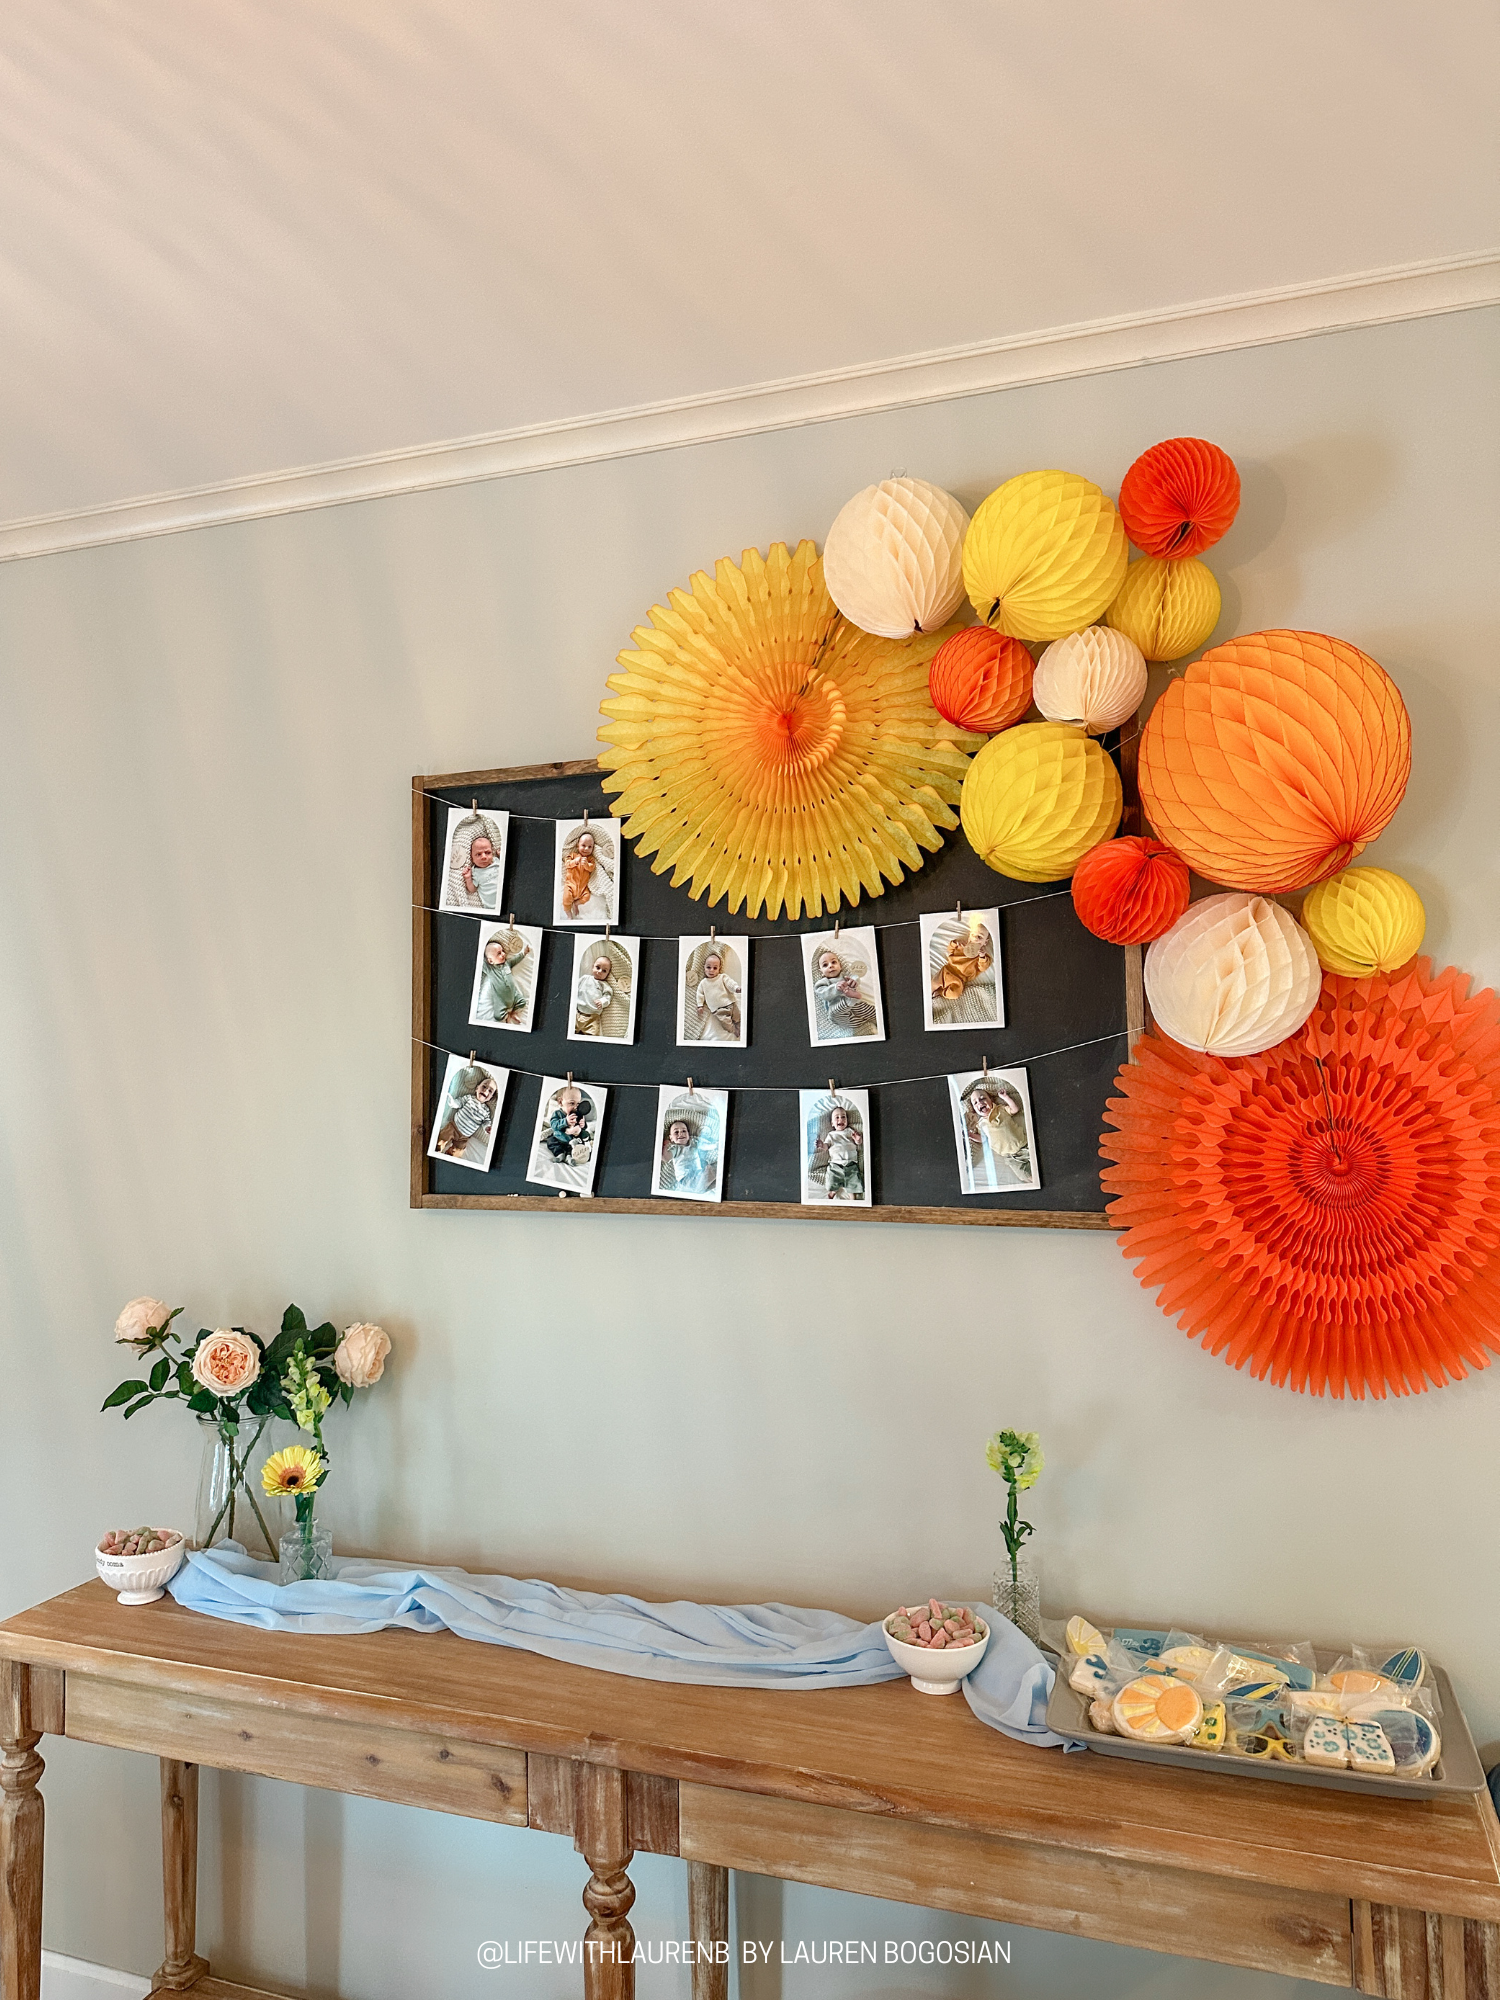
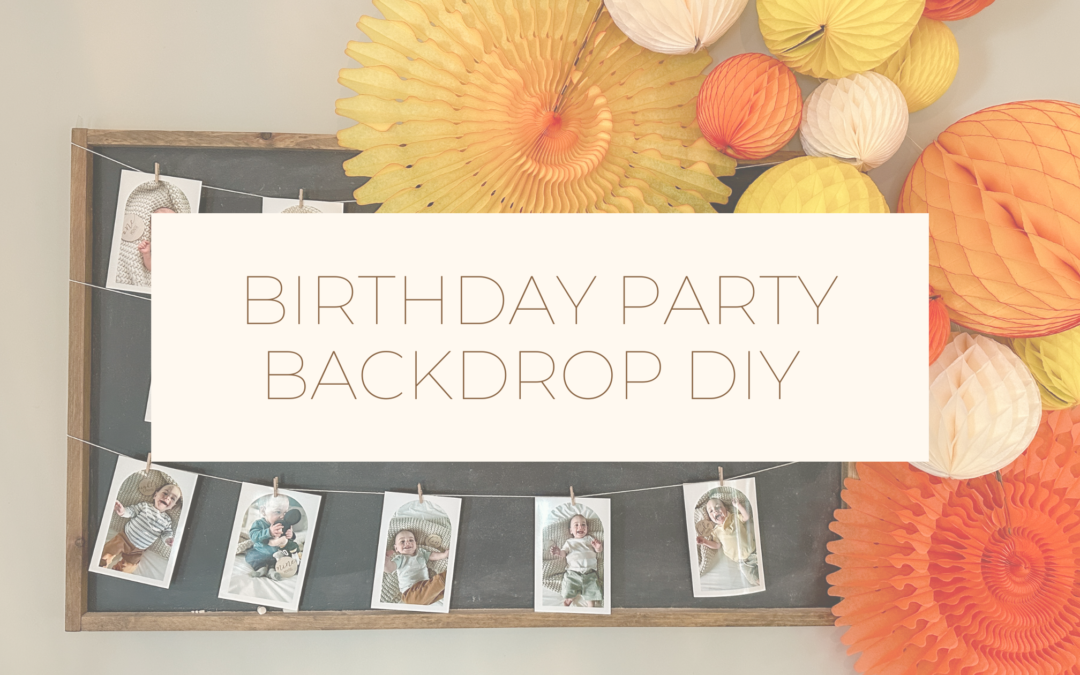
One of the birthday backdrops I made was inside, above a foyer table in our dining room that we set up for desserts. I love how simple it actually was to design and set up!
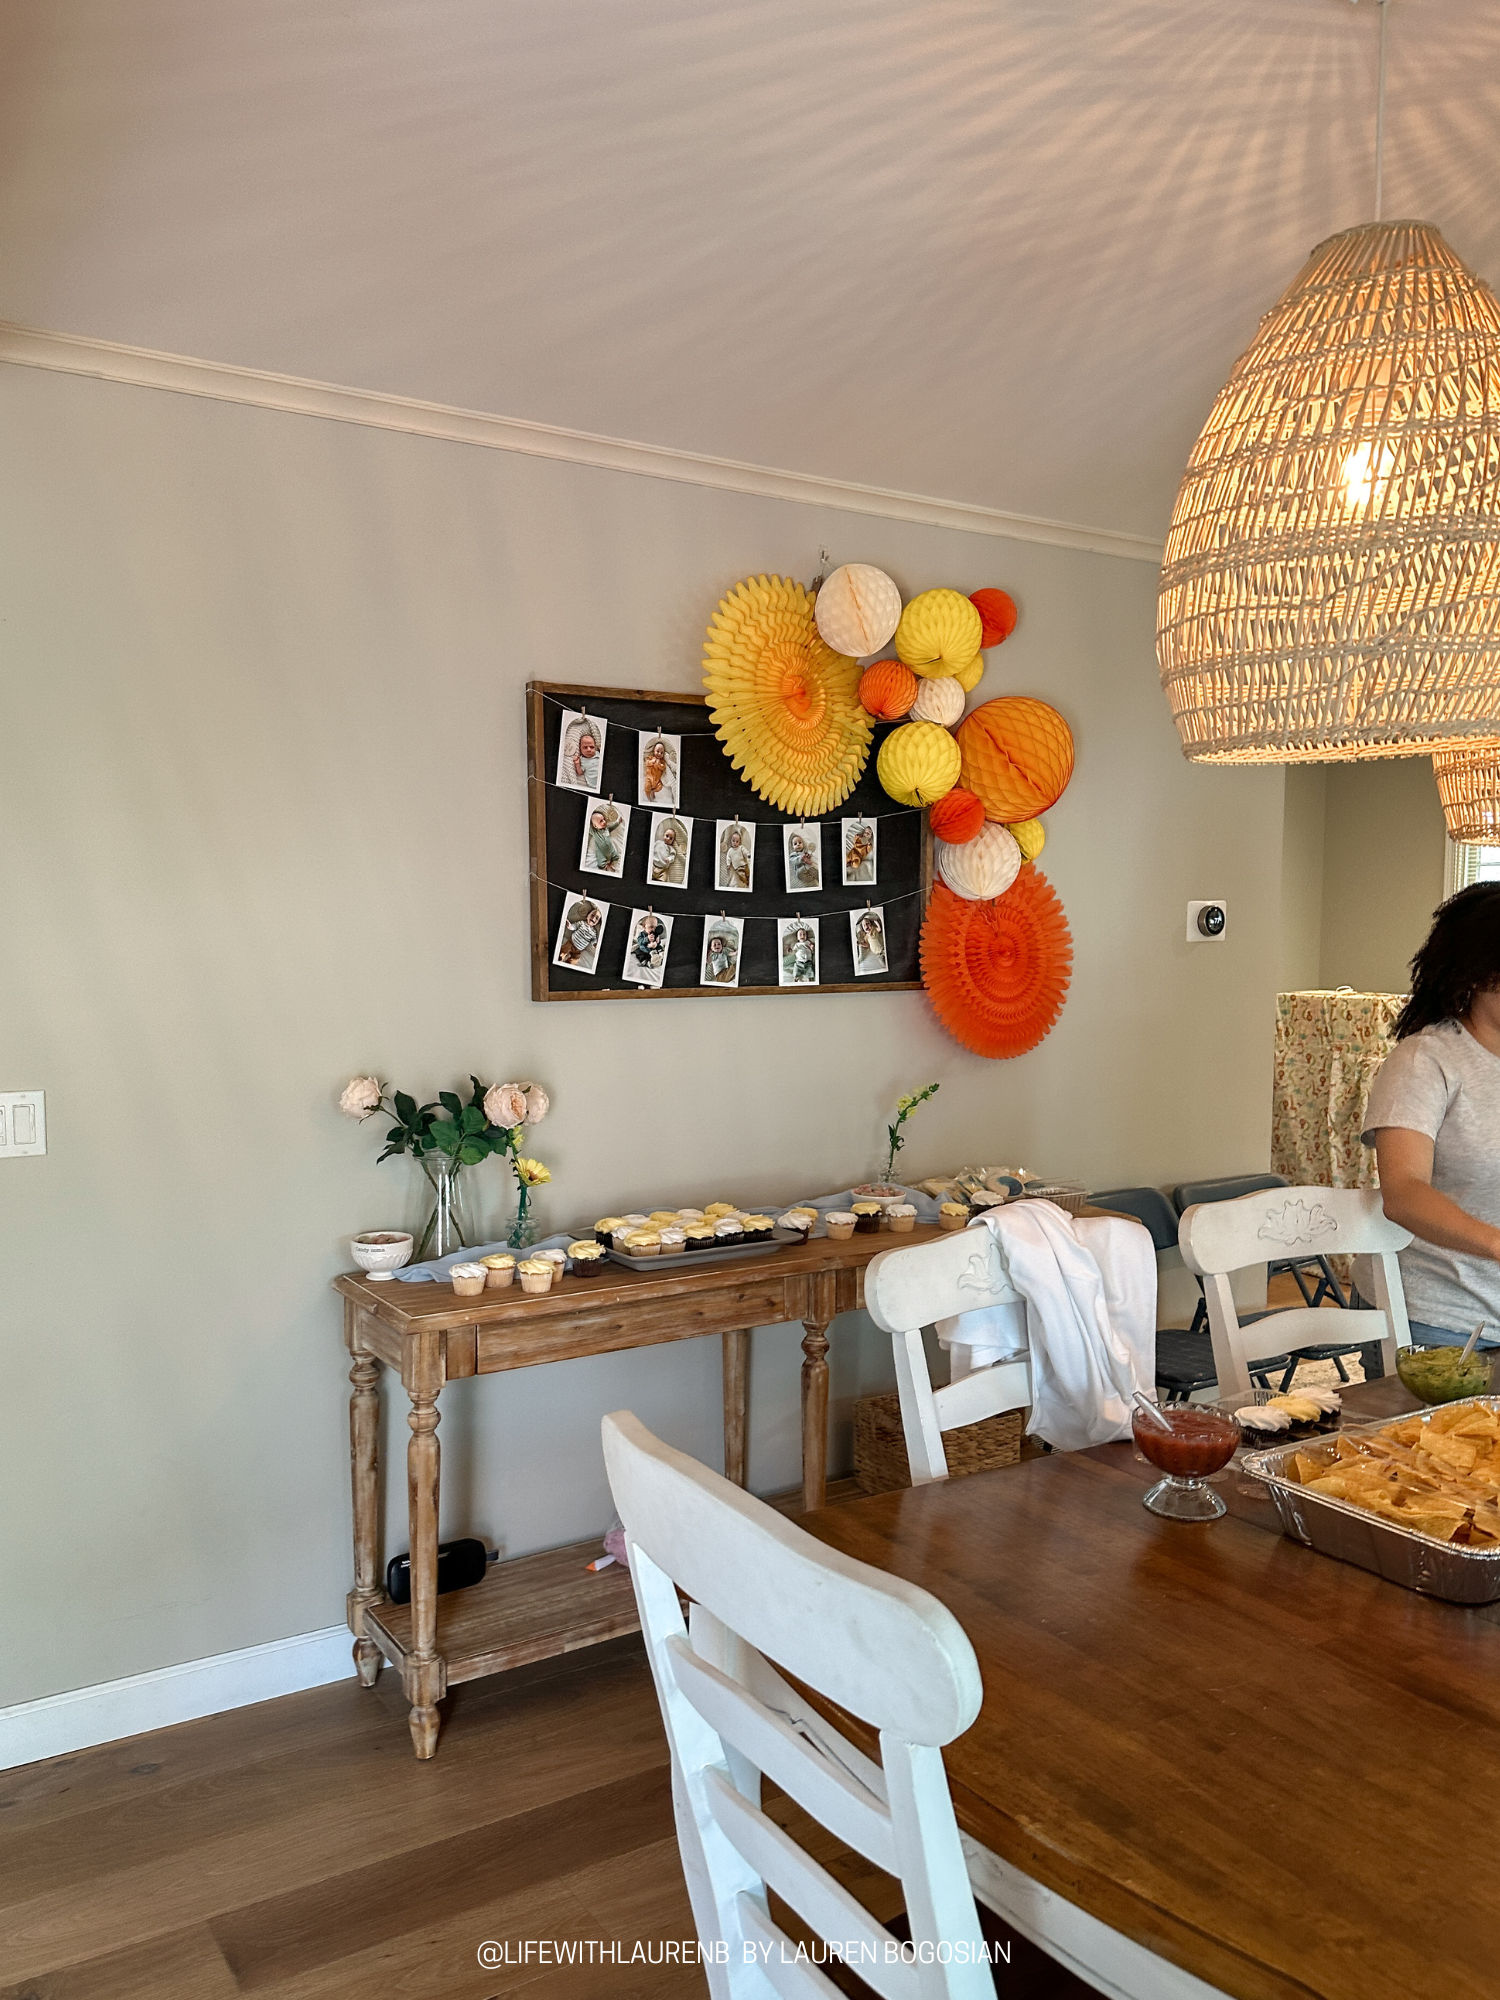
If you read about the first birthday party details, the colors I focused on for the birthday party’s sun and beach theme were yellows, oranges, and blues. I decided to do yellows and oranges with a bit of neutral for this backdrop. I researched some fun birthday party decor and backdrop ideas that didn’t consist of balloons. I knew I wouldn’t want to deal with setting up a balloon arch or design but I still wanted something fun. I came across a few photos that used those honeycomb ball decorations and I fell in love with idea of using that inside.
I bought all of our honeycomb balls and tissue paper fans from Oh Happy Day. They have SO many colors, sizes, and styles to choose from and the options were perfect to mix and match. This is what I ordered to make our backdrop:
1 Tissue Paper Fan 21″ – Orange
1 Honeycomb Mini Ball 2″ – Sunshine Yellow
1 Honeycomb Ball 5″ – Ivory
1 Honeycomb Ball 12″ – Gold
2 Honeycomb Balls 5″ – Orange
2 Honeycomb Balls 5″ – Yellow
1 Honeycomb Balls 5″ – Gold
2 Honeycomb Balls 8″ – Ivory
2 Honeycomb Balls 8″ – Yellow
1 Tissue Paper Fan 21″ – Gold
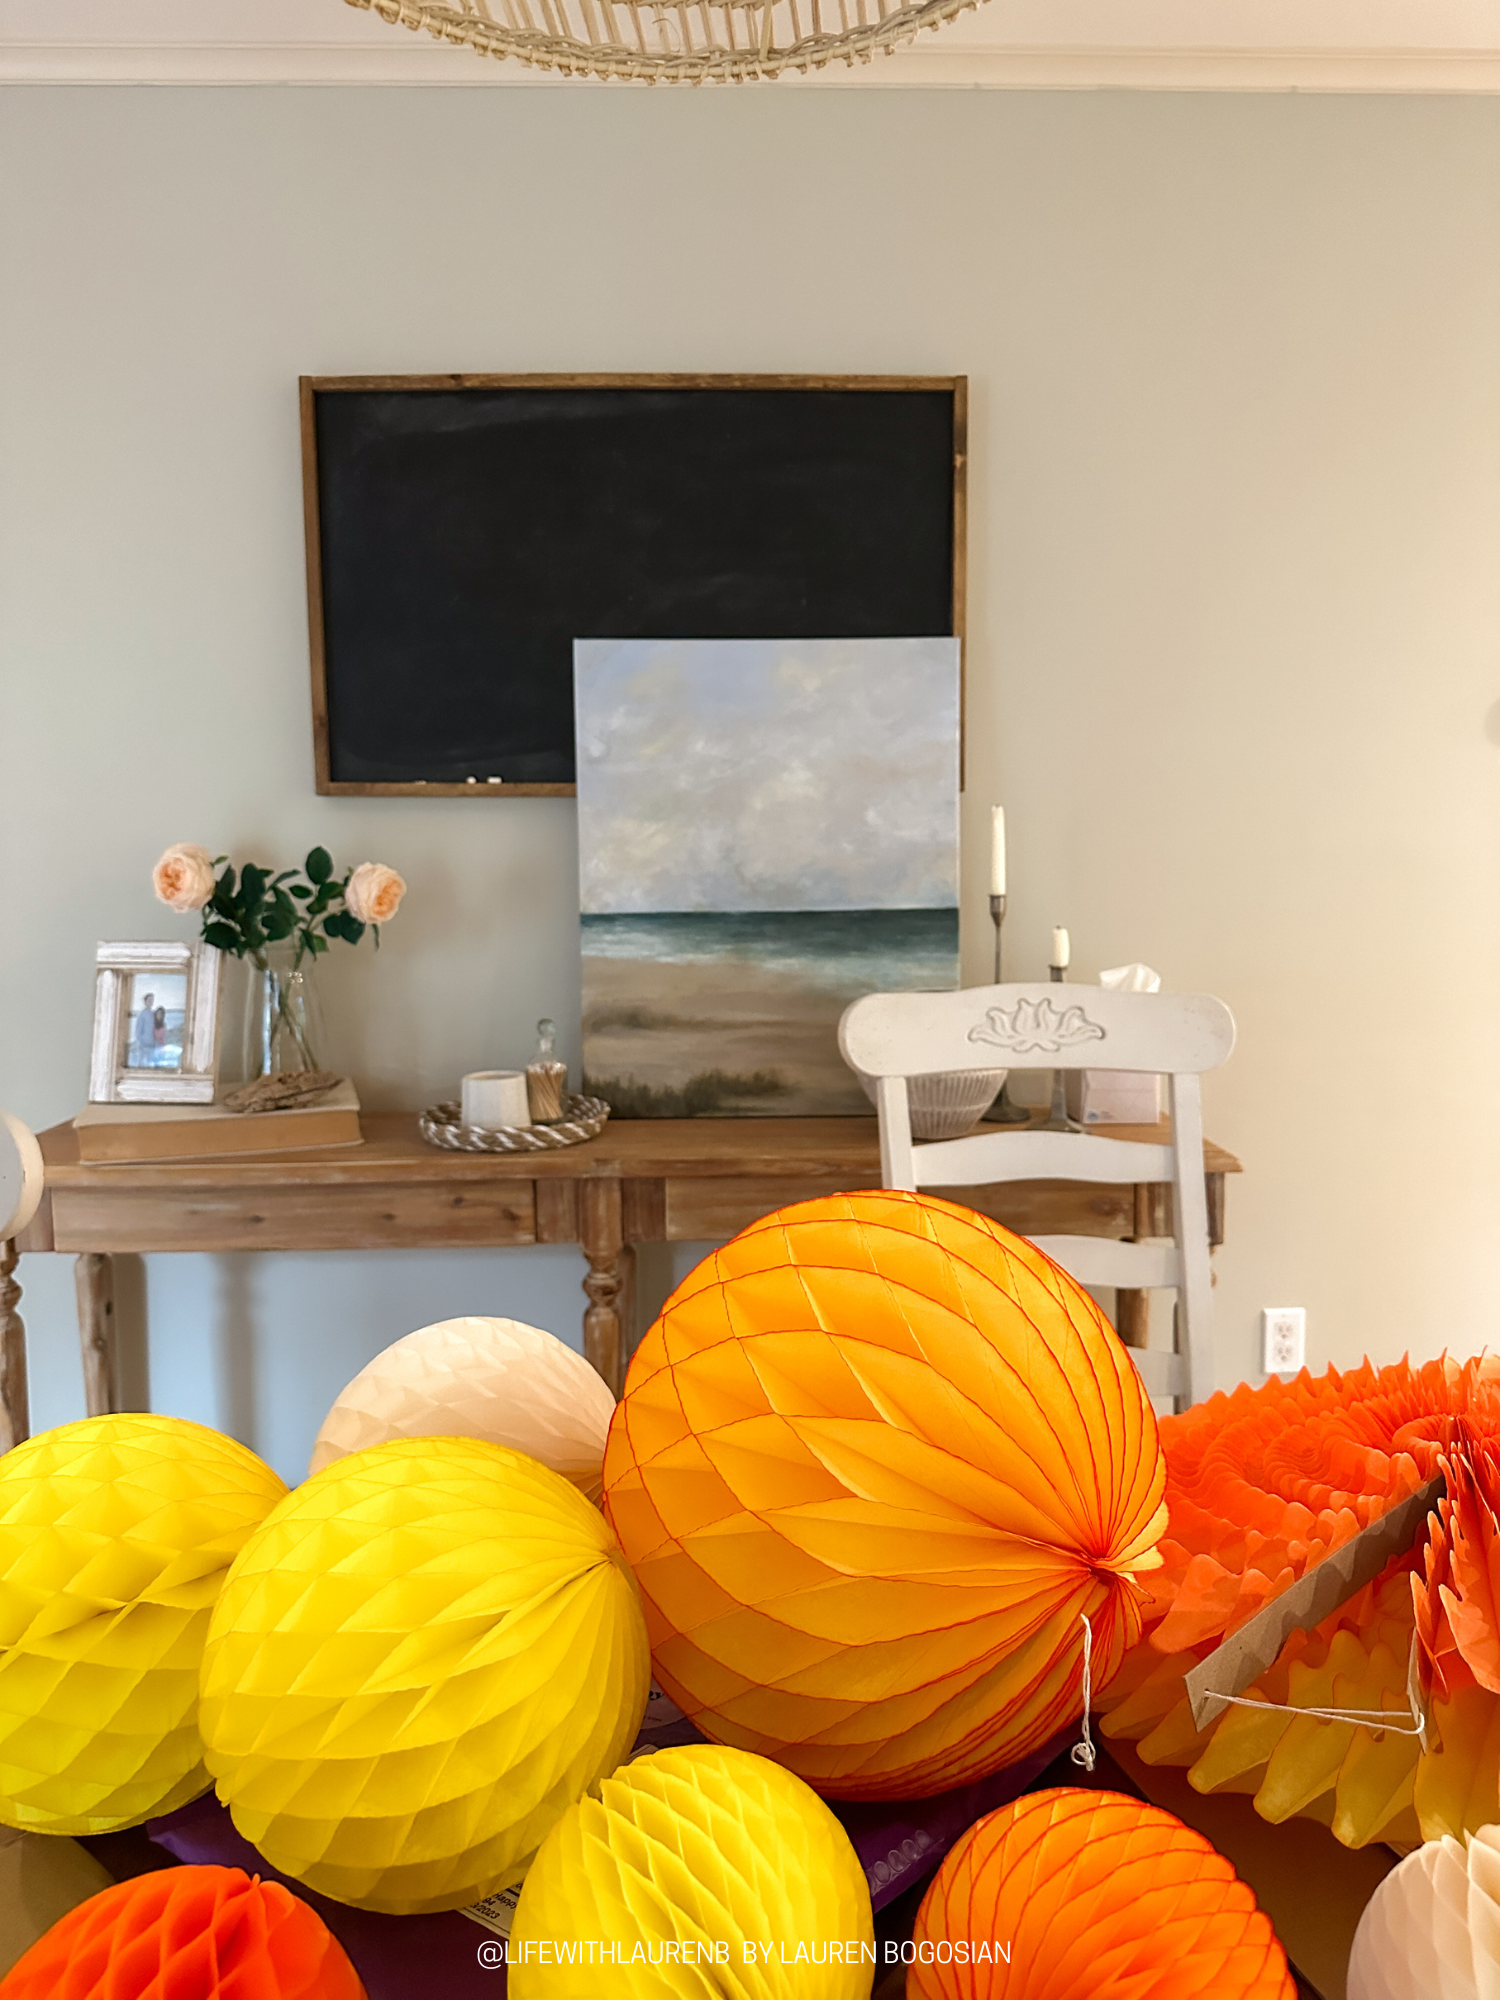
I wasn’t too sure how I wanted to hang them but I bought command strip hooks and decided to see how it would turn out first using them. It wound up working out well so I continued on using them for the whole backdrop! I put a few sideways or angled and a few the regular straight up and down way. I first played around with placement of all the honeycomb balls before applying the command strips to the wall.
I used the big fans as the anchors to design the different size balls around them. I wanted it all to have dimension so I played around with the different sizes and placements of them to see how I could get some to come off the wall in front of each other and have others back a bit.
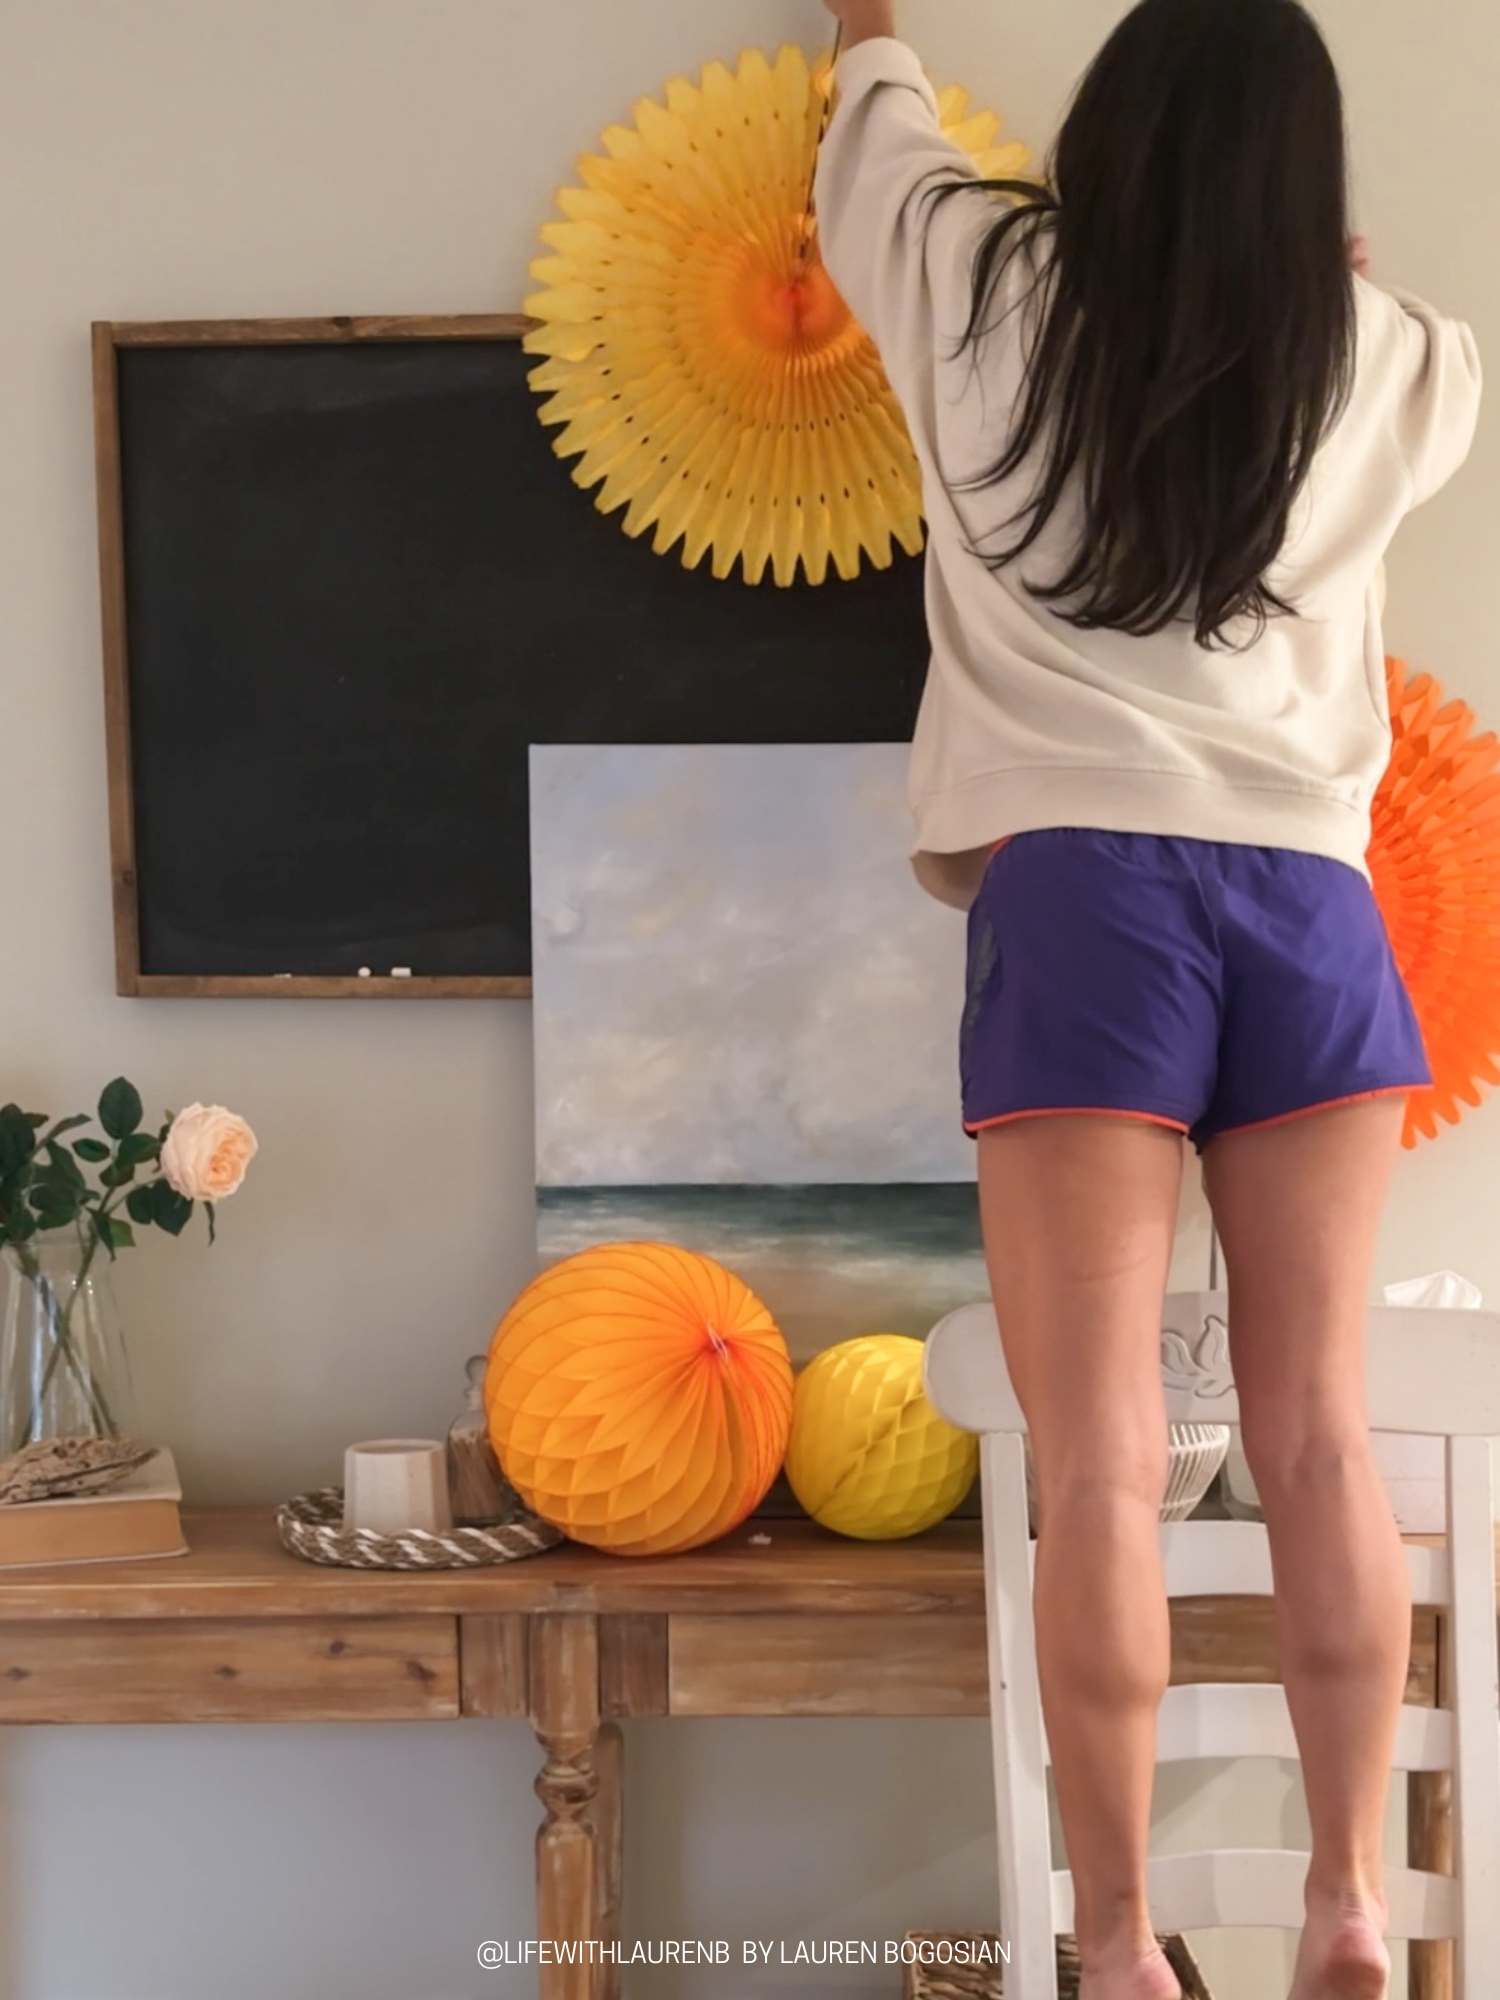
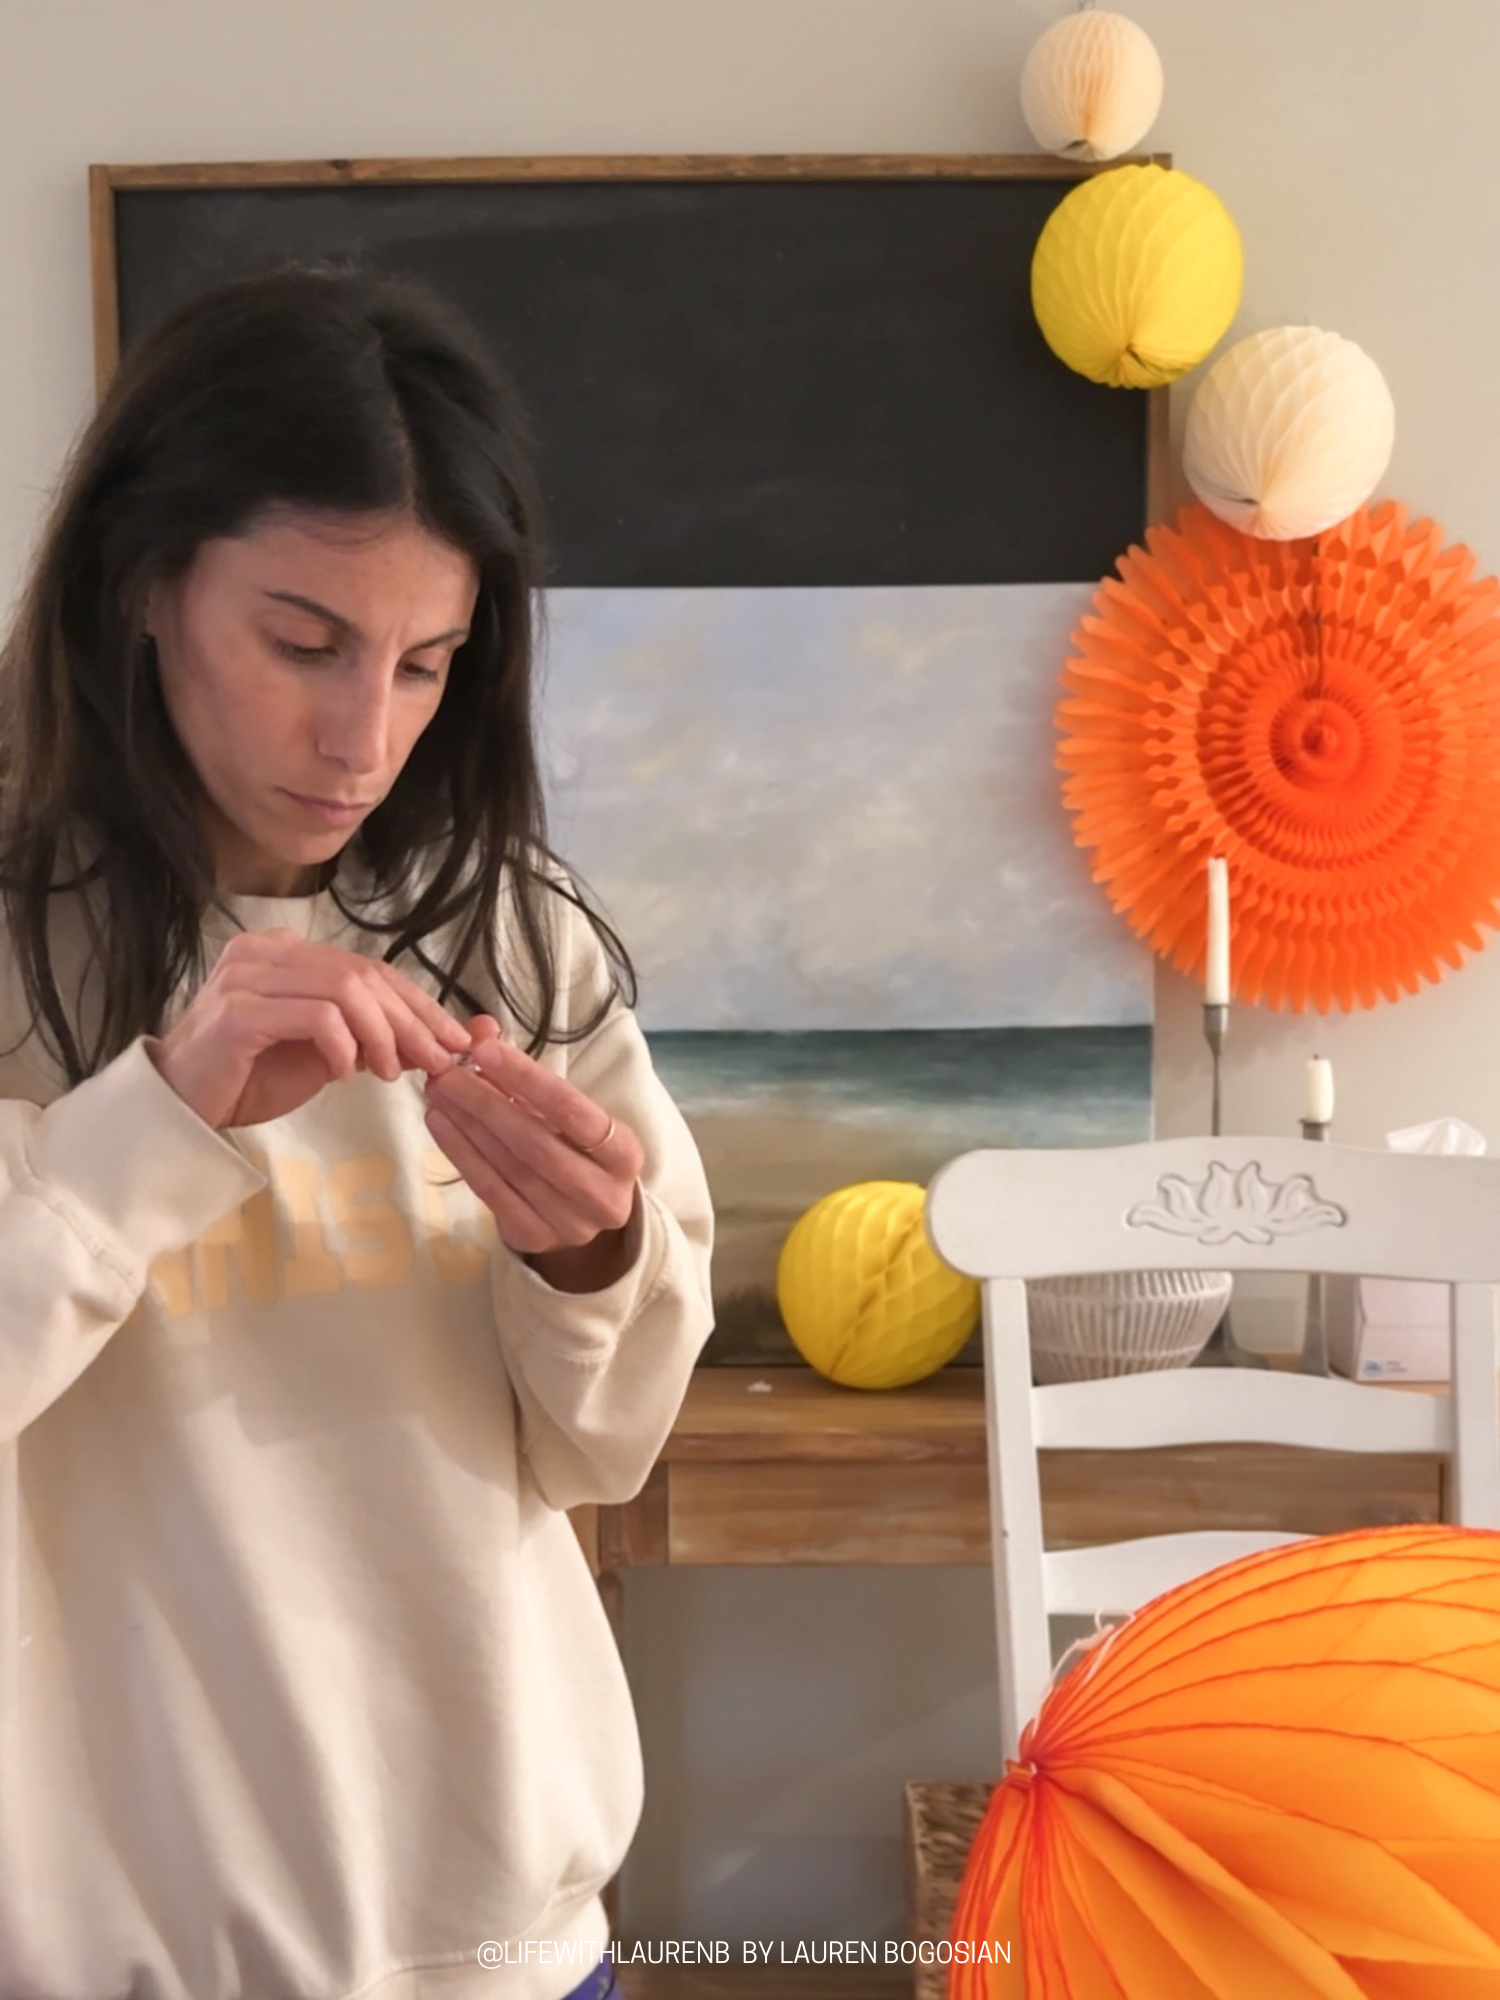
All of the honeycomb tissue paper decorations come with a string attached. At first I wasn’t sure if I’d use the string but it wound up being useful for every one. I was able to have multiple on one command strip and some that I wanted higher than others I would just wrap the string around the hook multiple times. They are very light so they’re easy to move around and have sit on eachother.
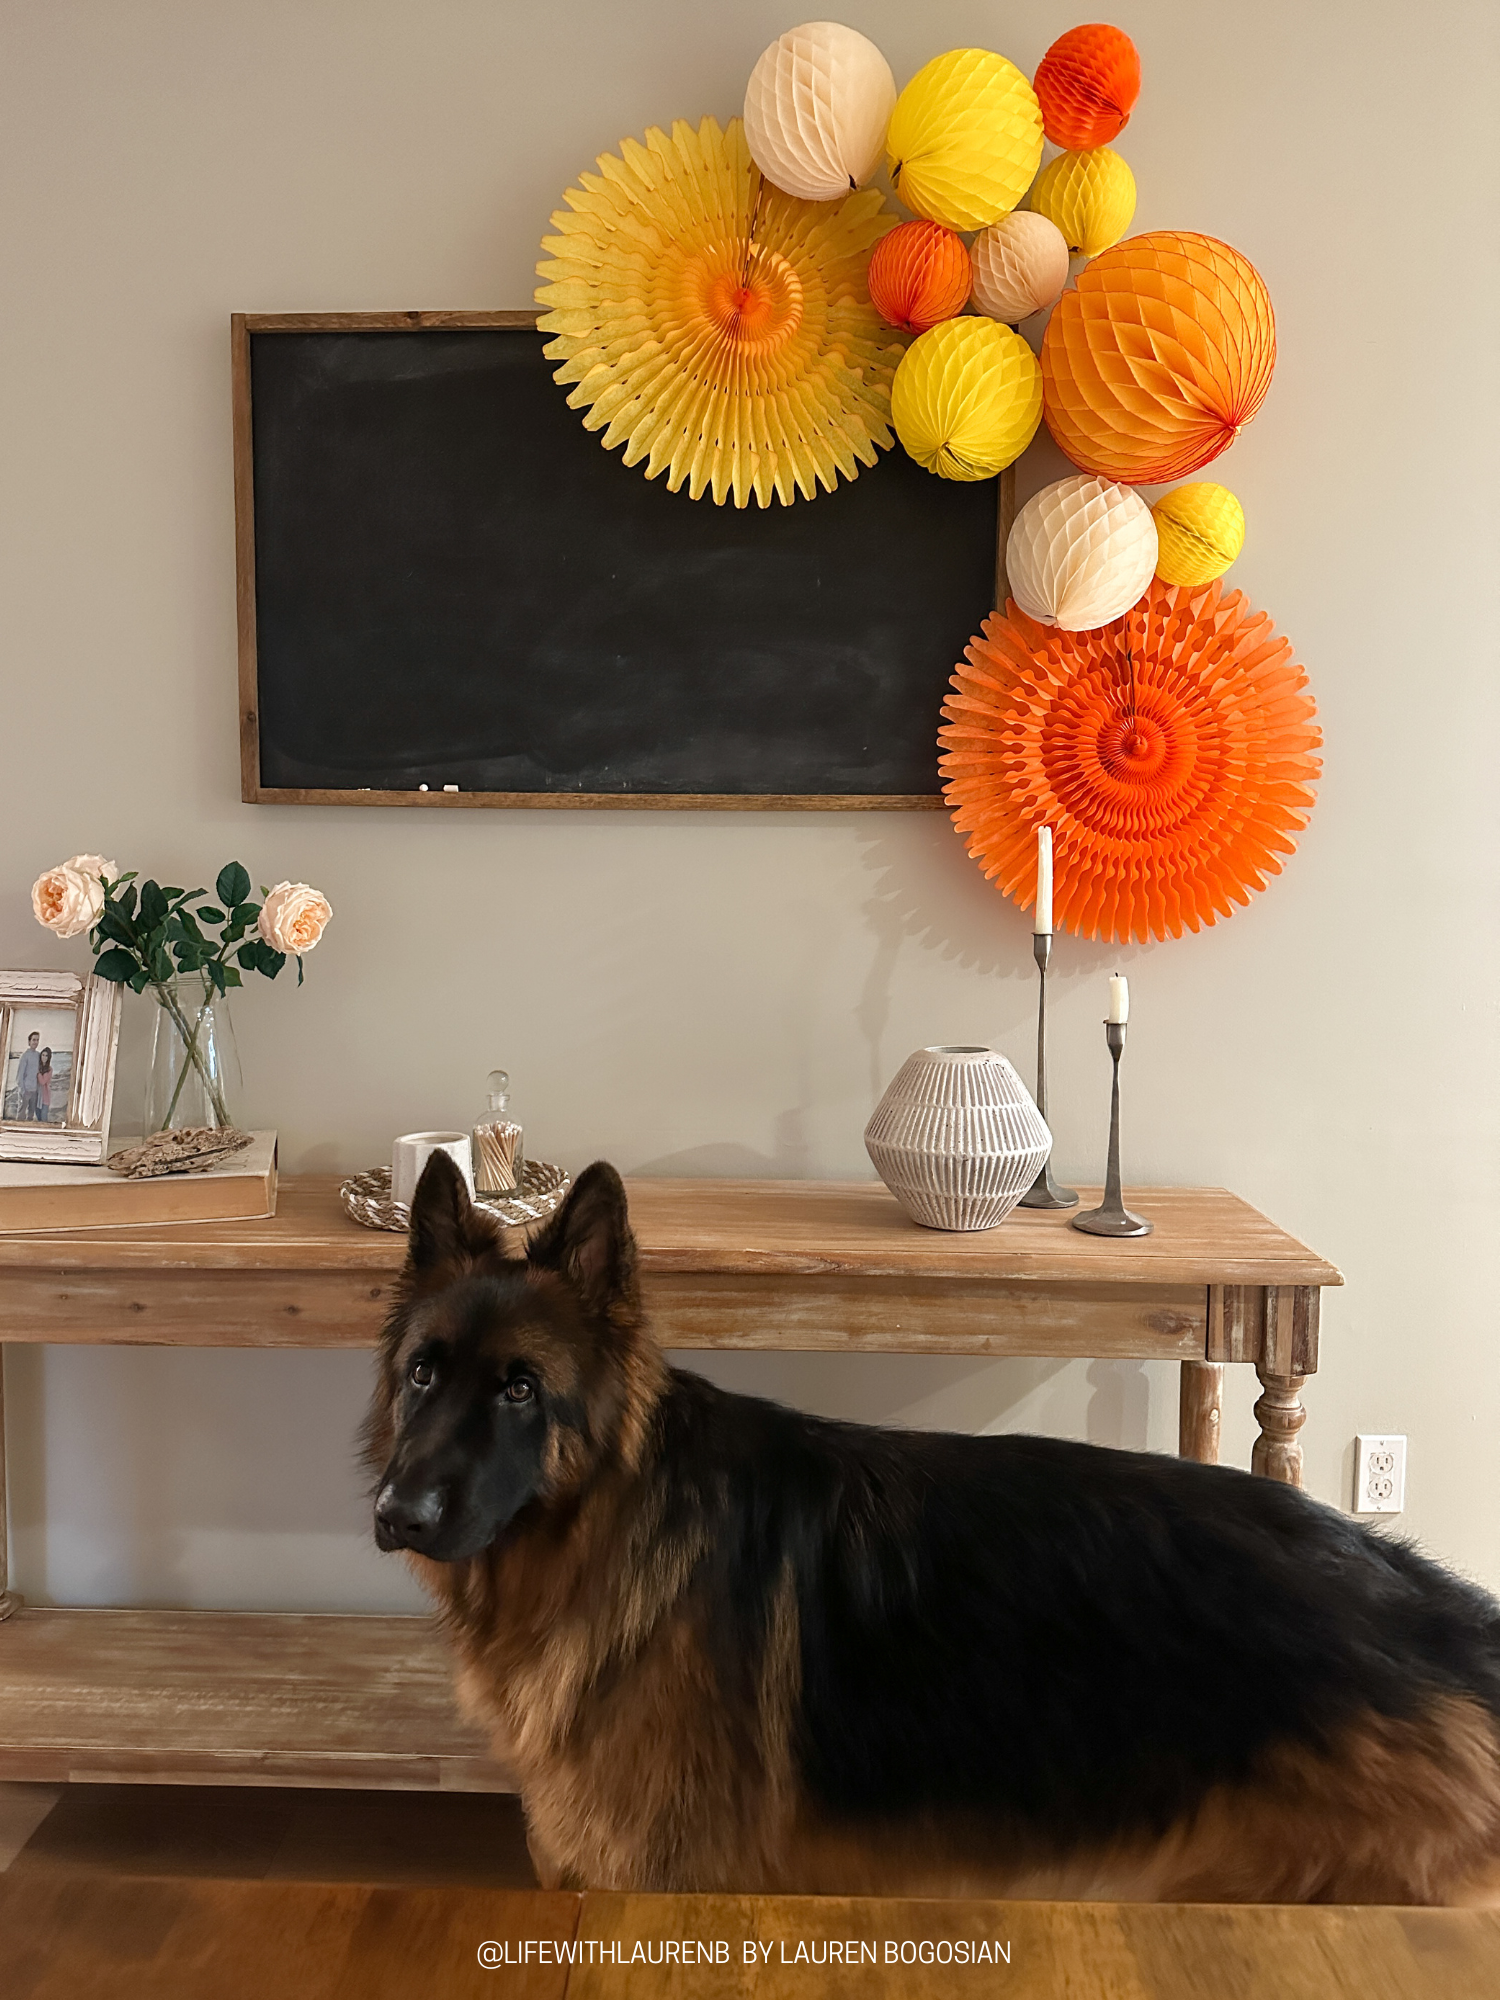
I loved how this turned out for a fun, birthday party backdrop! You can make it with so many colors and the 3-d dimension gives it such a unique look! It also looks like you did way more work than you actually did since it’s actually pretty simple to set up! It’s my new favorite party backdrop!
