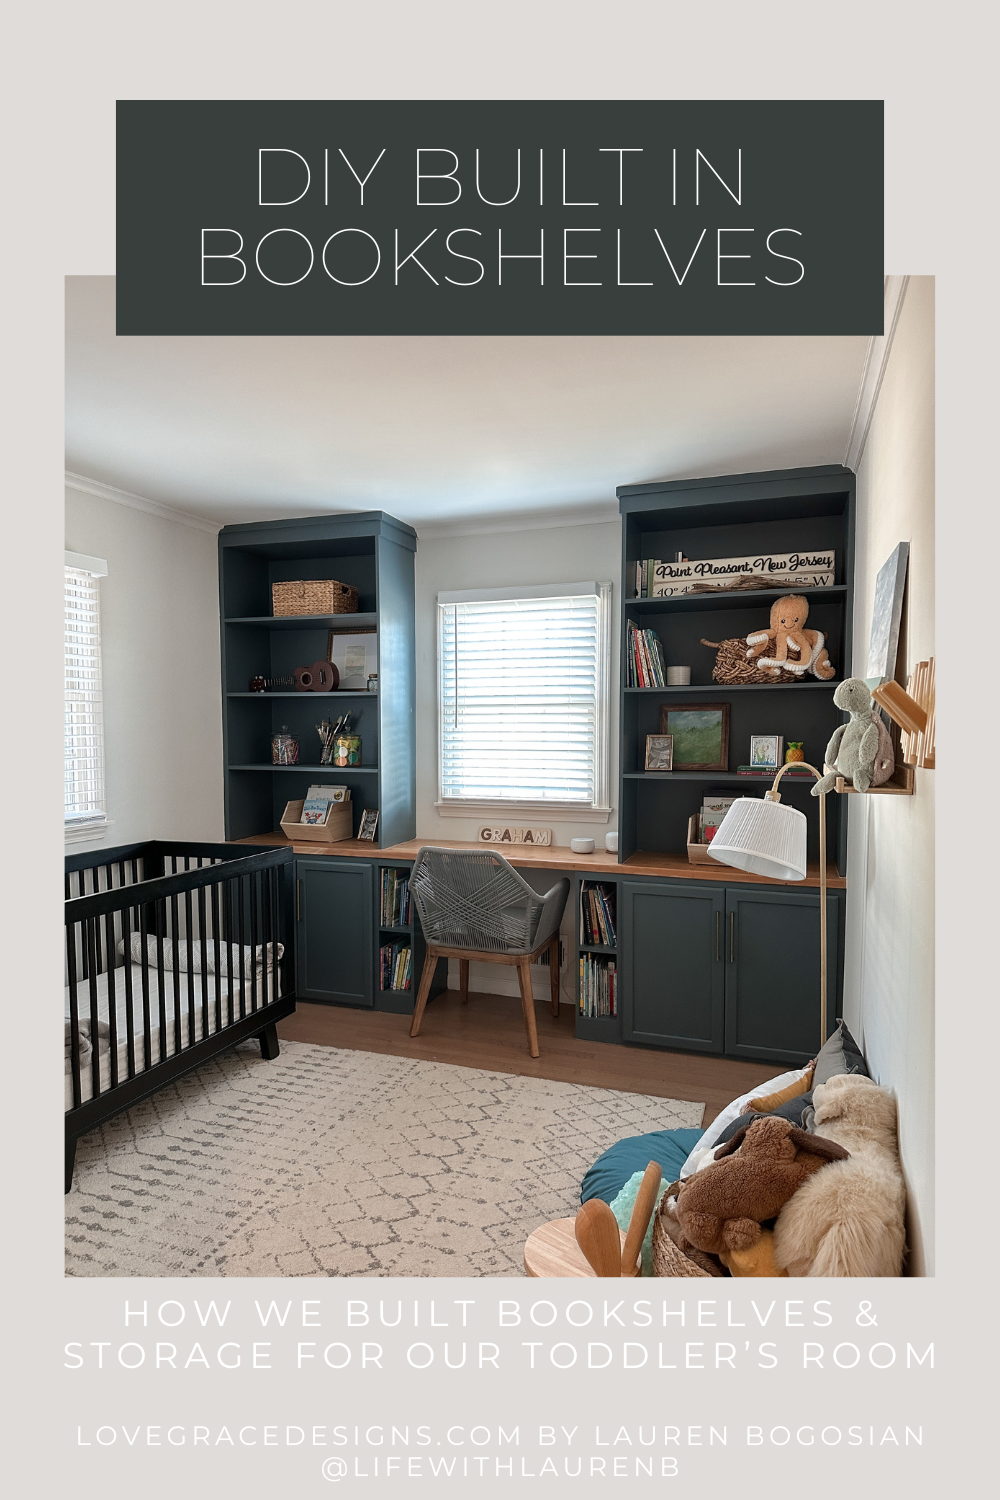
Our DIY built in bookshelves and desk project is finallyyyy complete! It took about a year betwen completing phase 1 of the project and phase 2. Read about part 1 here!! With baby 2 on the way, we knew we wanted Graham to be fully moved in and settled in his room before the baby arrived in April. We finally completed the project and had it fully decorated in March.
If you didn’t read about the first phase of this DIY, you can see the before and afters and read all about the design and build details over on this blog post.
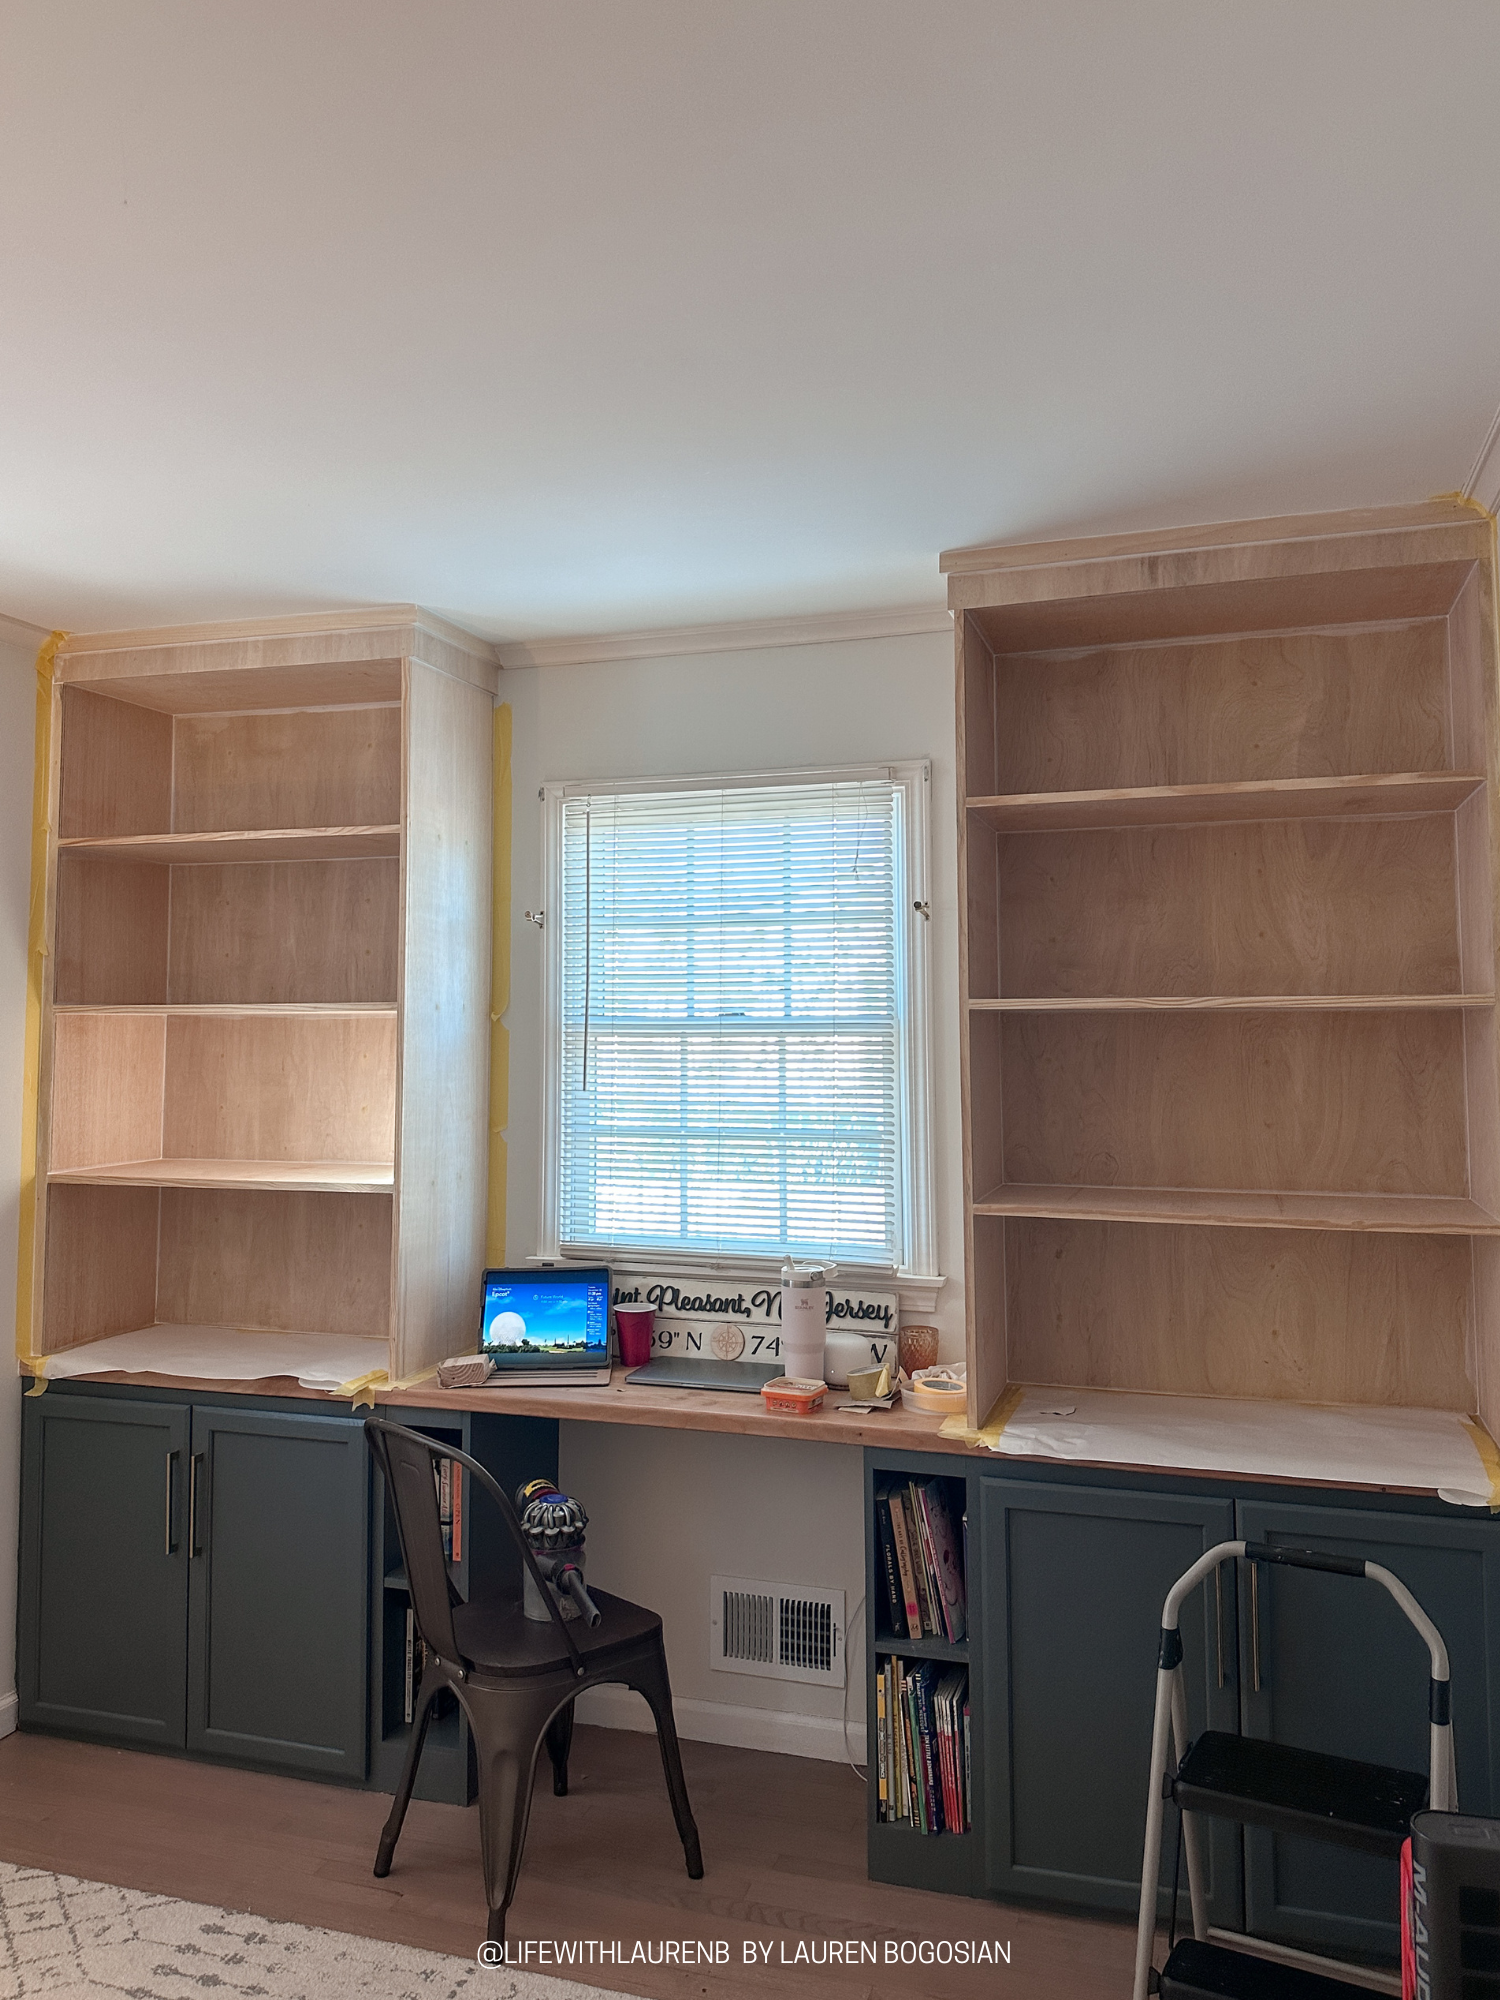
Here is the timeline from before, to phase 1 completion, to the final completion after phase 2:
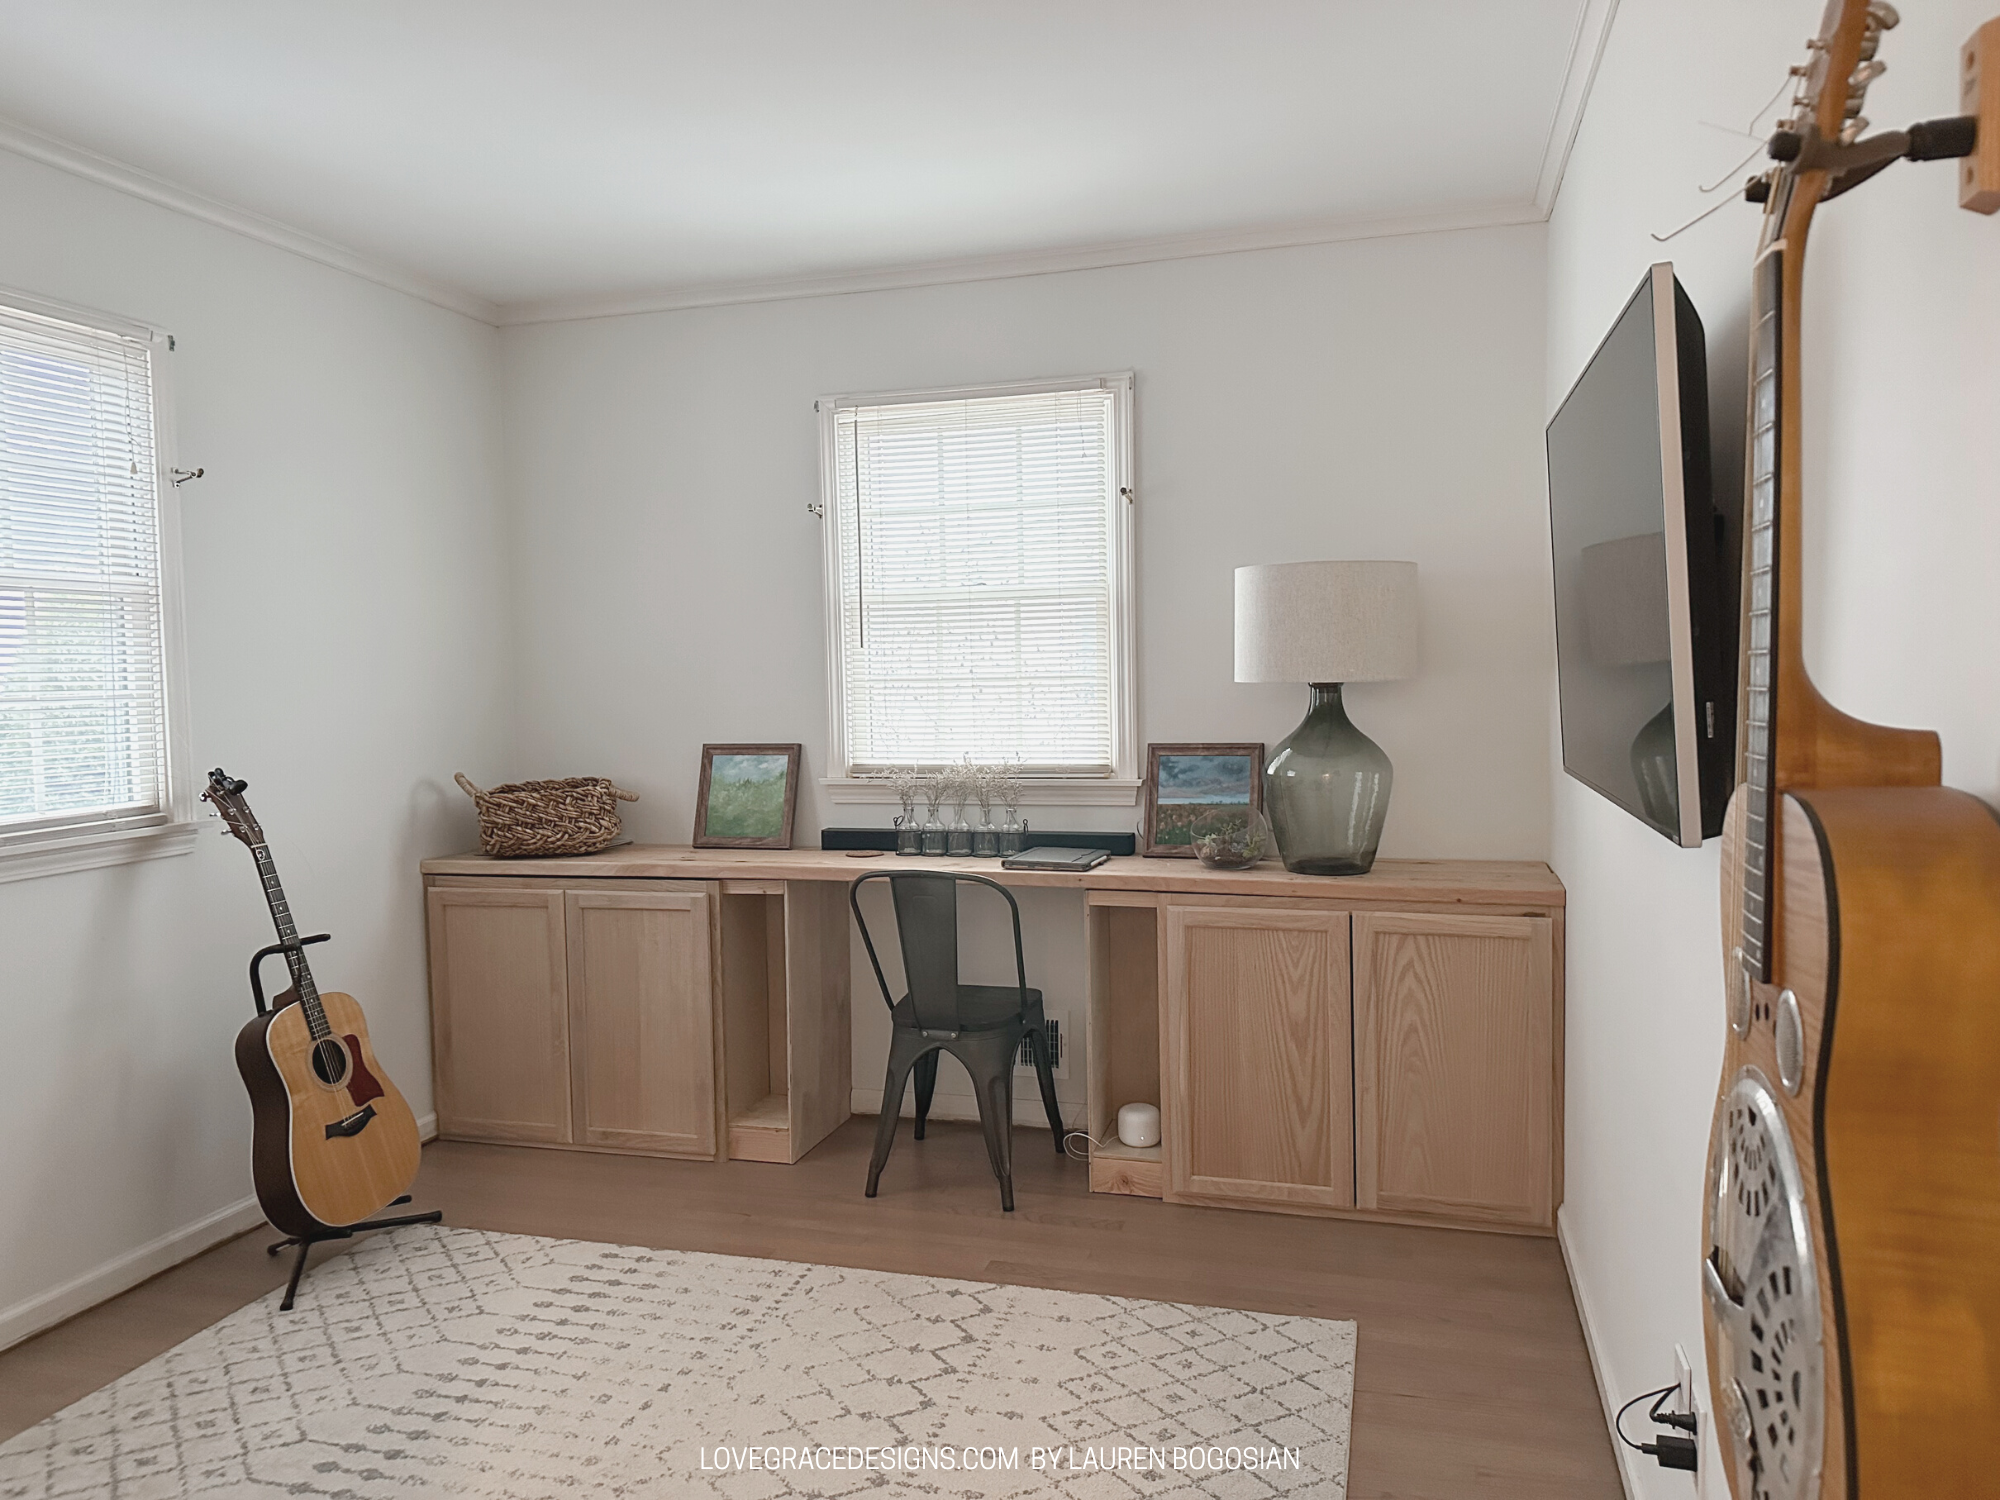
Before
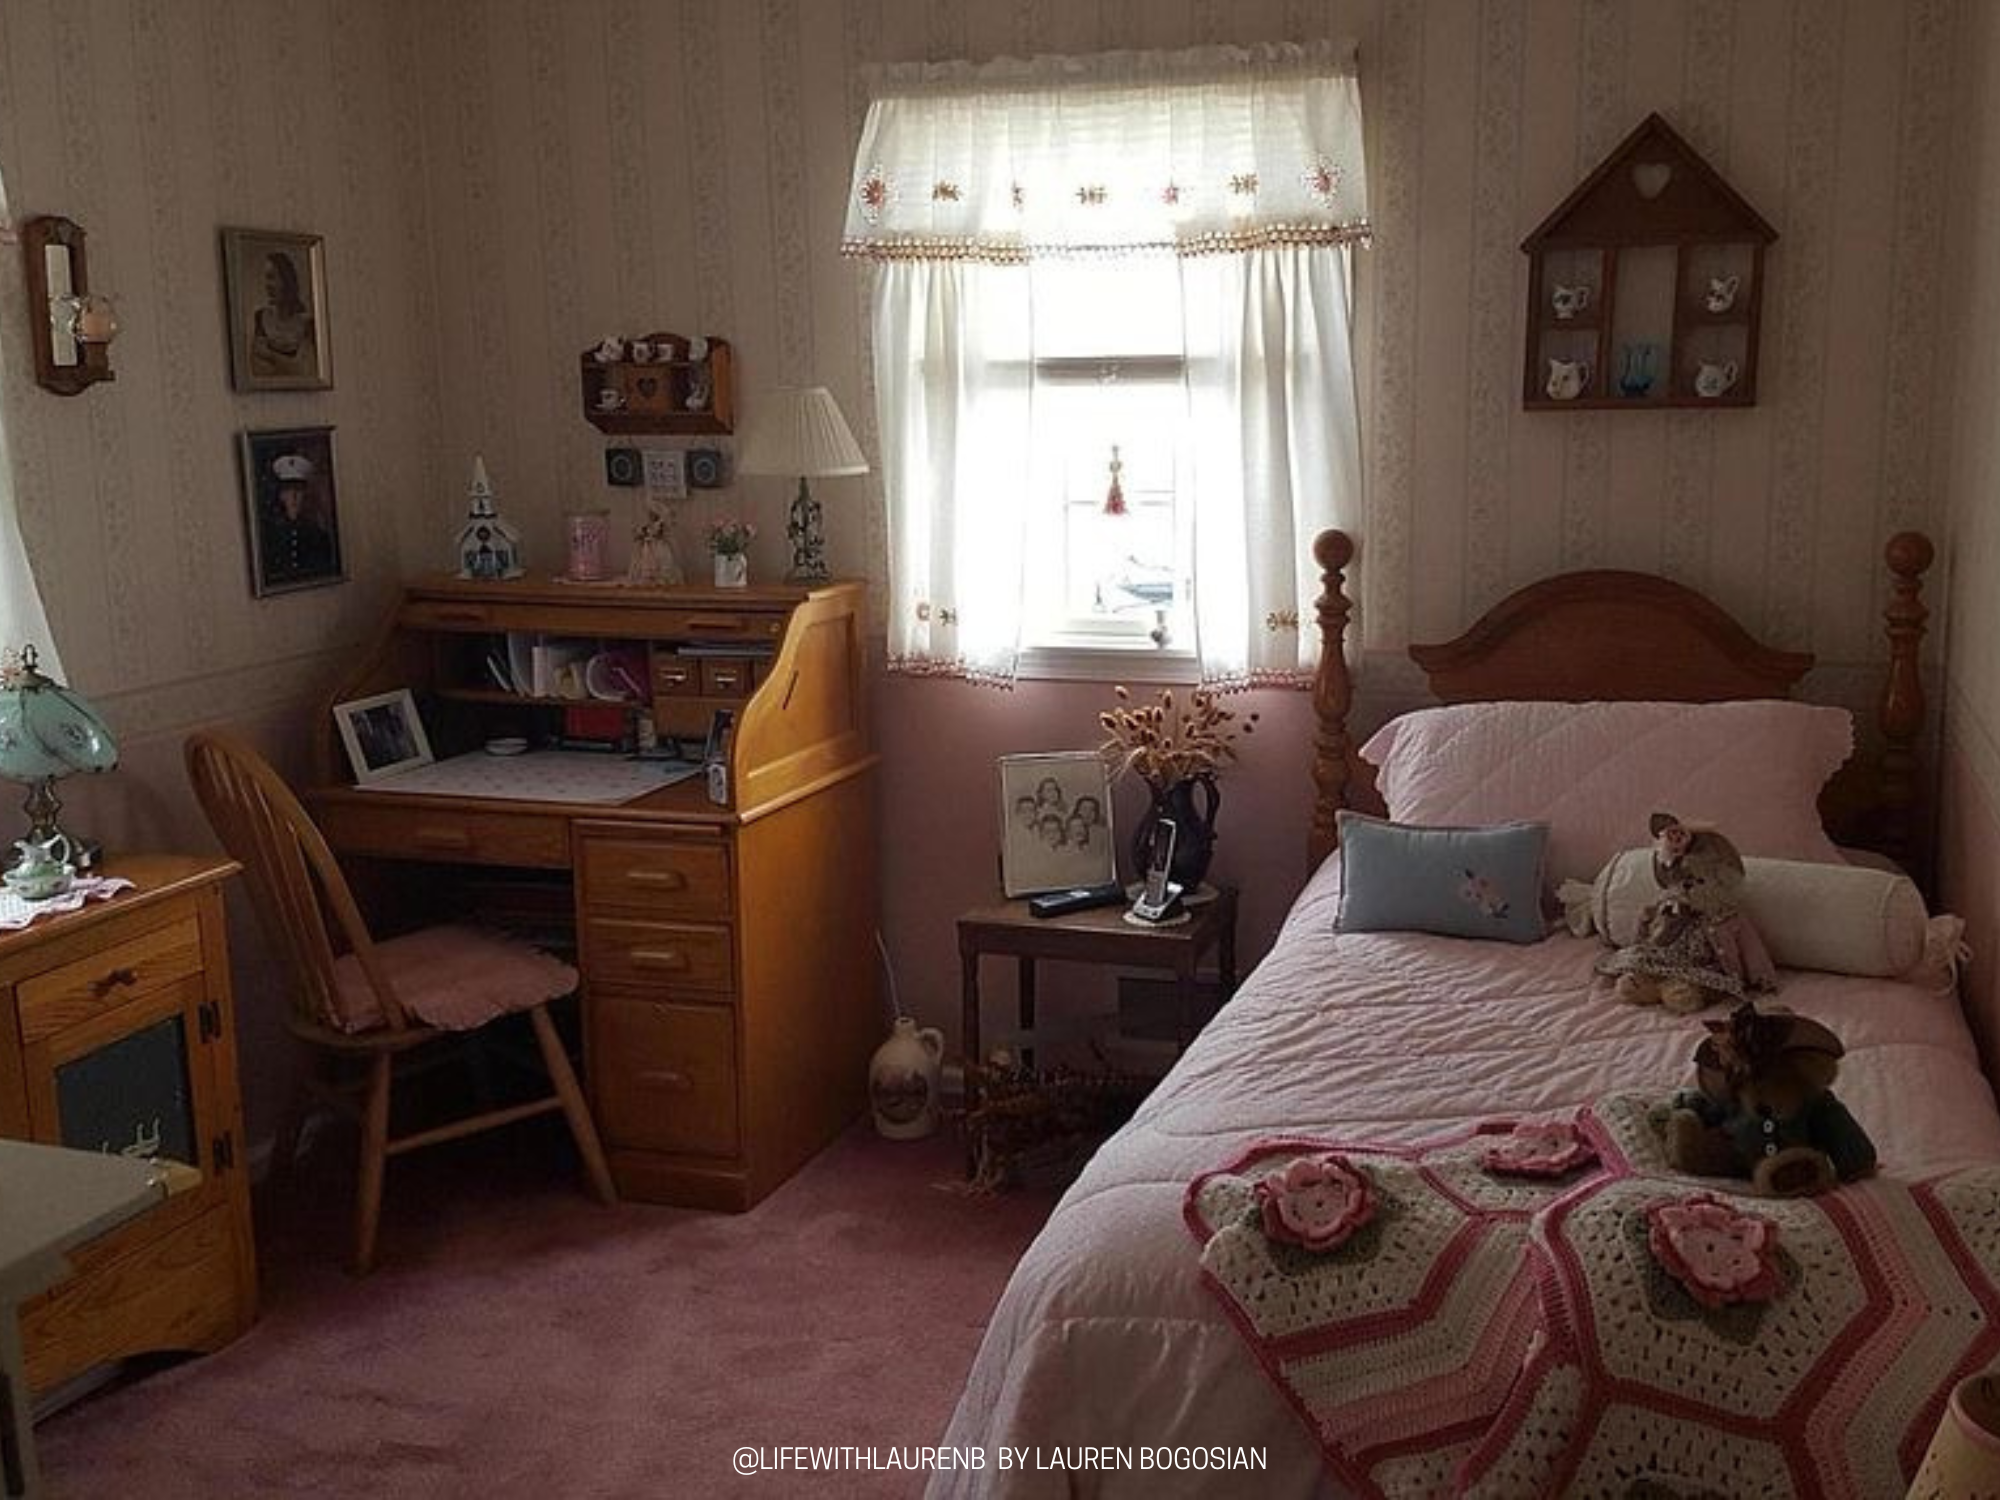
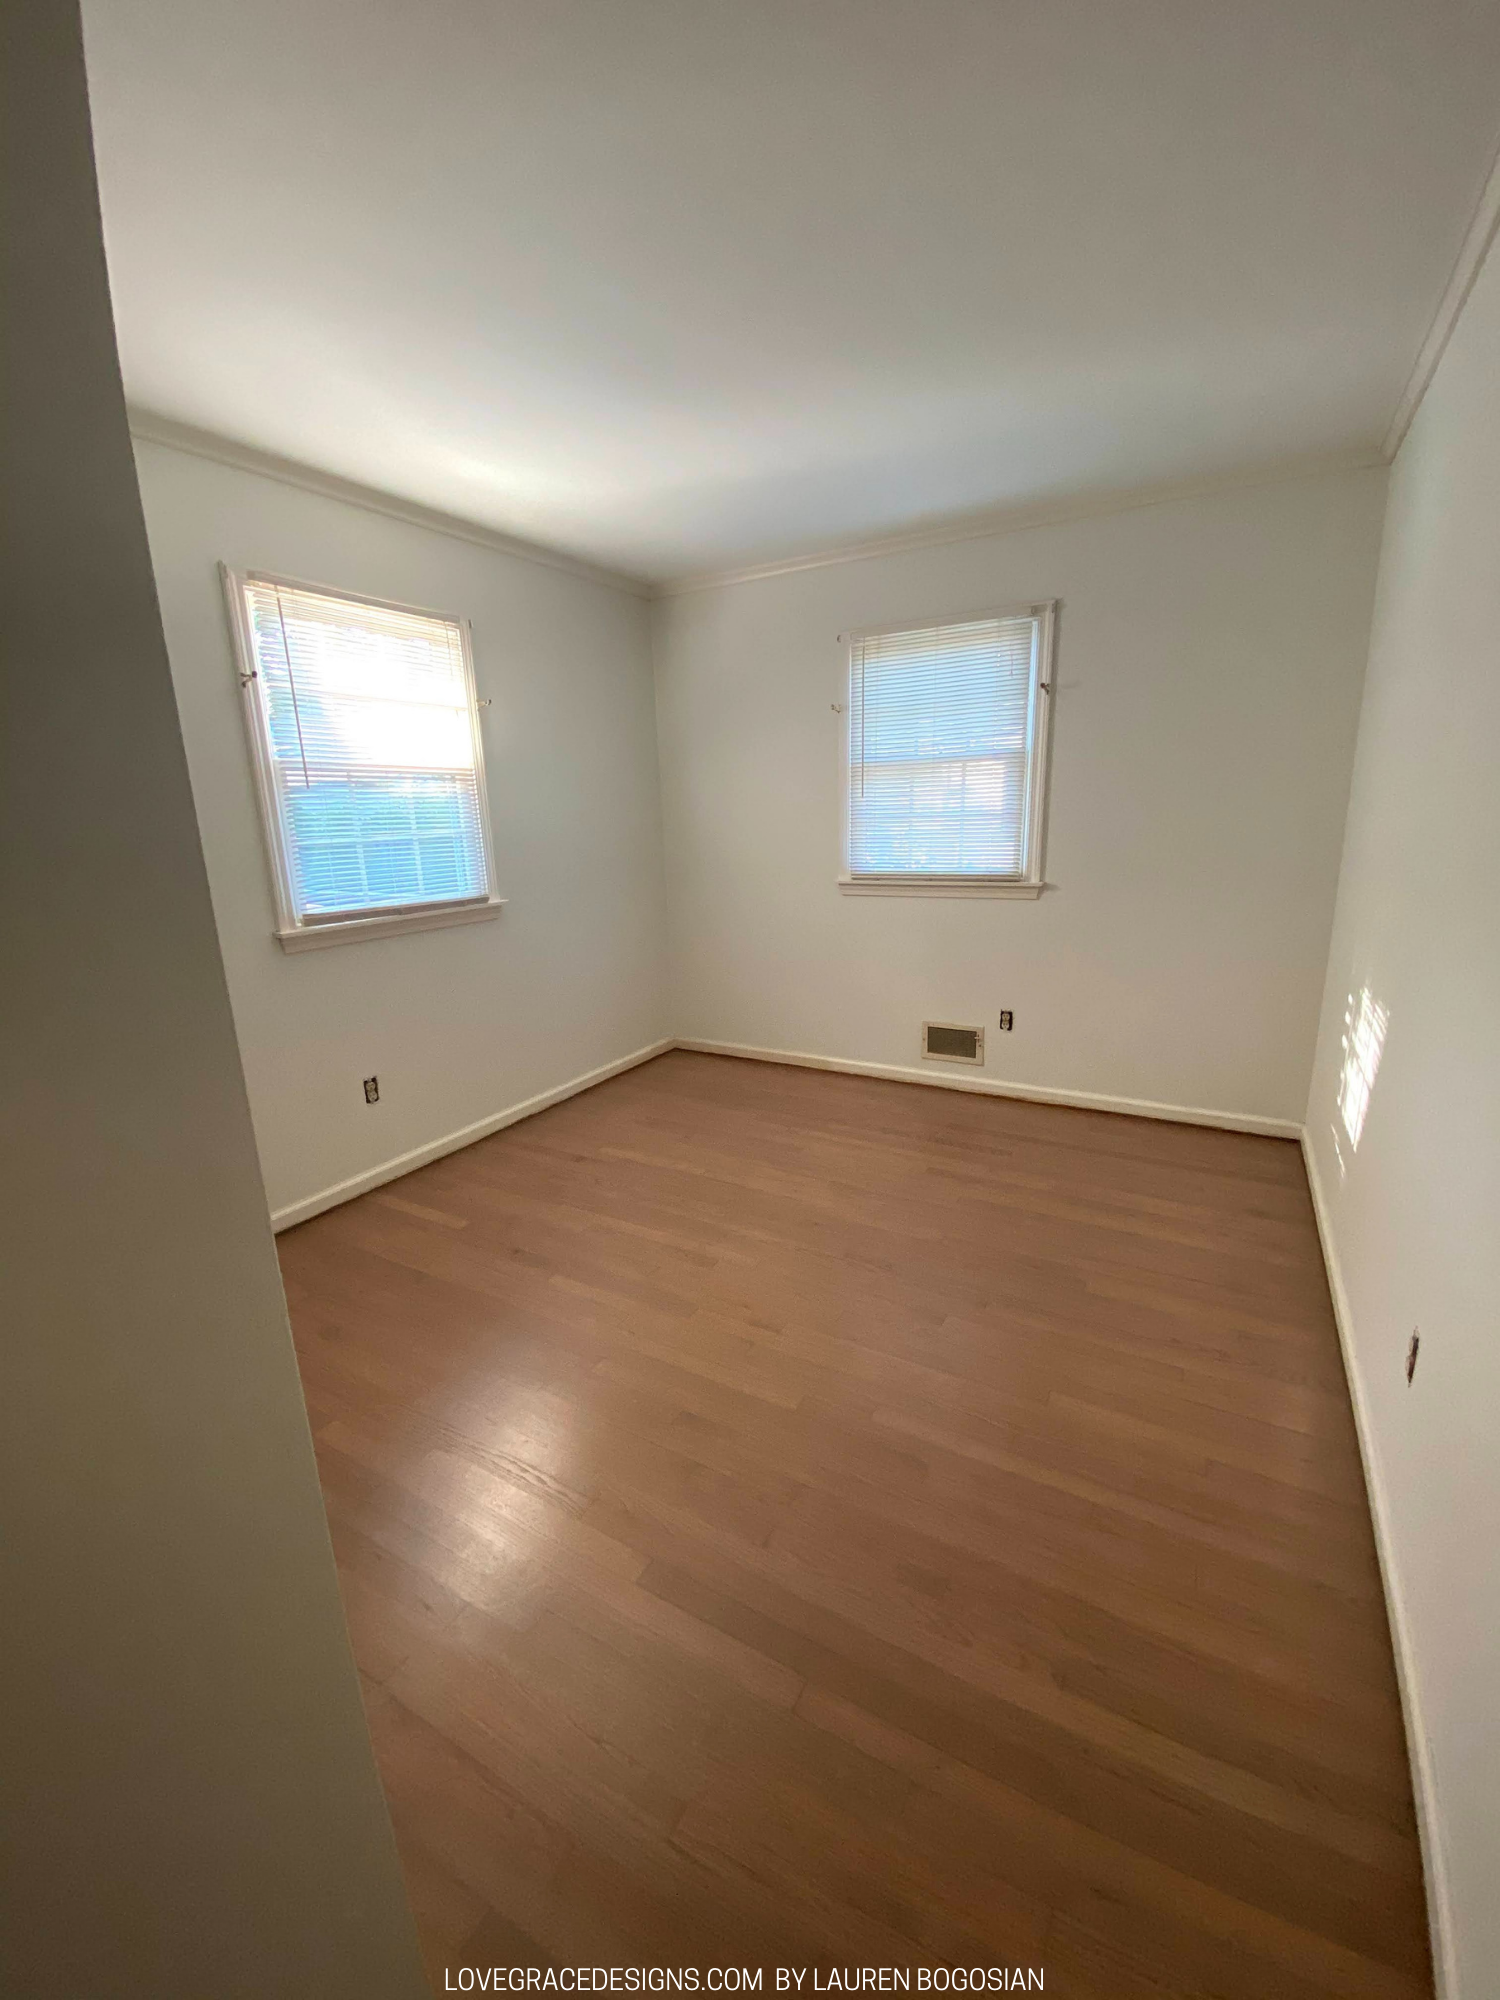
Read more about the first updates we made to this room with our initial DIY renovations when we moved in.
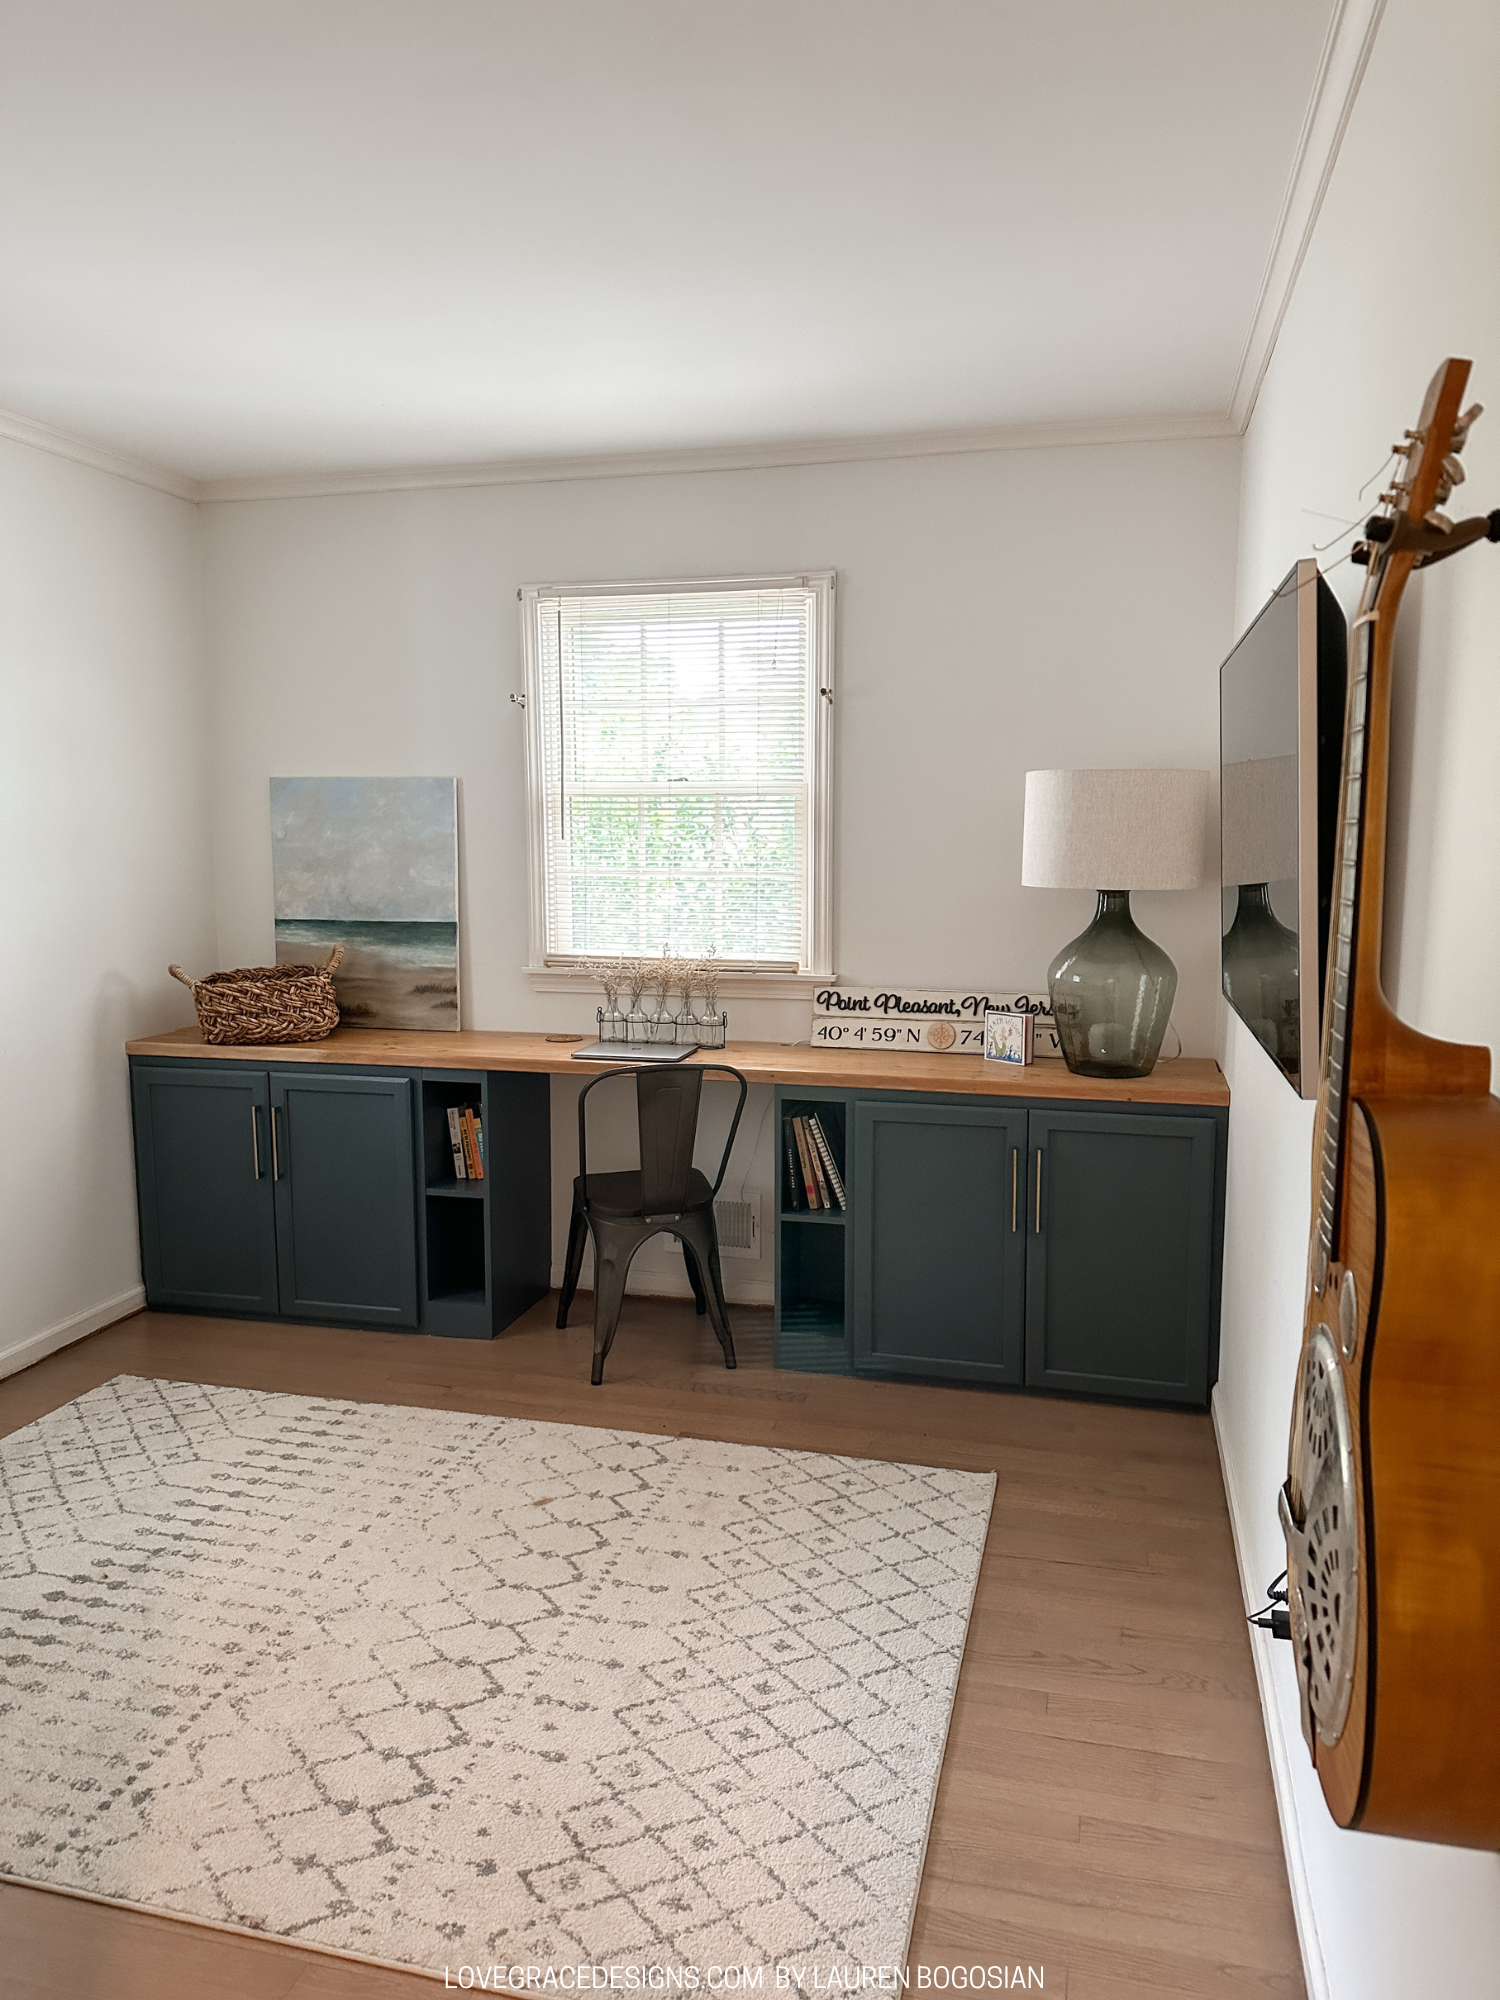
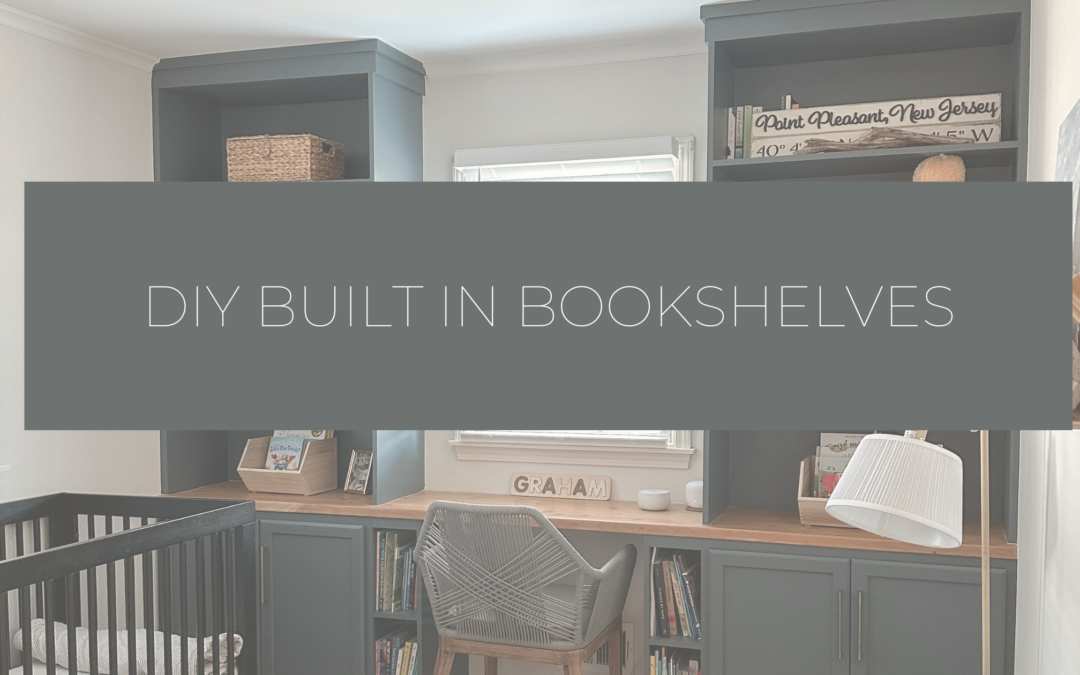
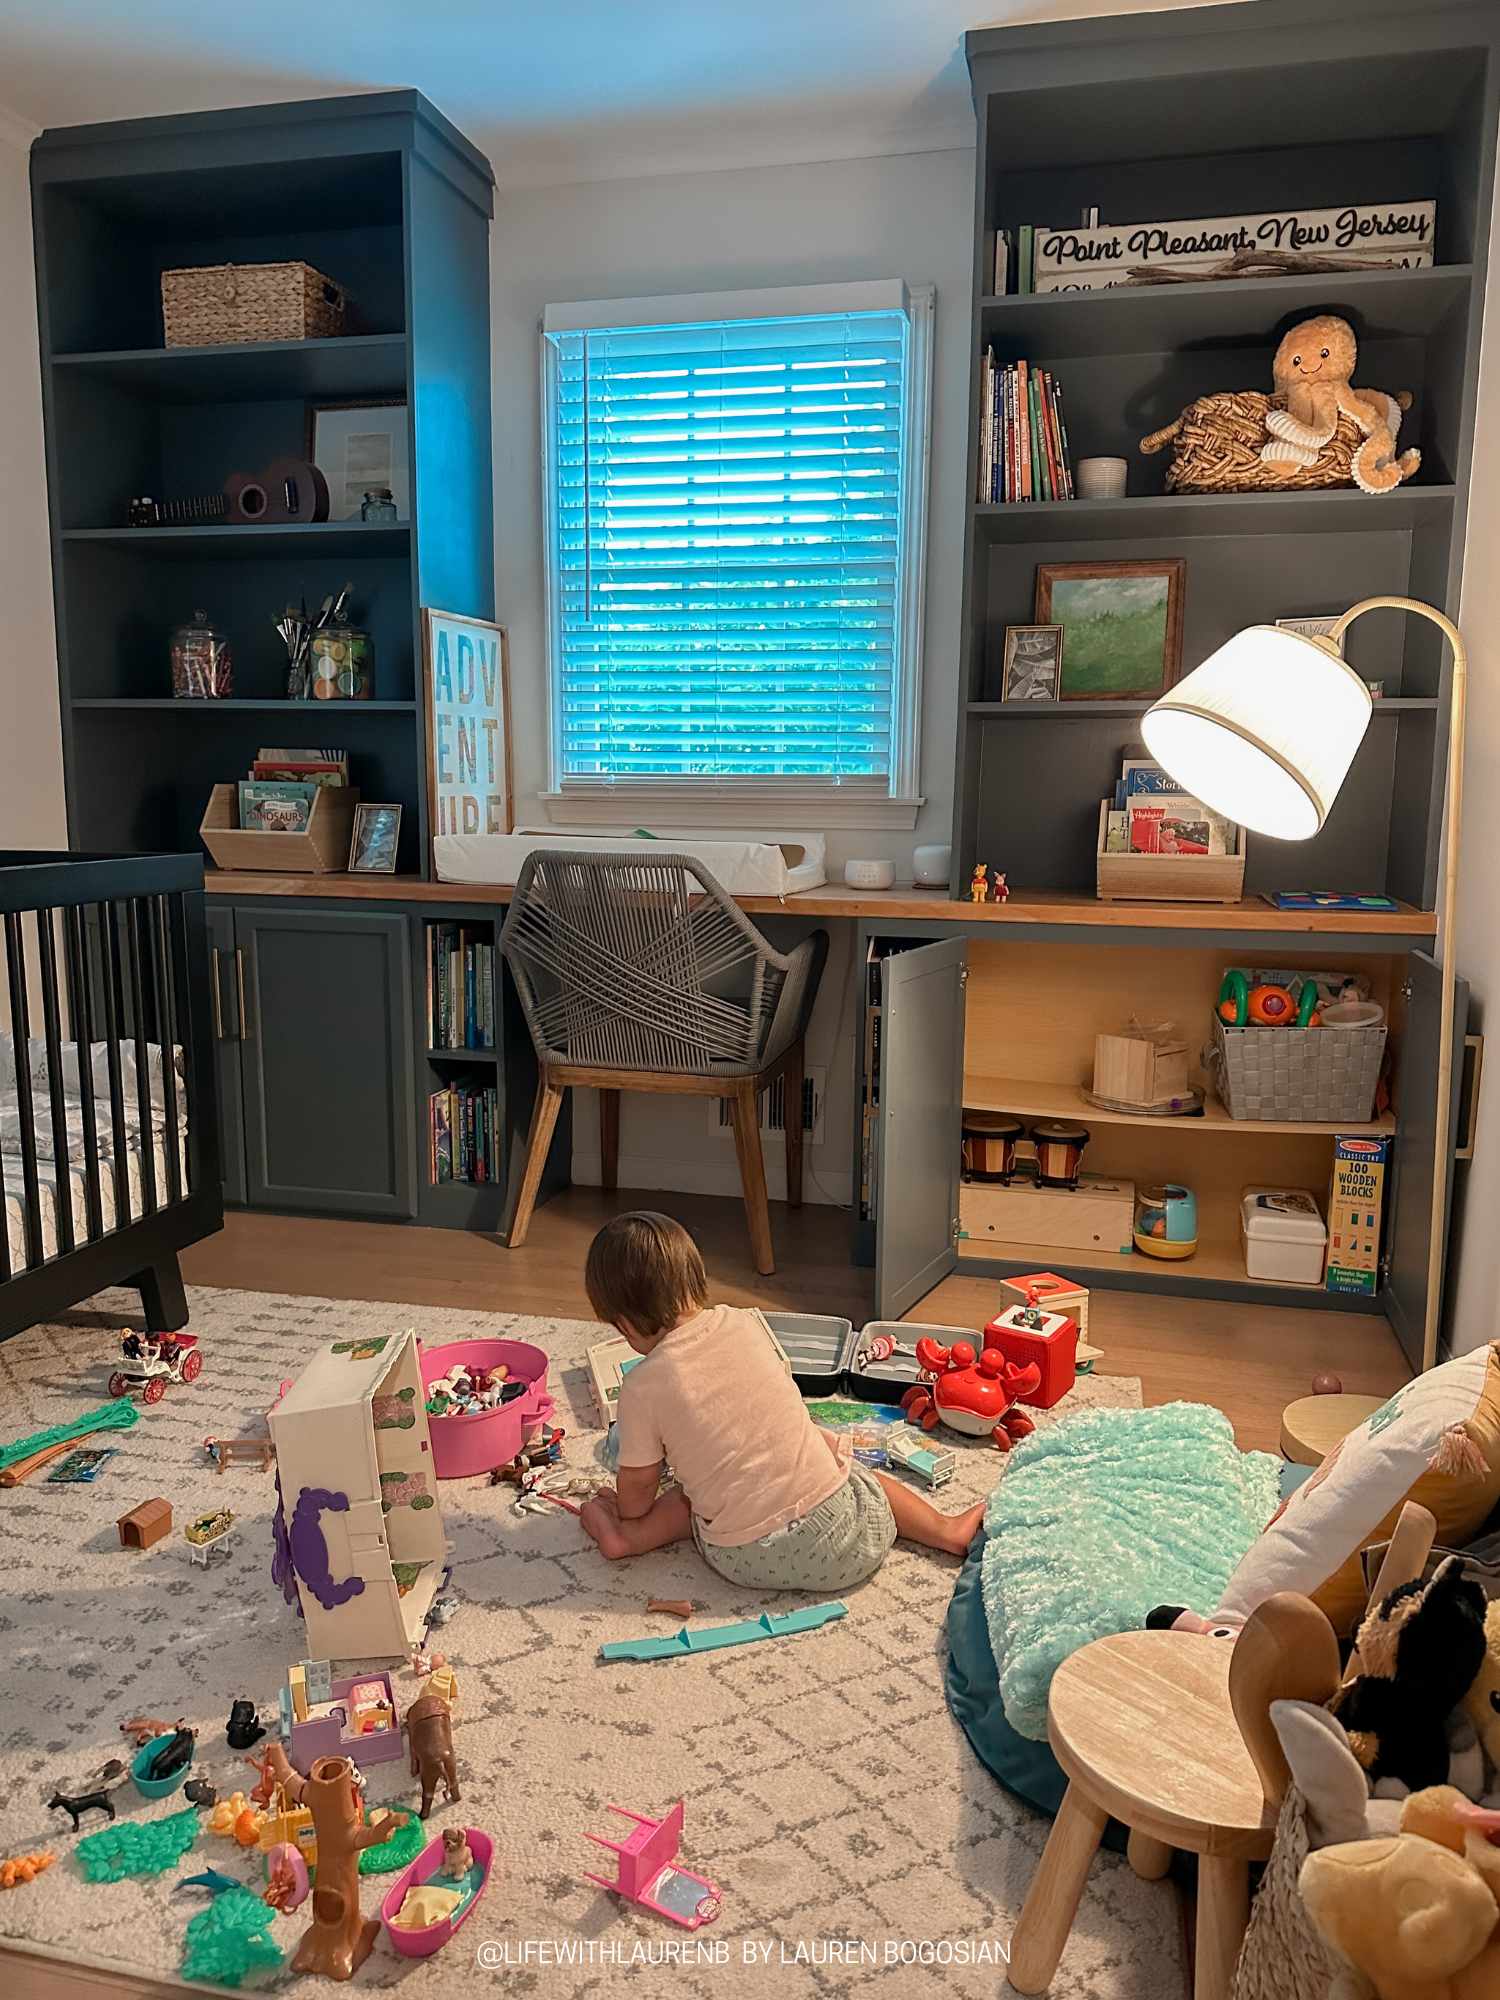
After – Phase 2 (Fully Complete!)
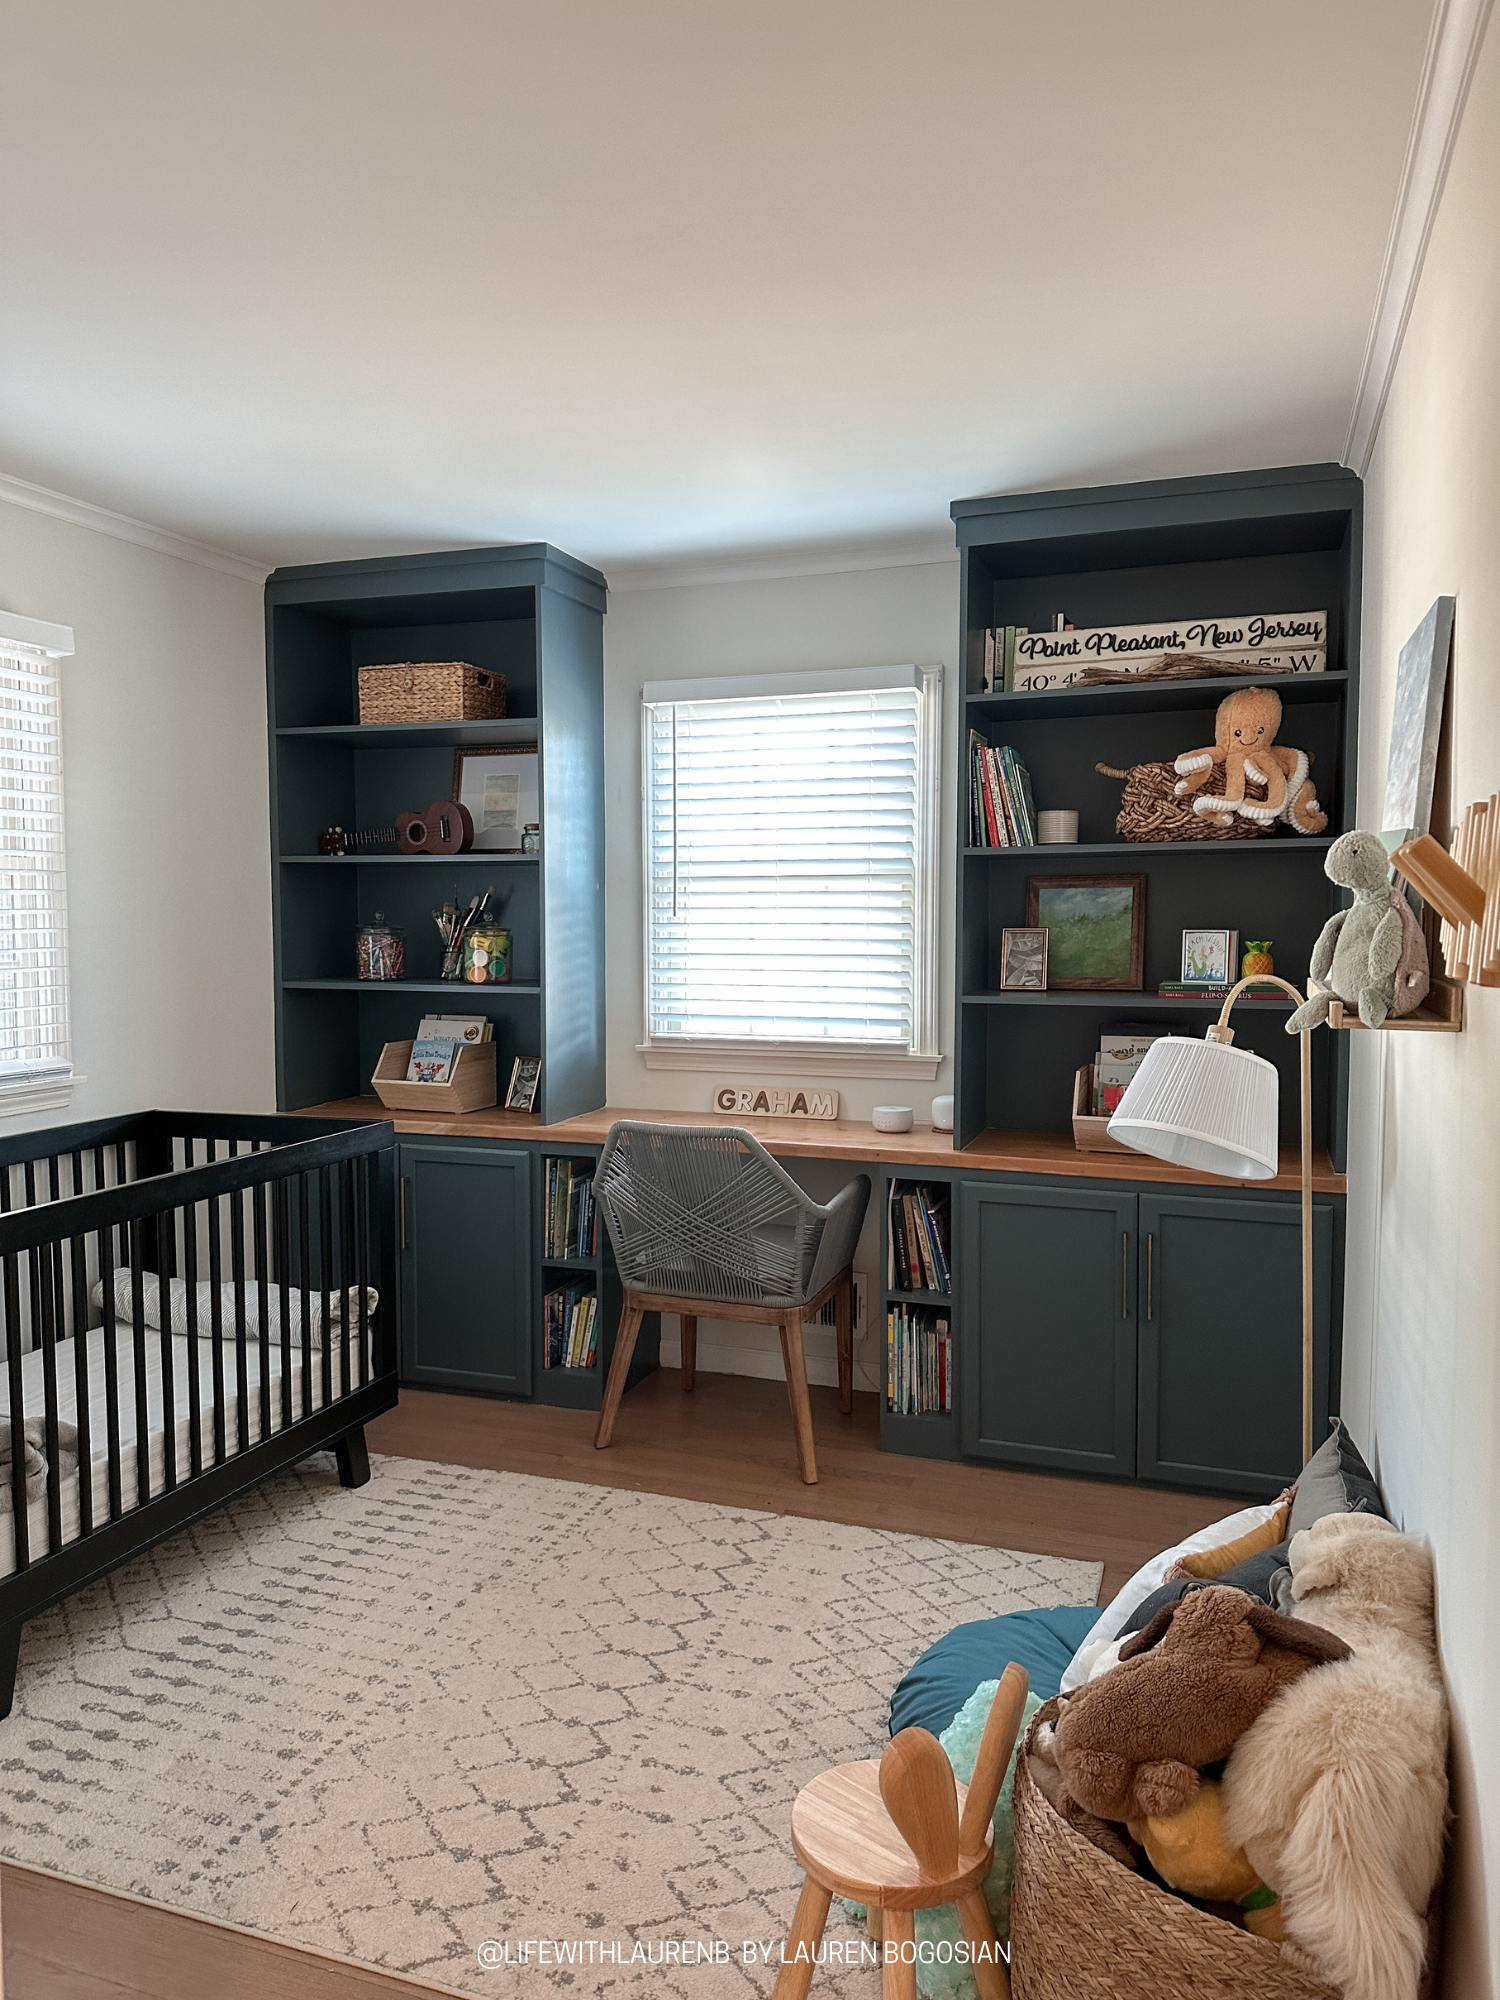
Building the DIY Shelves
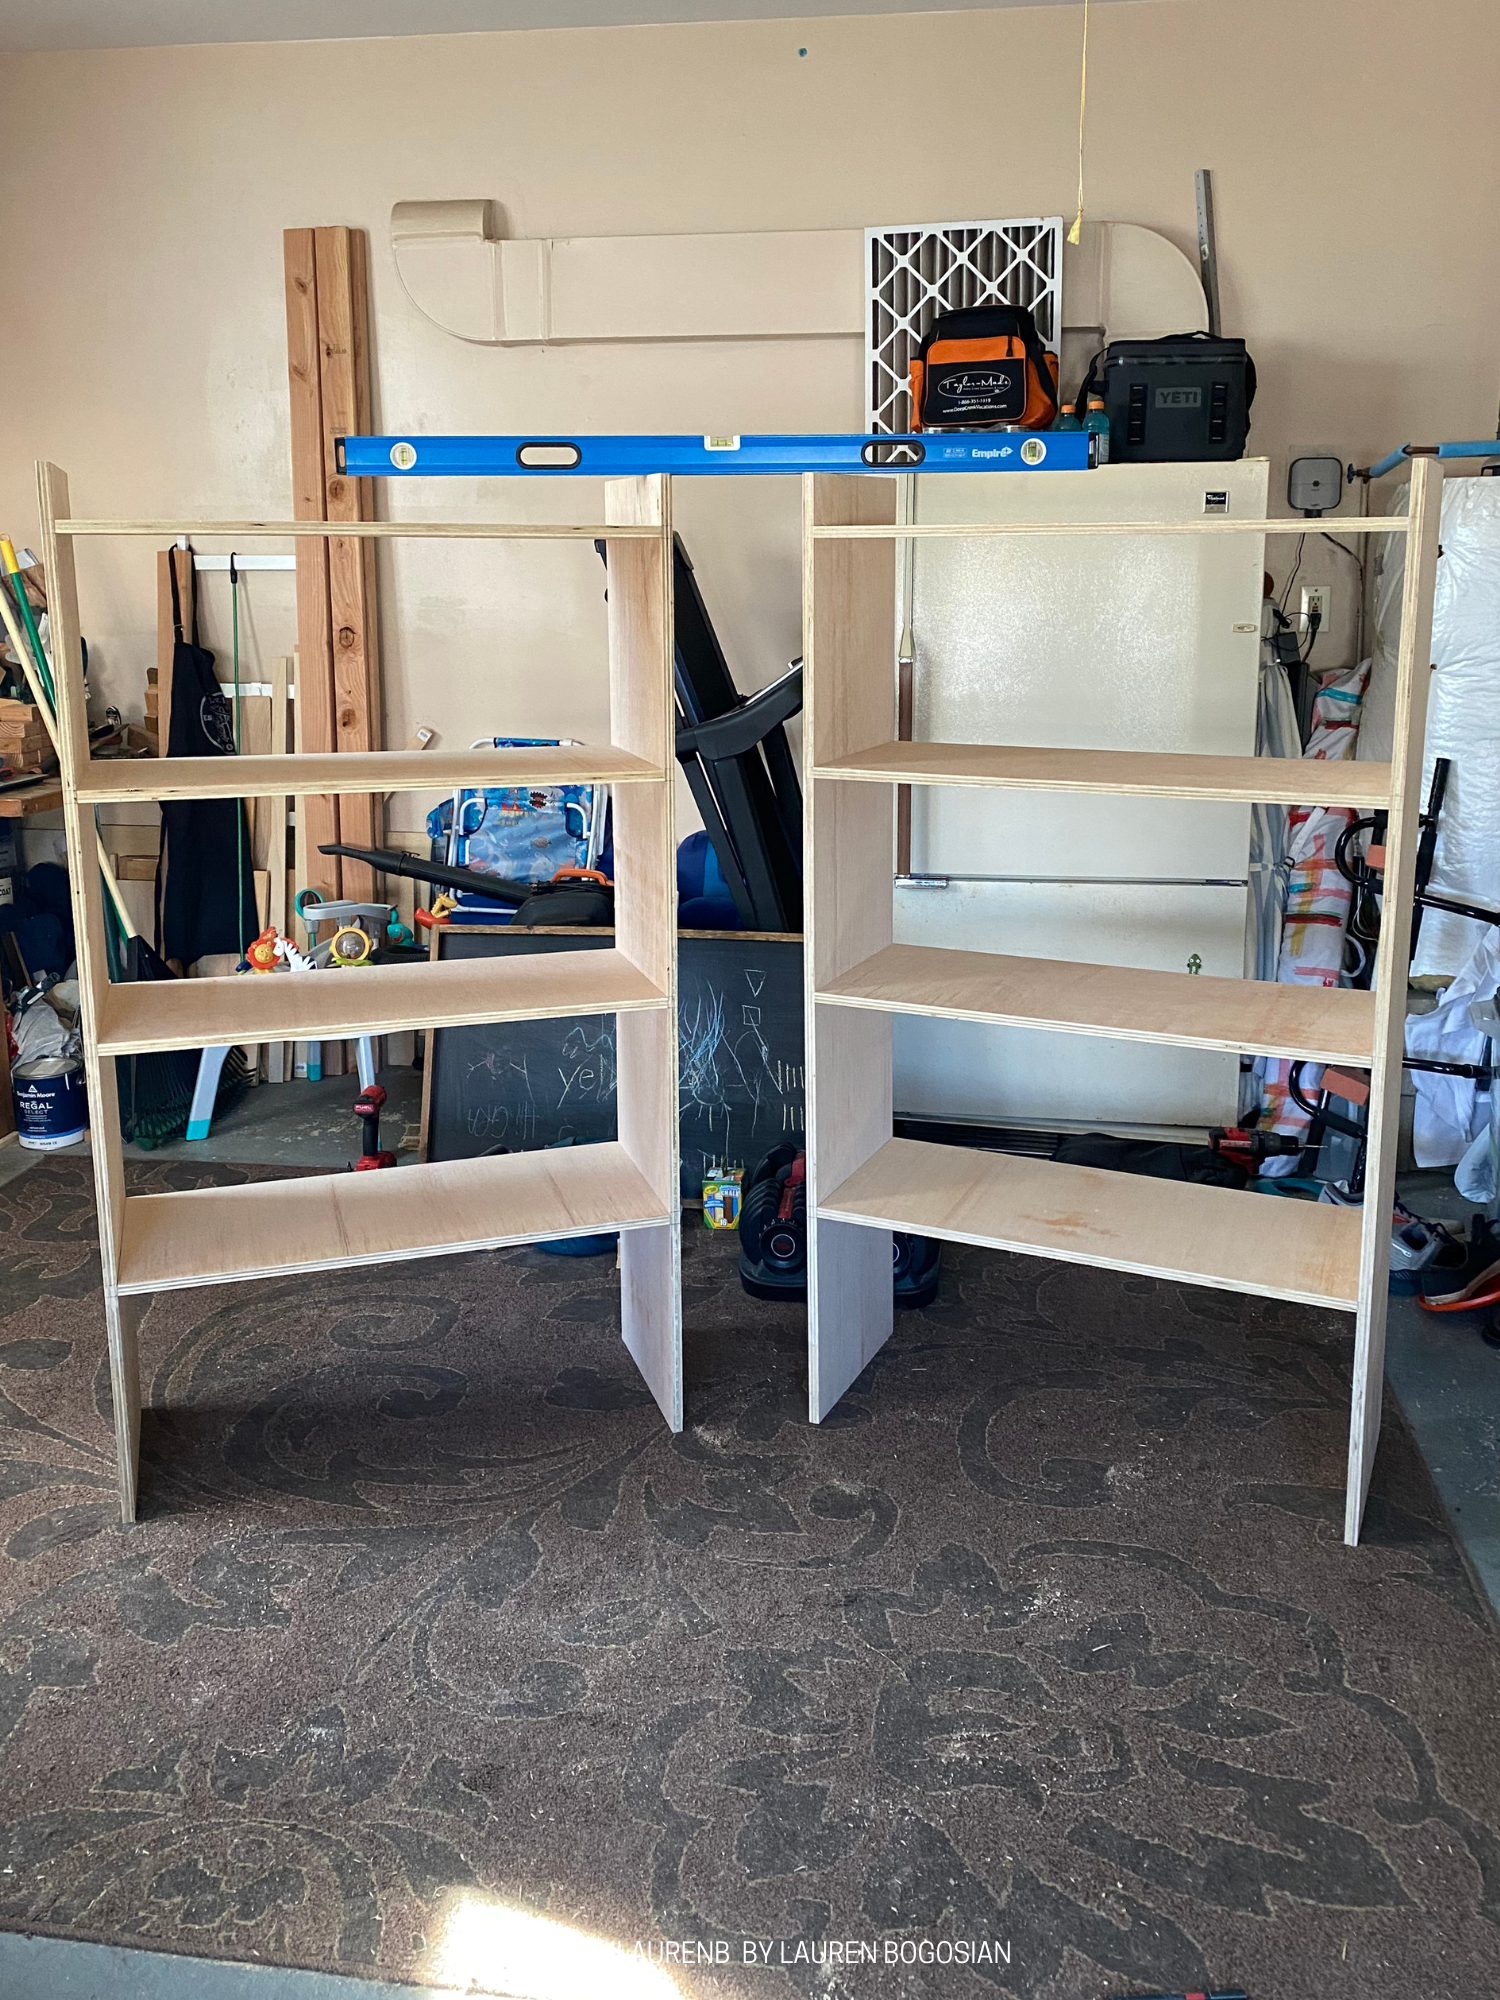
I drew out the design from the very beginning and after phase 1, the top of the design was ready to be built. We decided on 3 shelves for both the left and right side. I was very pregnant at this stage and we found it would be easiest (and QUICKEST) to get it done by having Steve devote time to building it himself and I’d be on Graham duty. Steve did not really do any wood working before we got married and he learned and built these shelves all by himself perfectly. He did such a great job and it’s so special to look at them knowing he dedicated his heart and soul into making them for our son and family! Every time I walk in Graham’s room, I look at the builtins and feel so proud that we accomplished that all by ourselves! Also I was pregnant with 2 separate pregnancies through both phases! LOL

Design Details
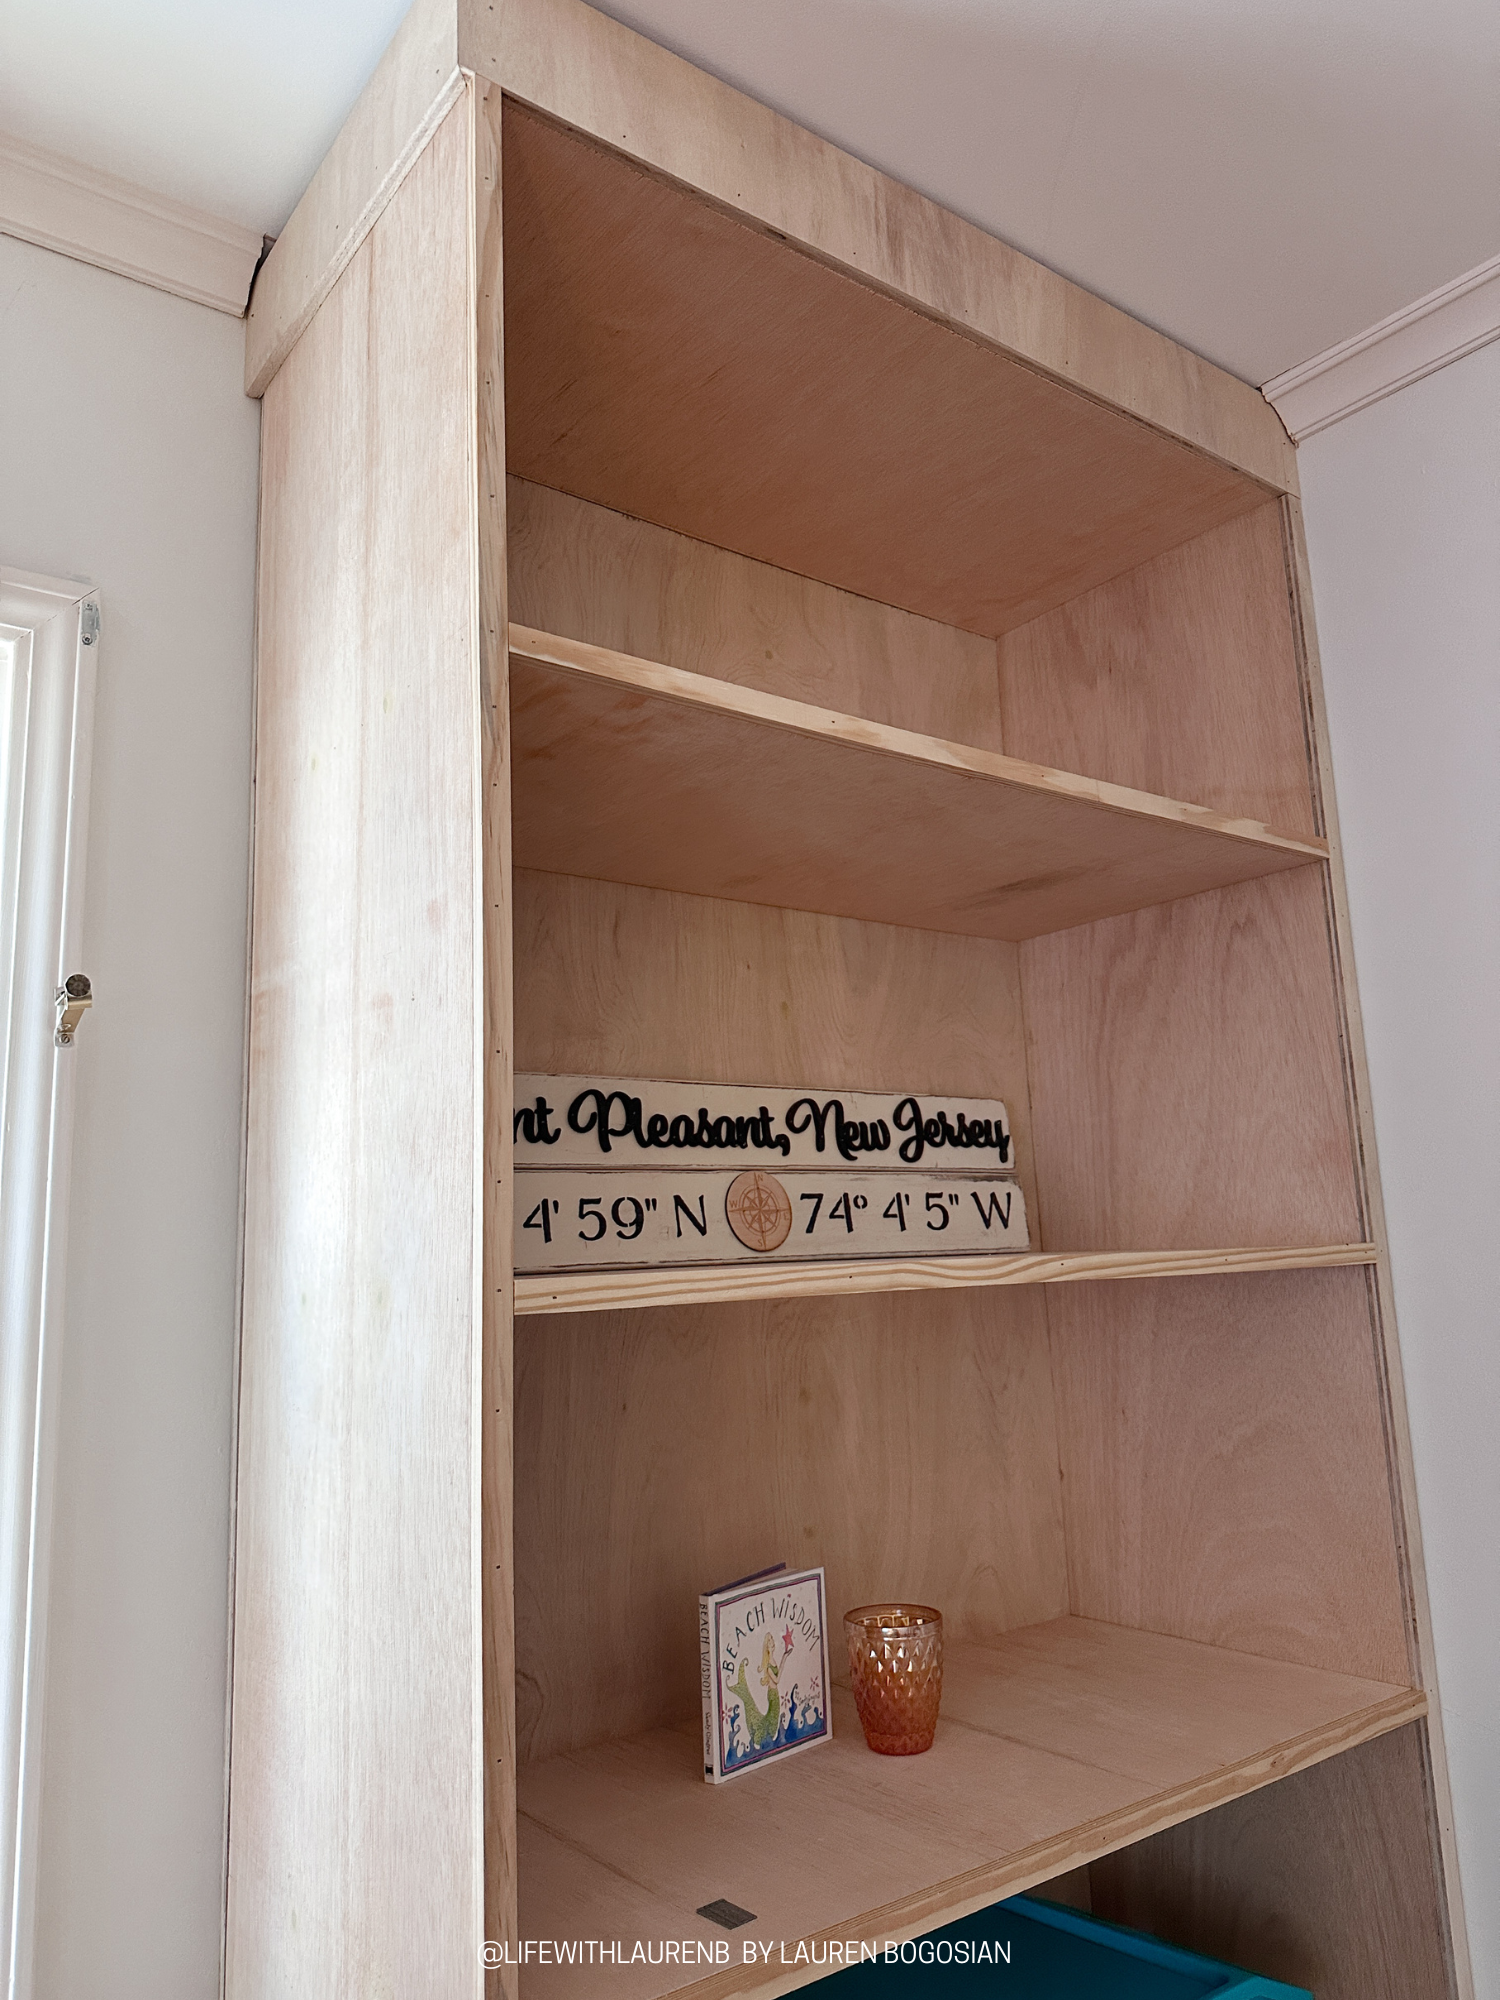
At first we were going to add crown molding around the shelves that continued from the original molding on the wall. We checked Home Depot and didn’t find anything that matched up well to our existing crown molding so instead of elongated the process even more, we opted to trim it out with just thicker plywood and 1x2s. It gives it a completed look but doesn’t compete with or look like we’re trying too hard to match the existing crown molding.
We kept the paint color for the bookshelves the same as the bottom cabinets: Grays Harbor by Benjamin Moore.
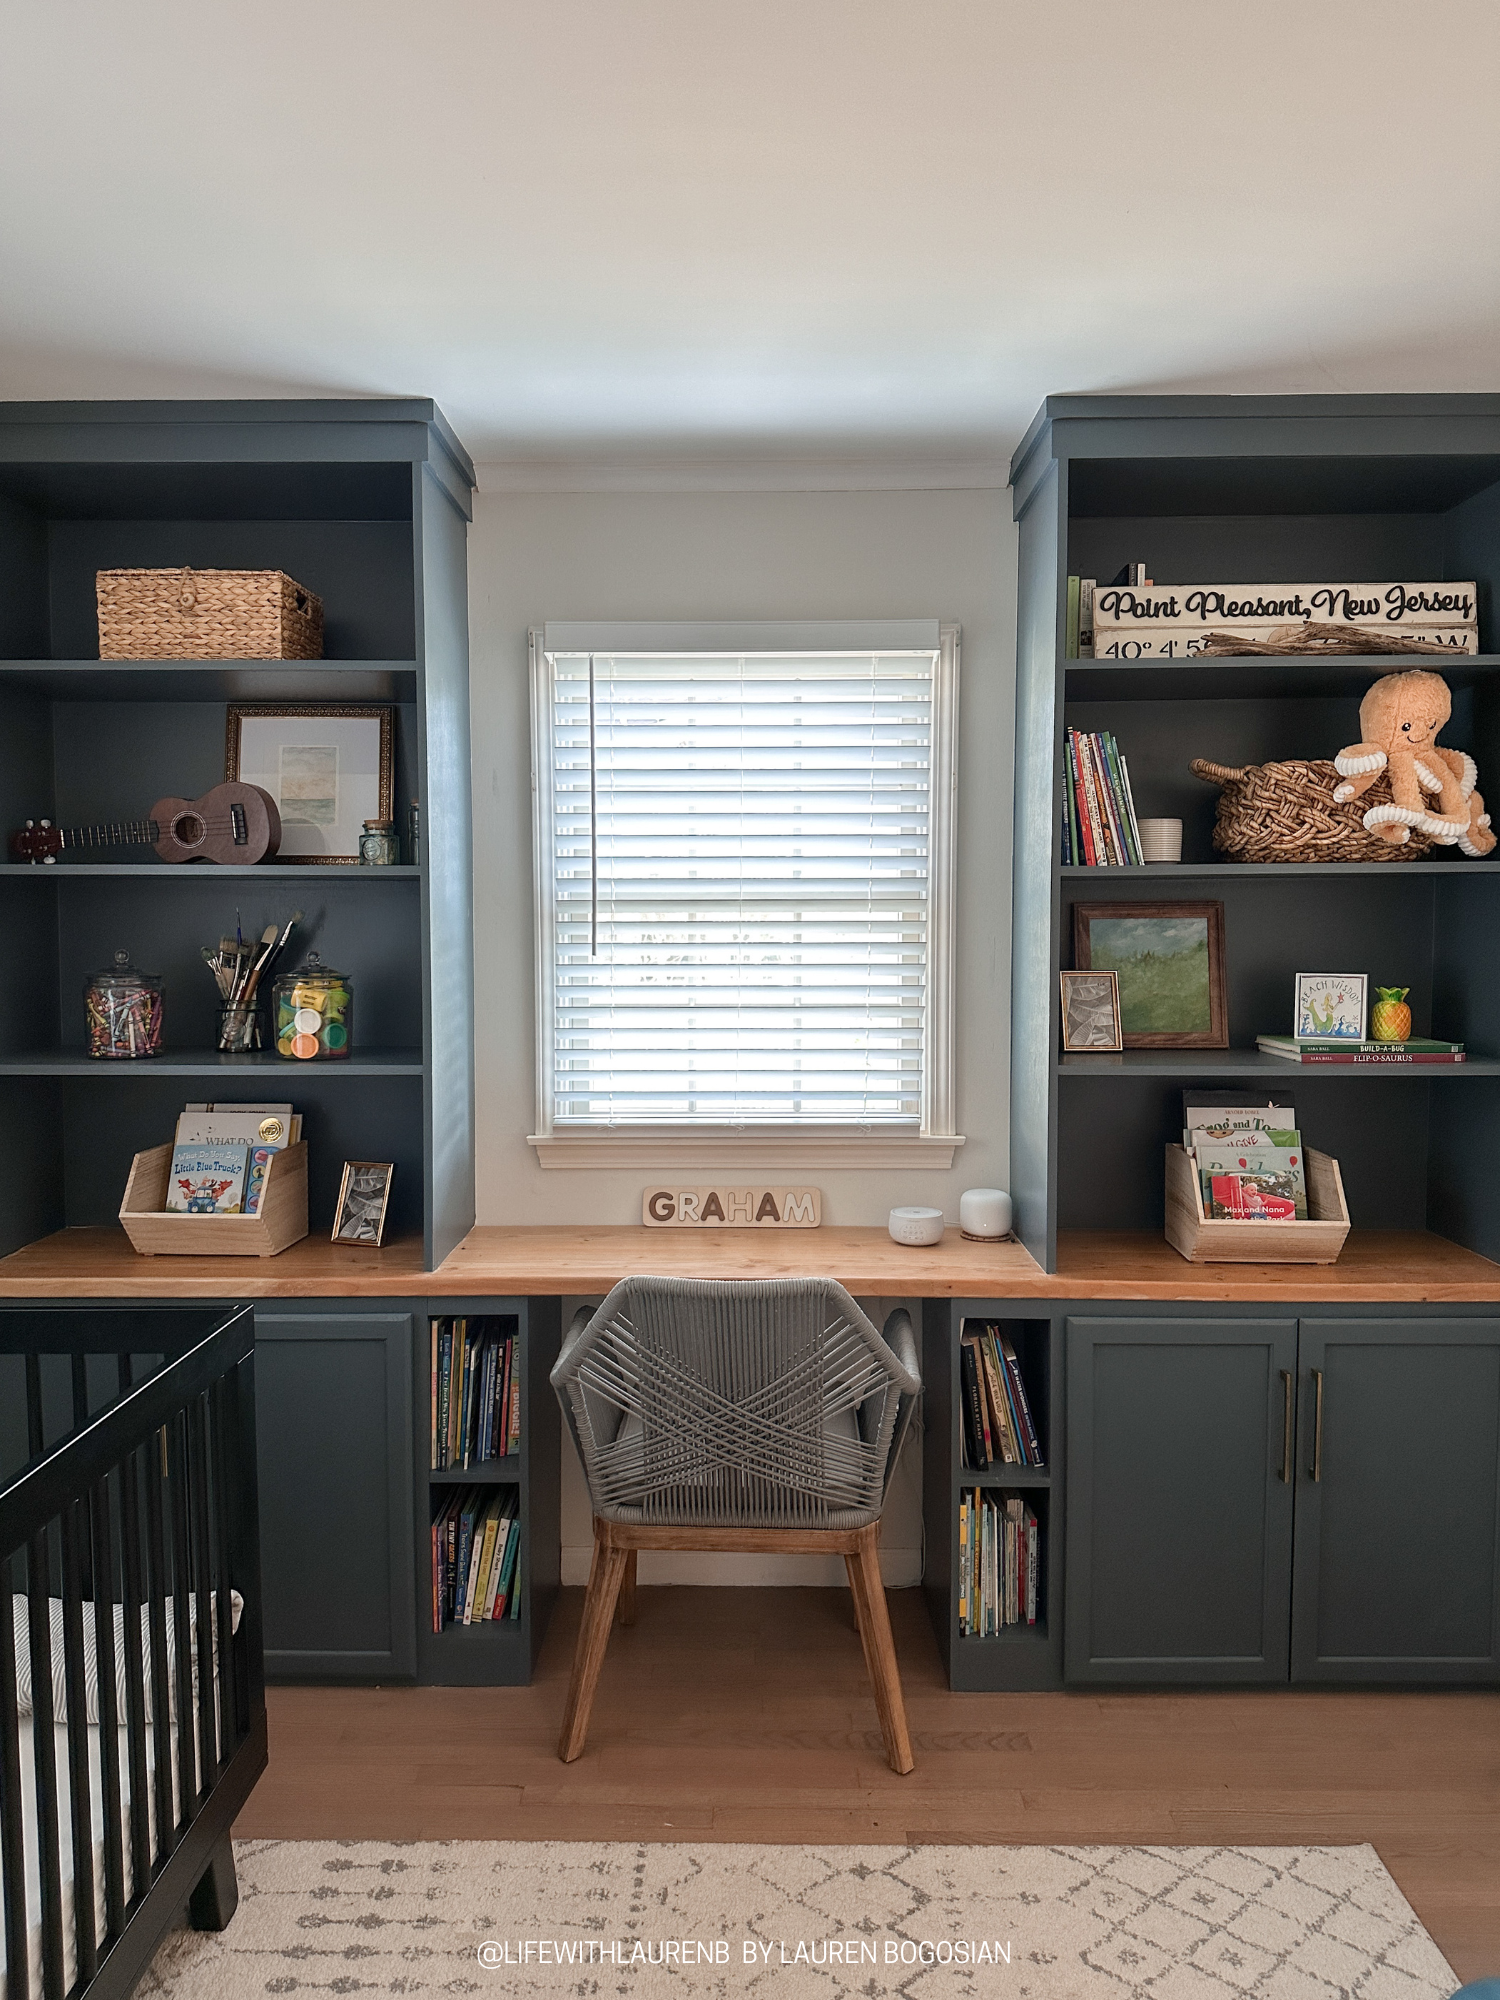
Bookshelf Decor
I wanted the decor for the bookshelves to be, as always, functional. We still wanted to tie in coastal decor while giving some elements of fun since it’s a kids room after all!
We love reading books with Graham and he loves pulling them out to read himself so we wanted to keep spaces for more and more books. I found wood crates in Target that would be great to hold some books and bought 2 to sit on the lower desk part.
By now we all know I love making art and Steve loves music. I don’t love calling myself an artist but I guess that really is the correct term to use even if it is just a hobby! I say Steve is a musician but he would say the same thing I do about being called an artist. I wanted to keep art and music as an element since this was our art and music room before it officially became Graham’s room. I got big glass jars to display crayons and playdough, and kept all of my paint brushes displayed in a small glass container. Steve’s ukulele is displayed as well and yes, Graham does play with it regularly!
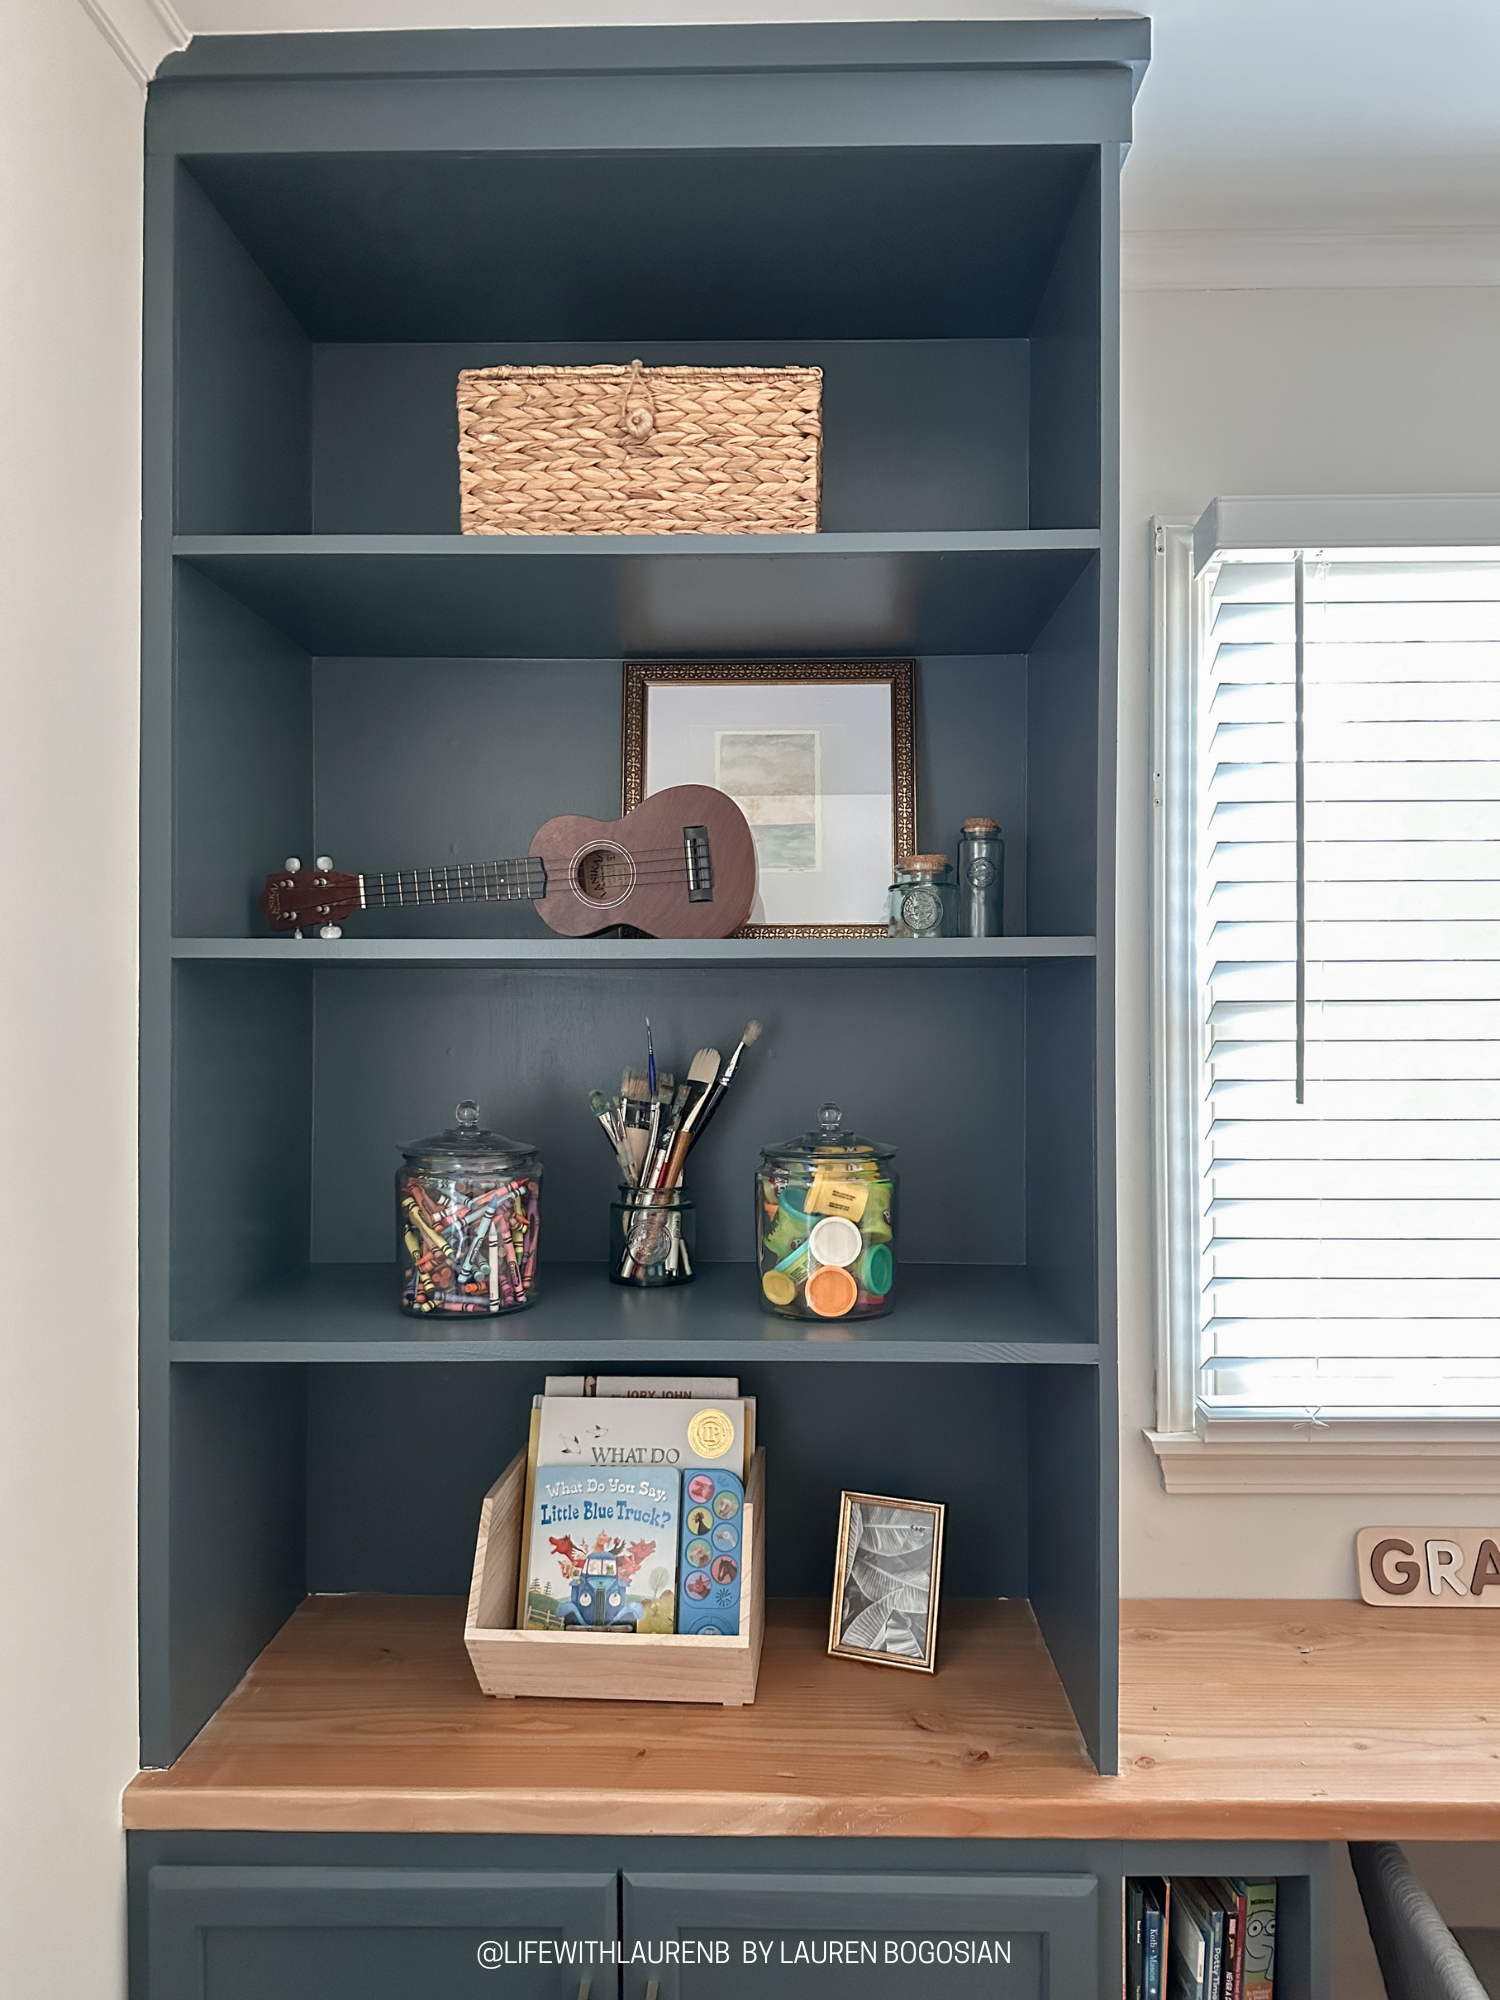

Some other fun little decor pieces is a painted ceramic pineapple that Graham and I painted together at the Polynesian Resort in Disney World during his first visit last year! A fun stuffed octopus that I’m surprised Graham never asks about. A ‘beach wisdom’ book that I was given as a gift I think way back in high school! Two paintings I made, one acryllic and one watercolor. And some drift wood we’ve collected from the beach.
I still need to fill the small picture frames with some photos of Graham at the beach but I’m sure I’ll get to it at some point!
For now, we’re loving having dedicated and organized spots for his toys and he’s of course loving playing with all his toys, and mine from the 90s!
Thinking about building built in shelves in your home? Don’t forget to save and share this for inspiration!