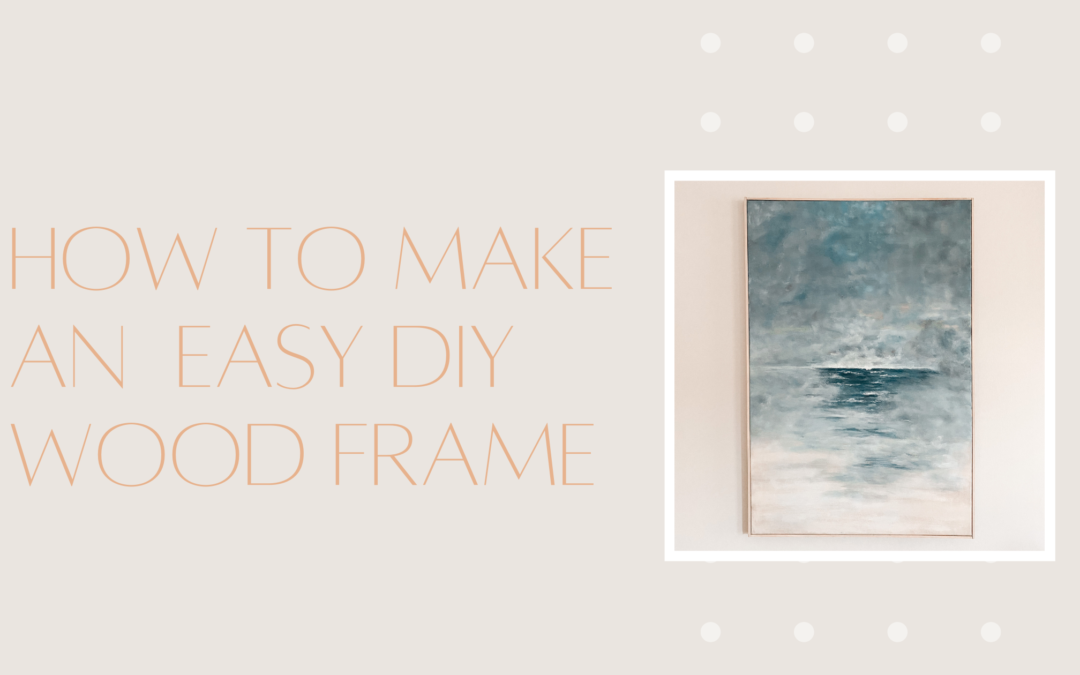
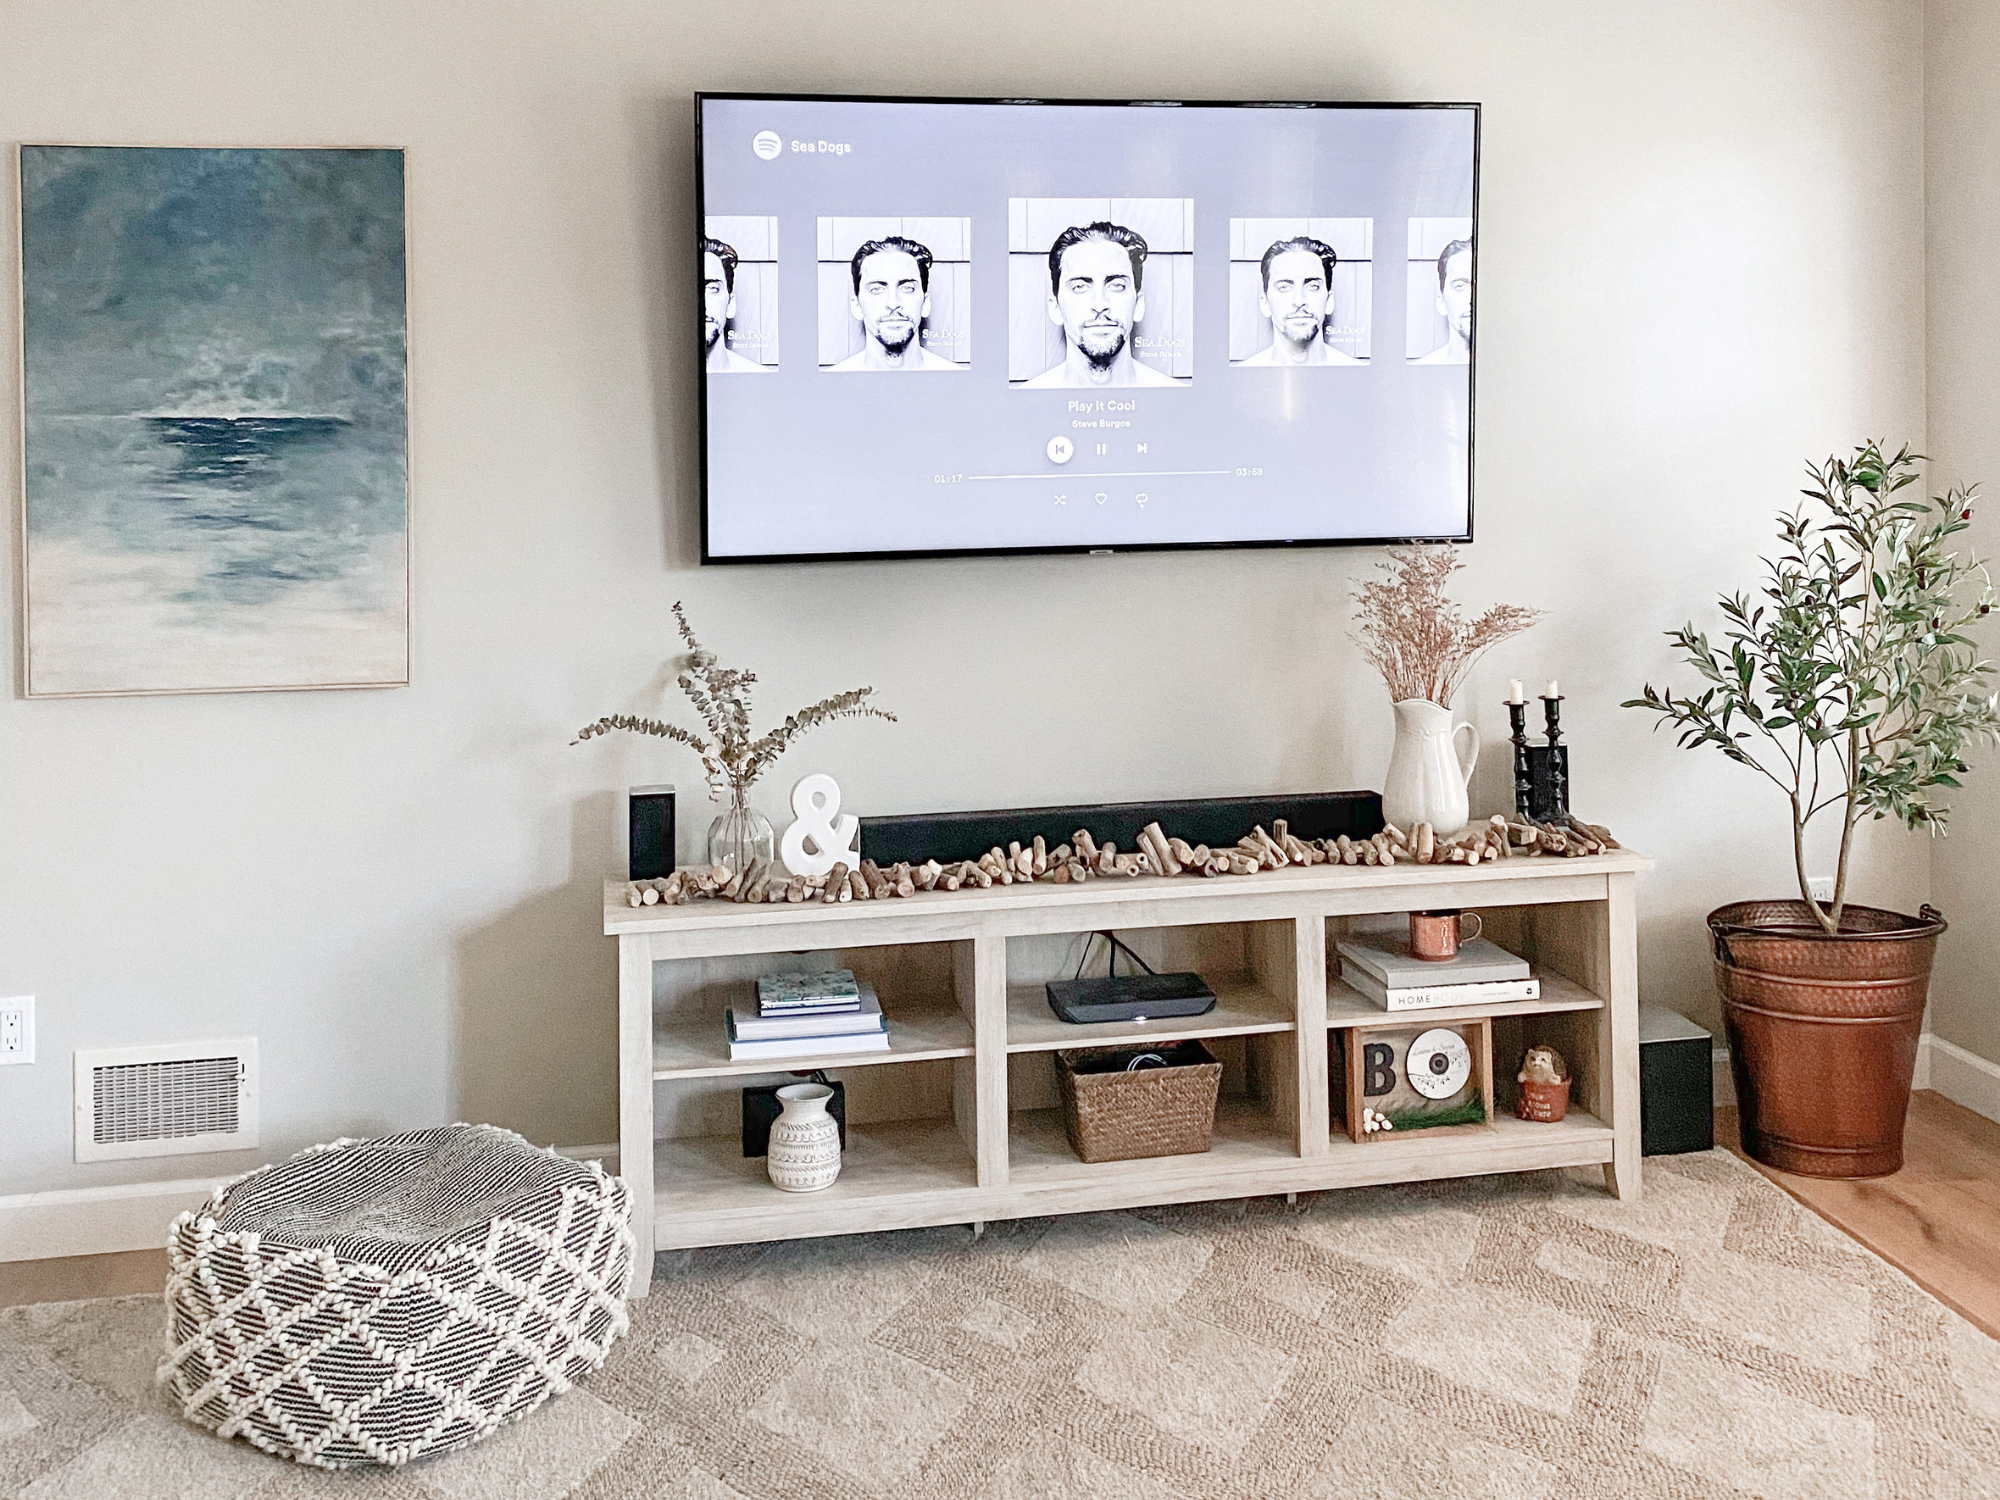
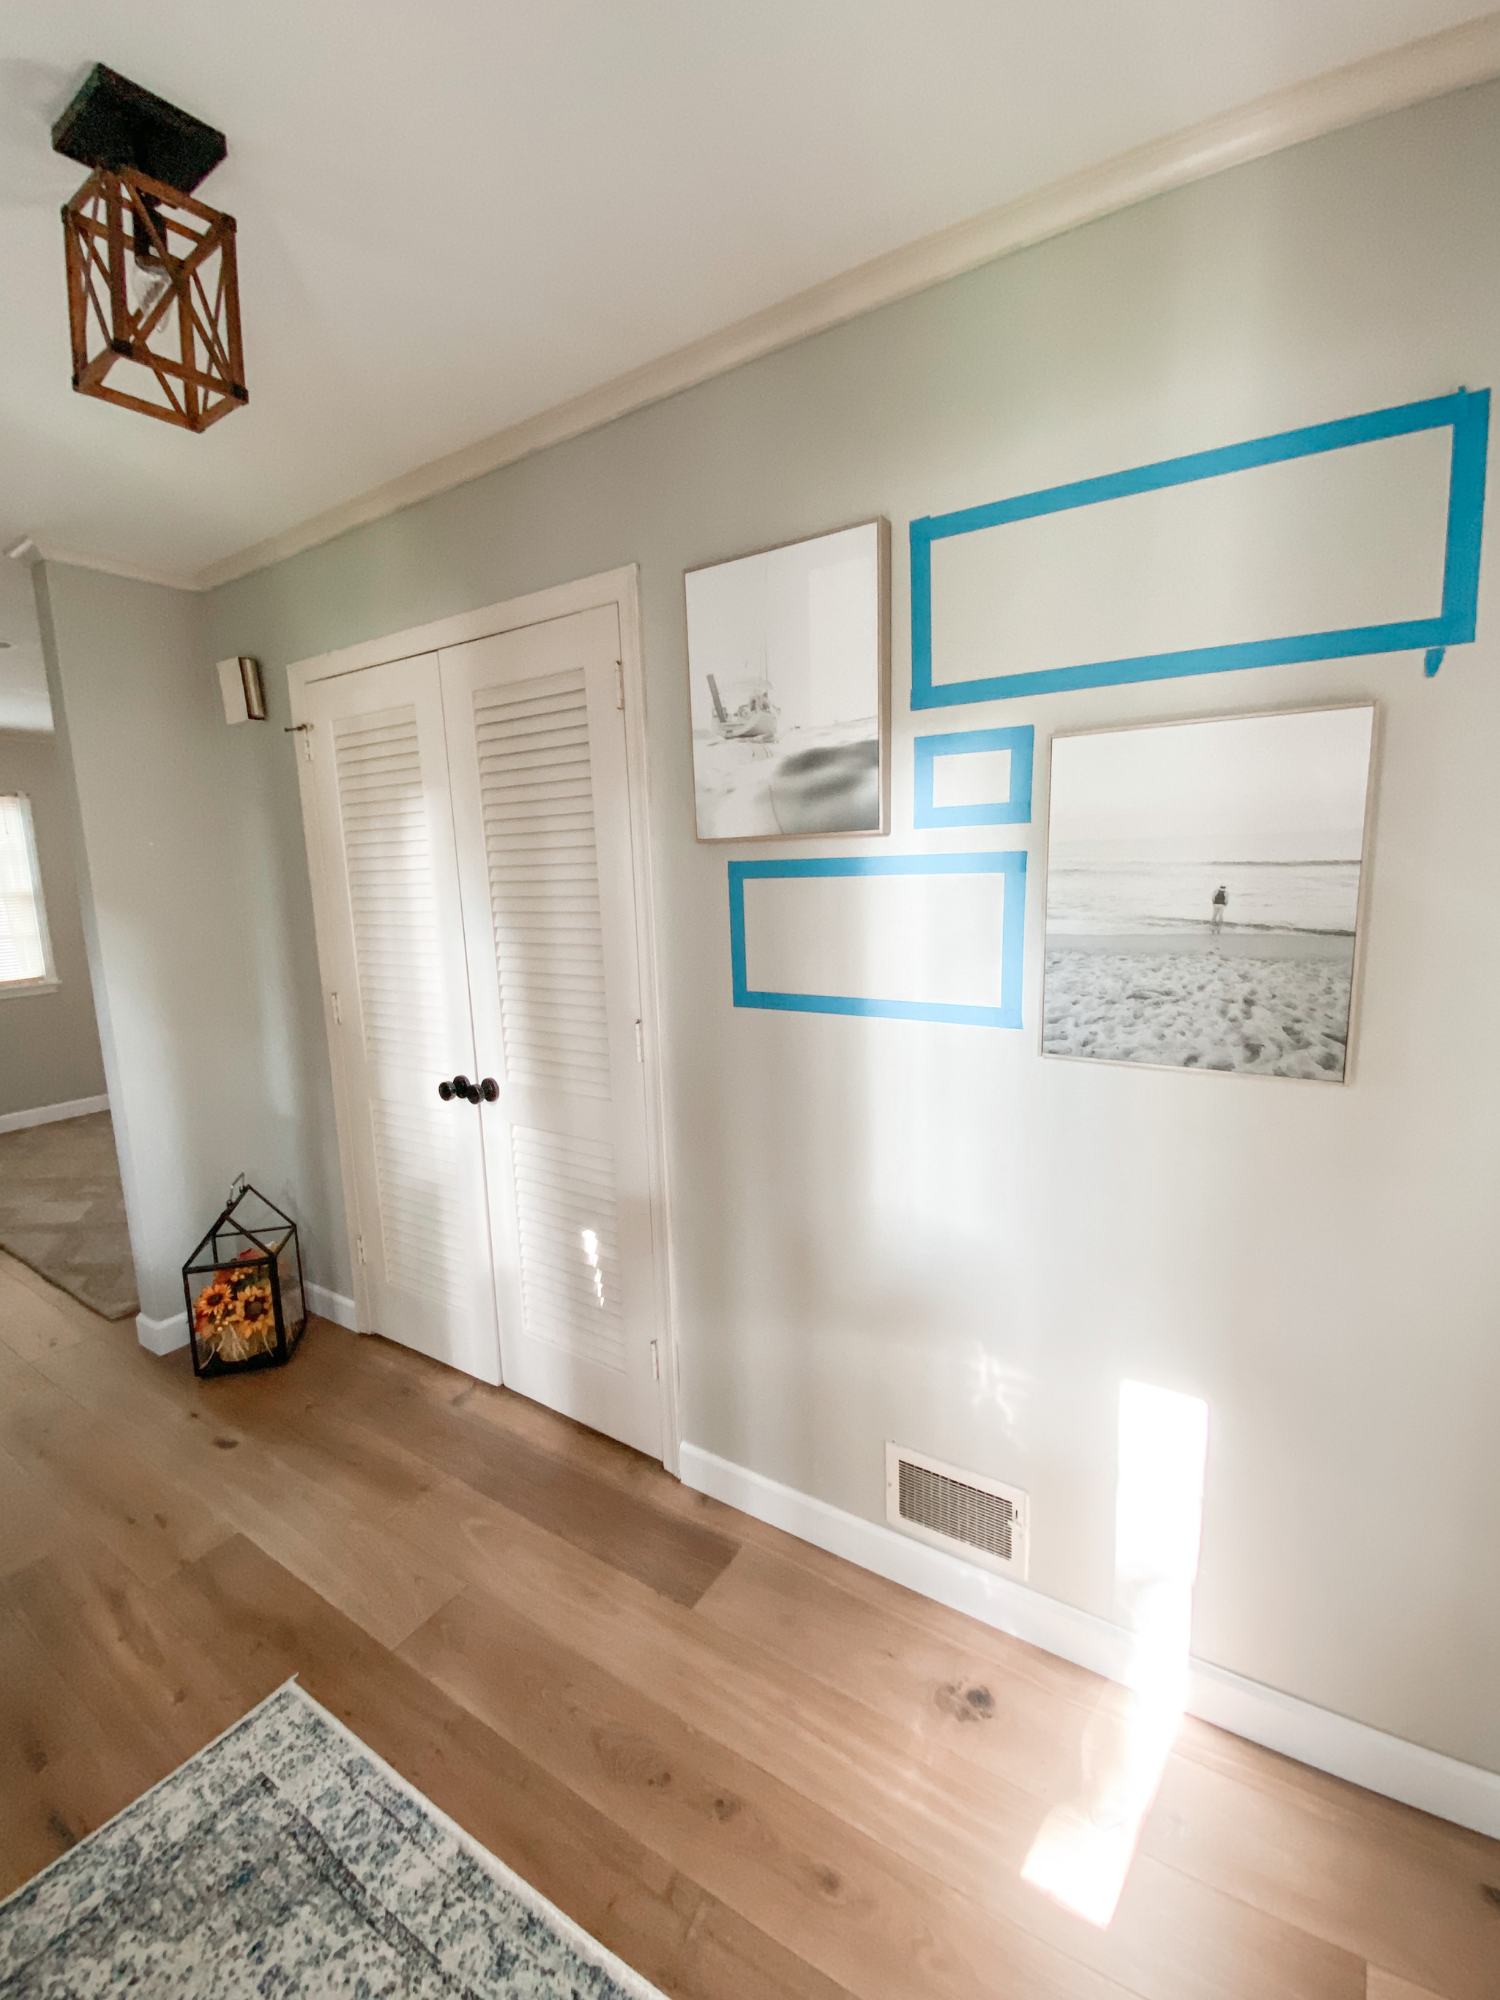
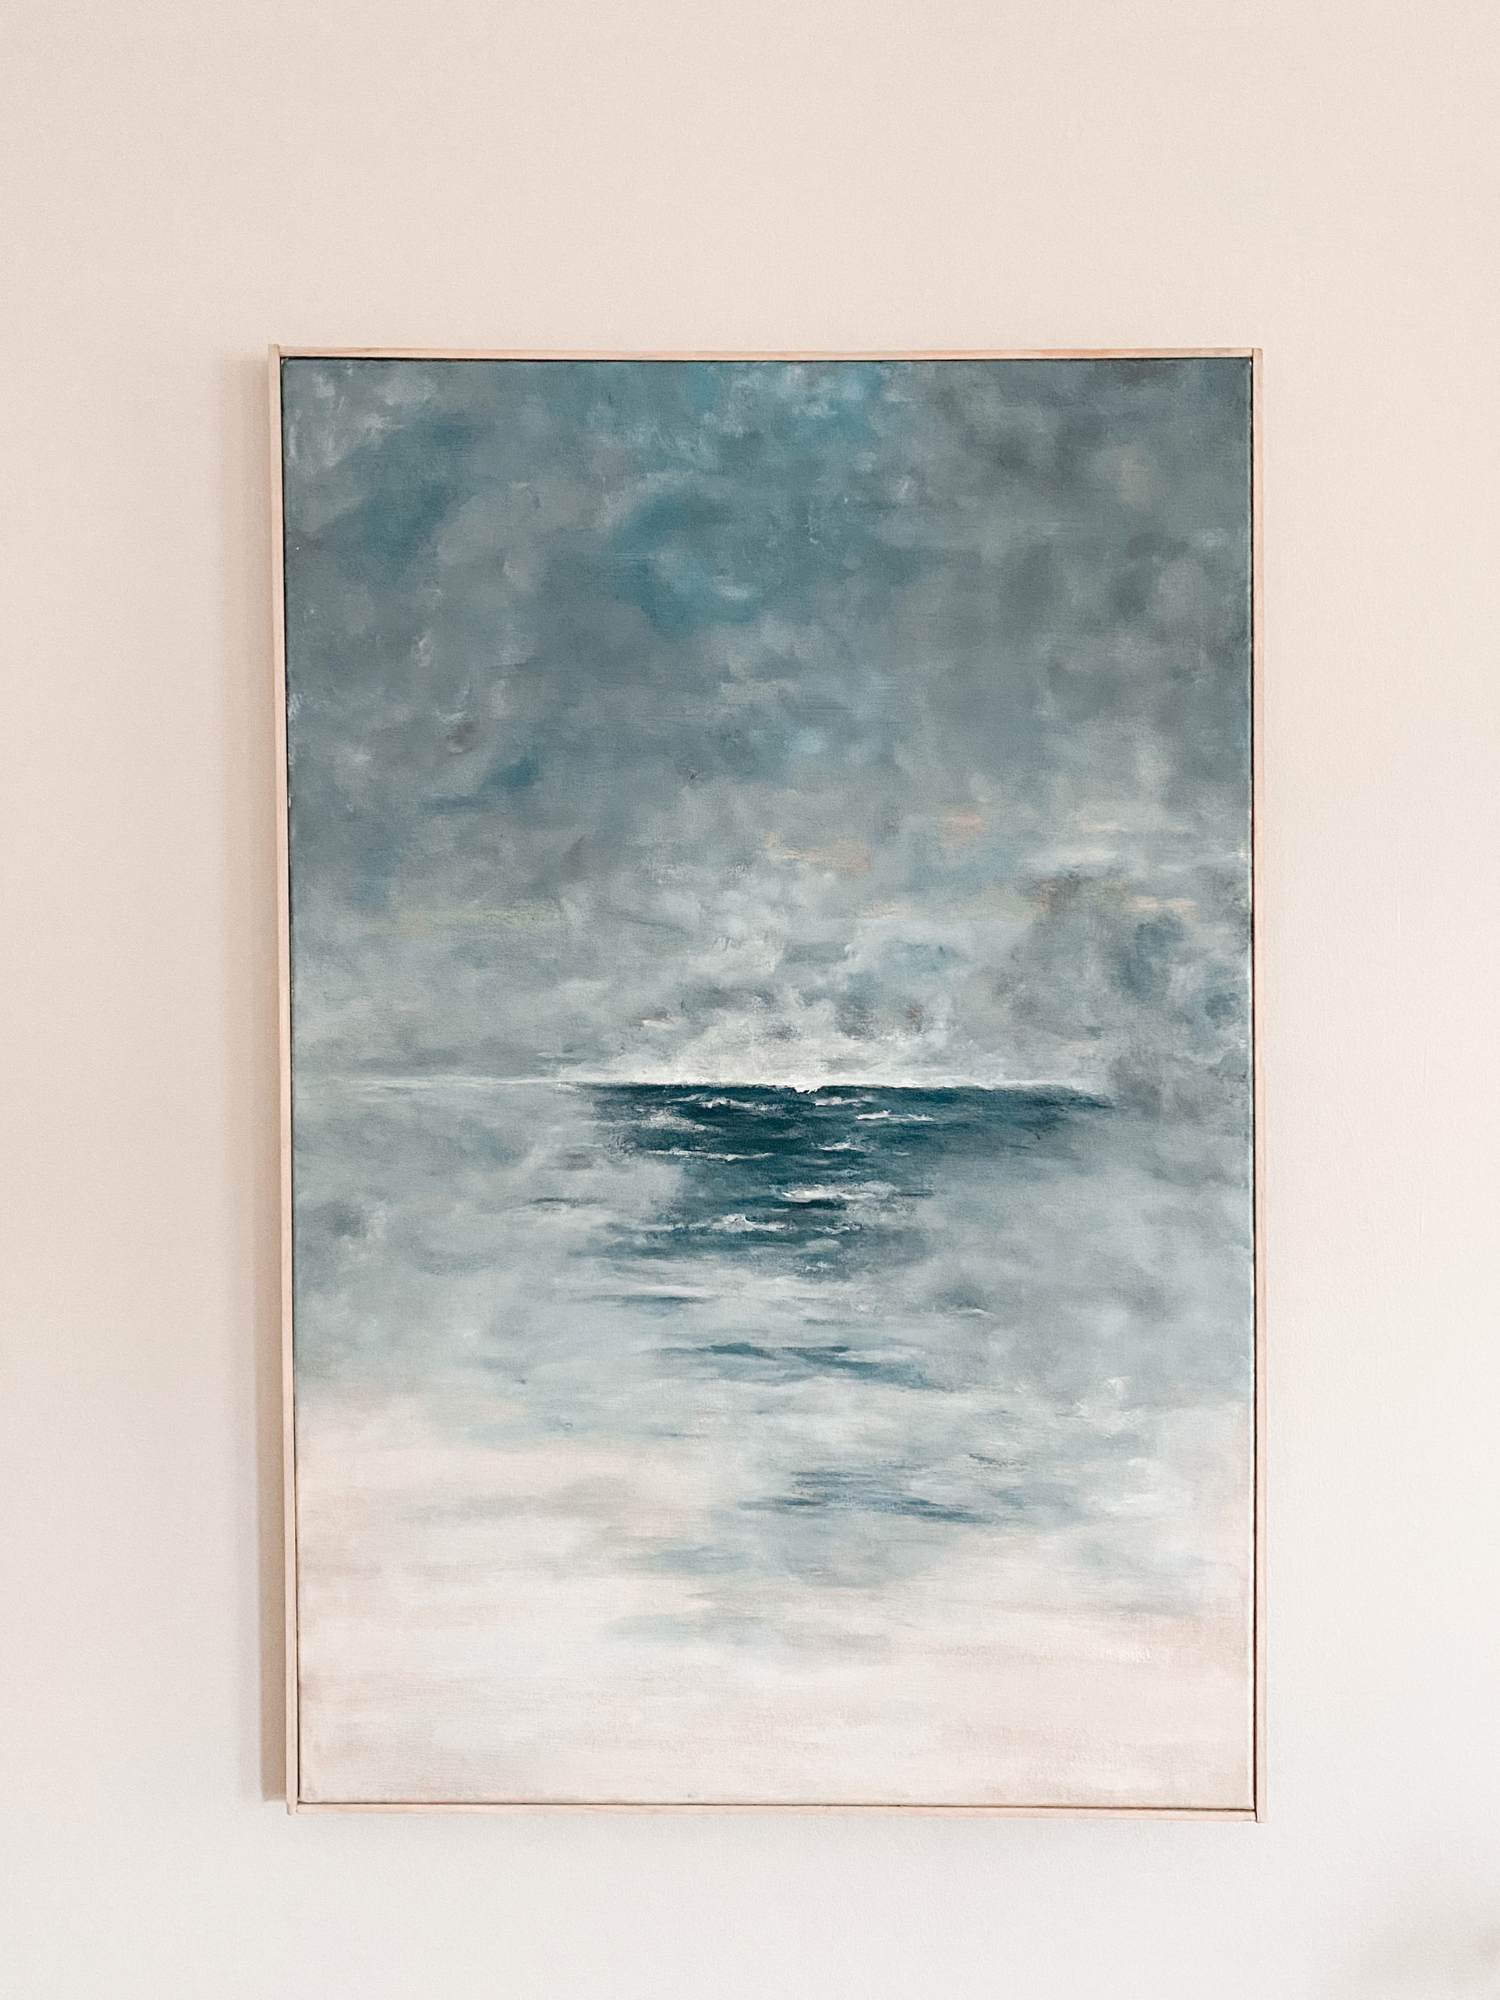
Custom framing is beautiful but it is also verrryyy expensive. I recently made a larger painting on canvas for our home and I knew I wanted to make a simple frame for it. Around the same time, we finally decided what we wanted to do on the blank wall of our entryway- photos printed on canvas displayed as a non-busy gallery wall with simple wood frames. We went through photos we’ve taken over the years of different beaches we’ve been to and picked the ones we wanted displayed. We chose some from our home beaches and some from places we’ve traveled to, then made them all black and white.
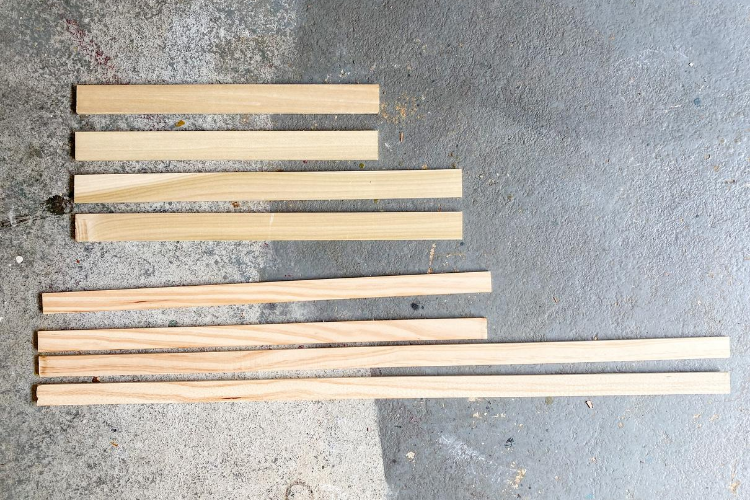
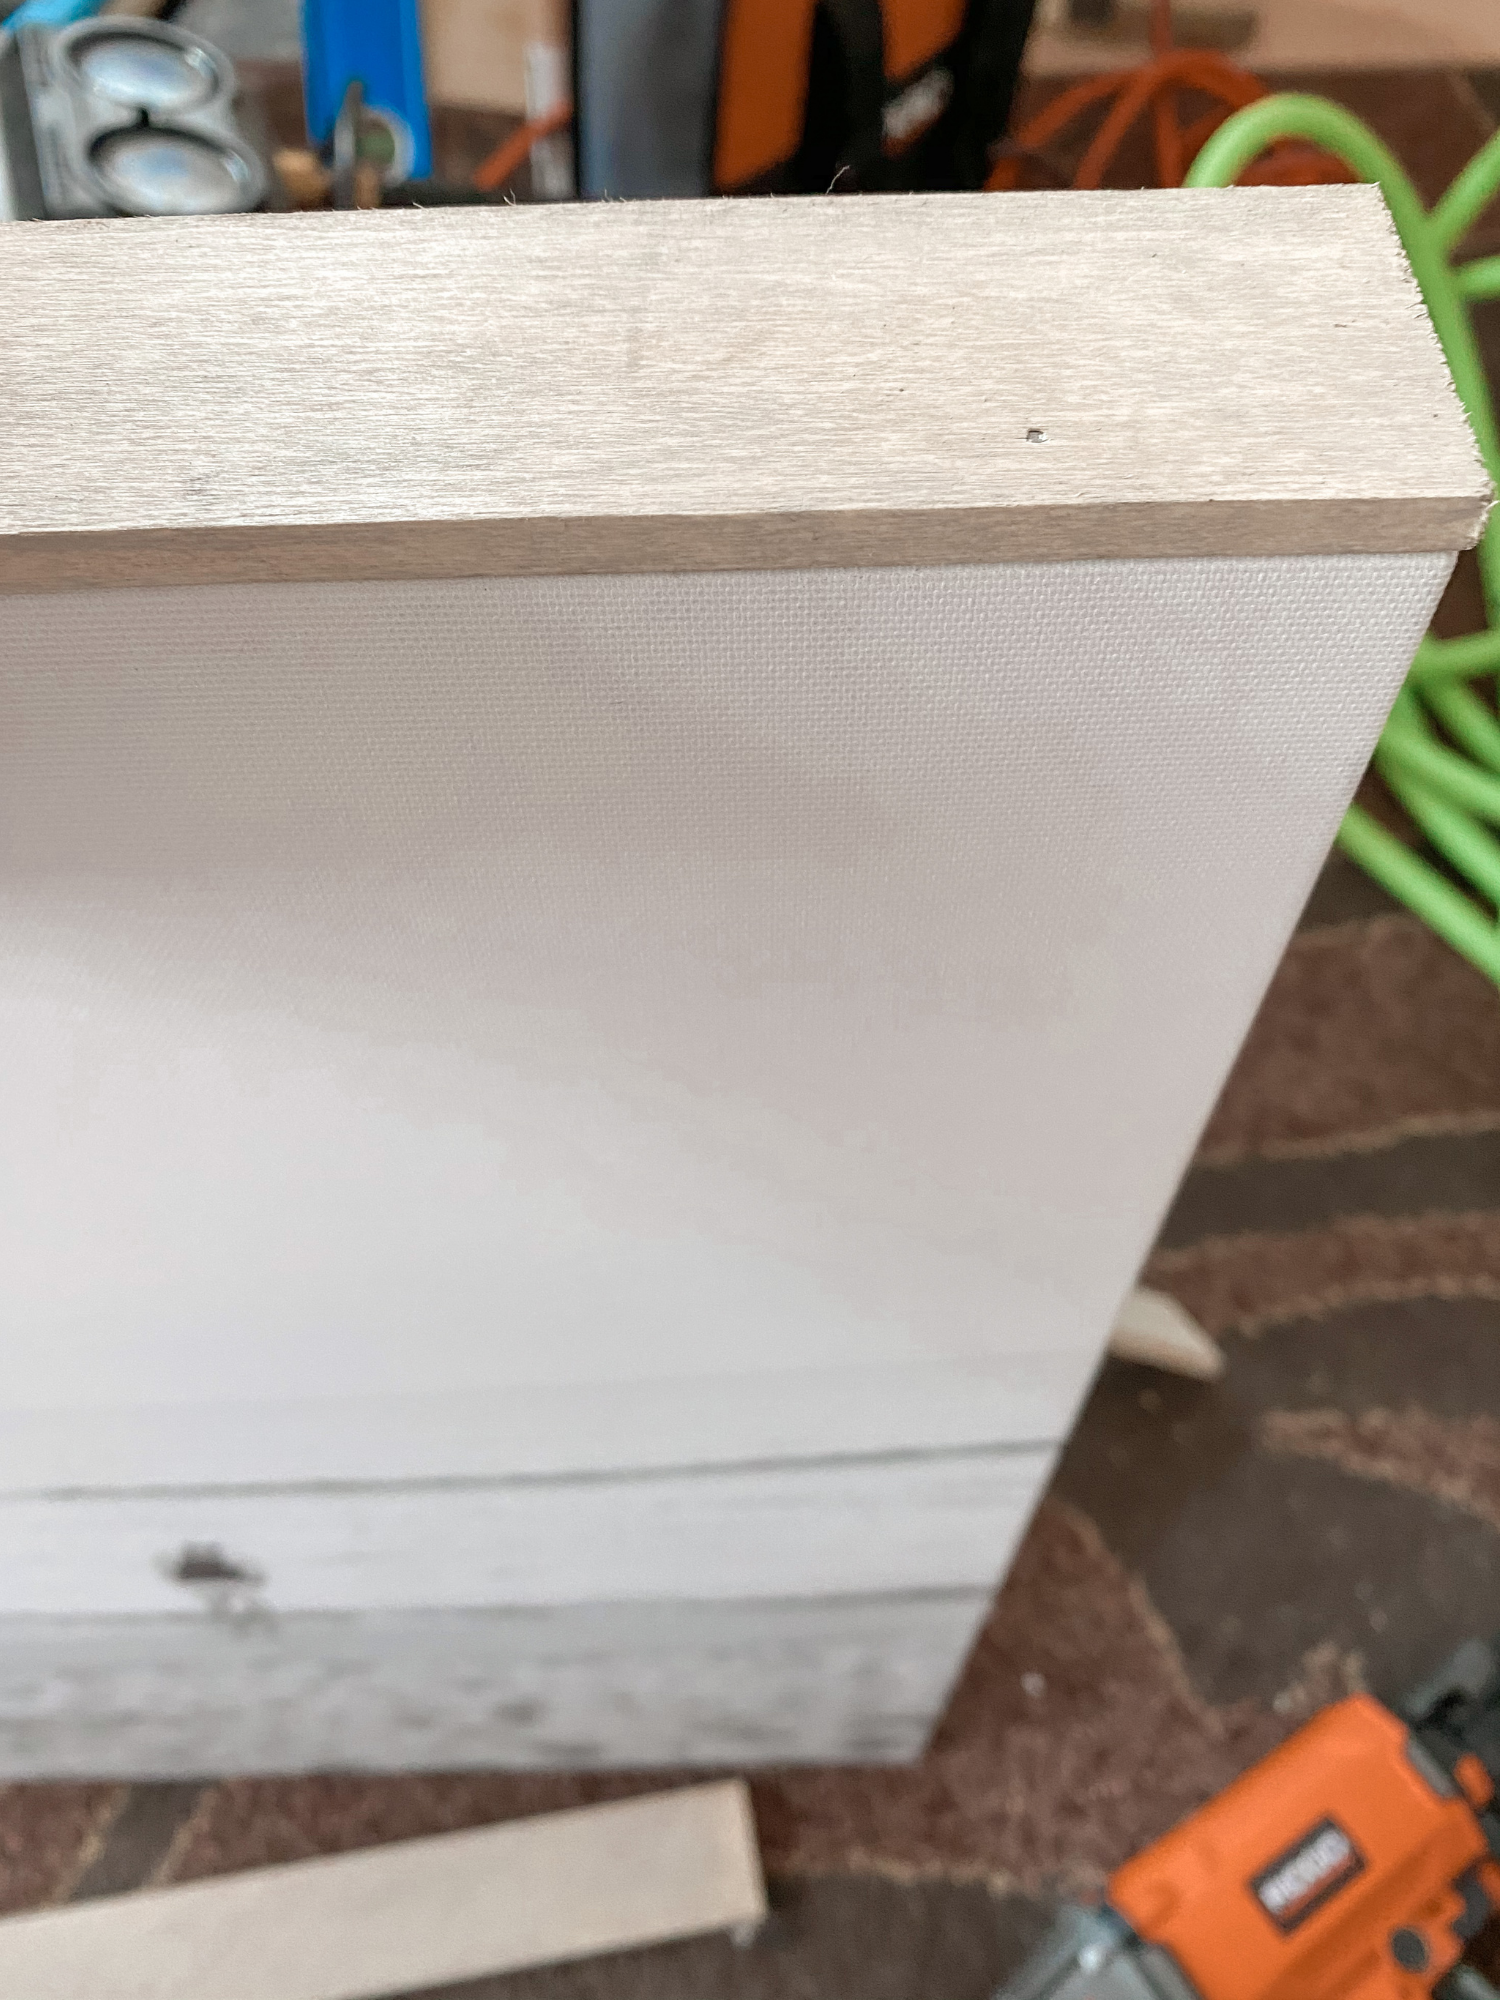
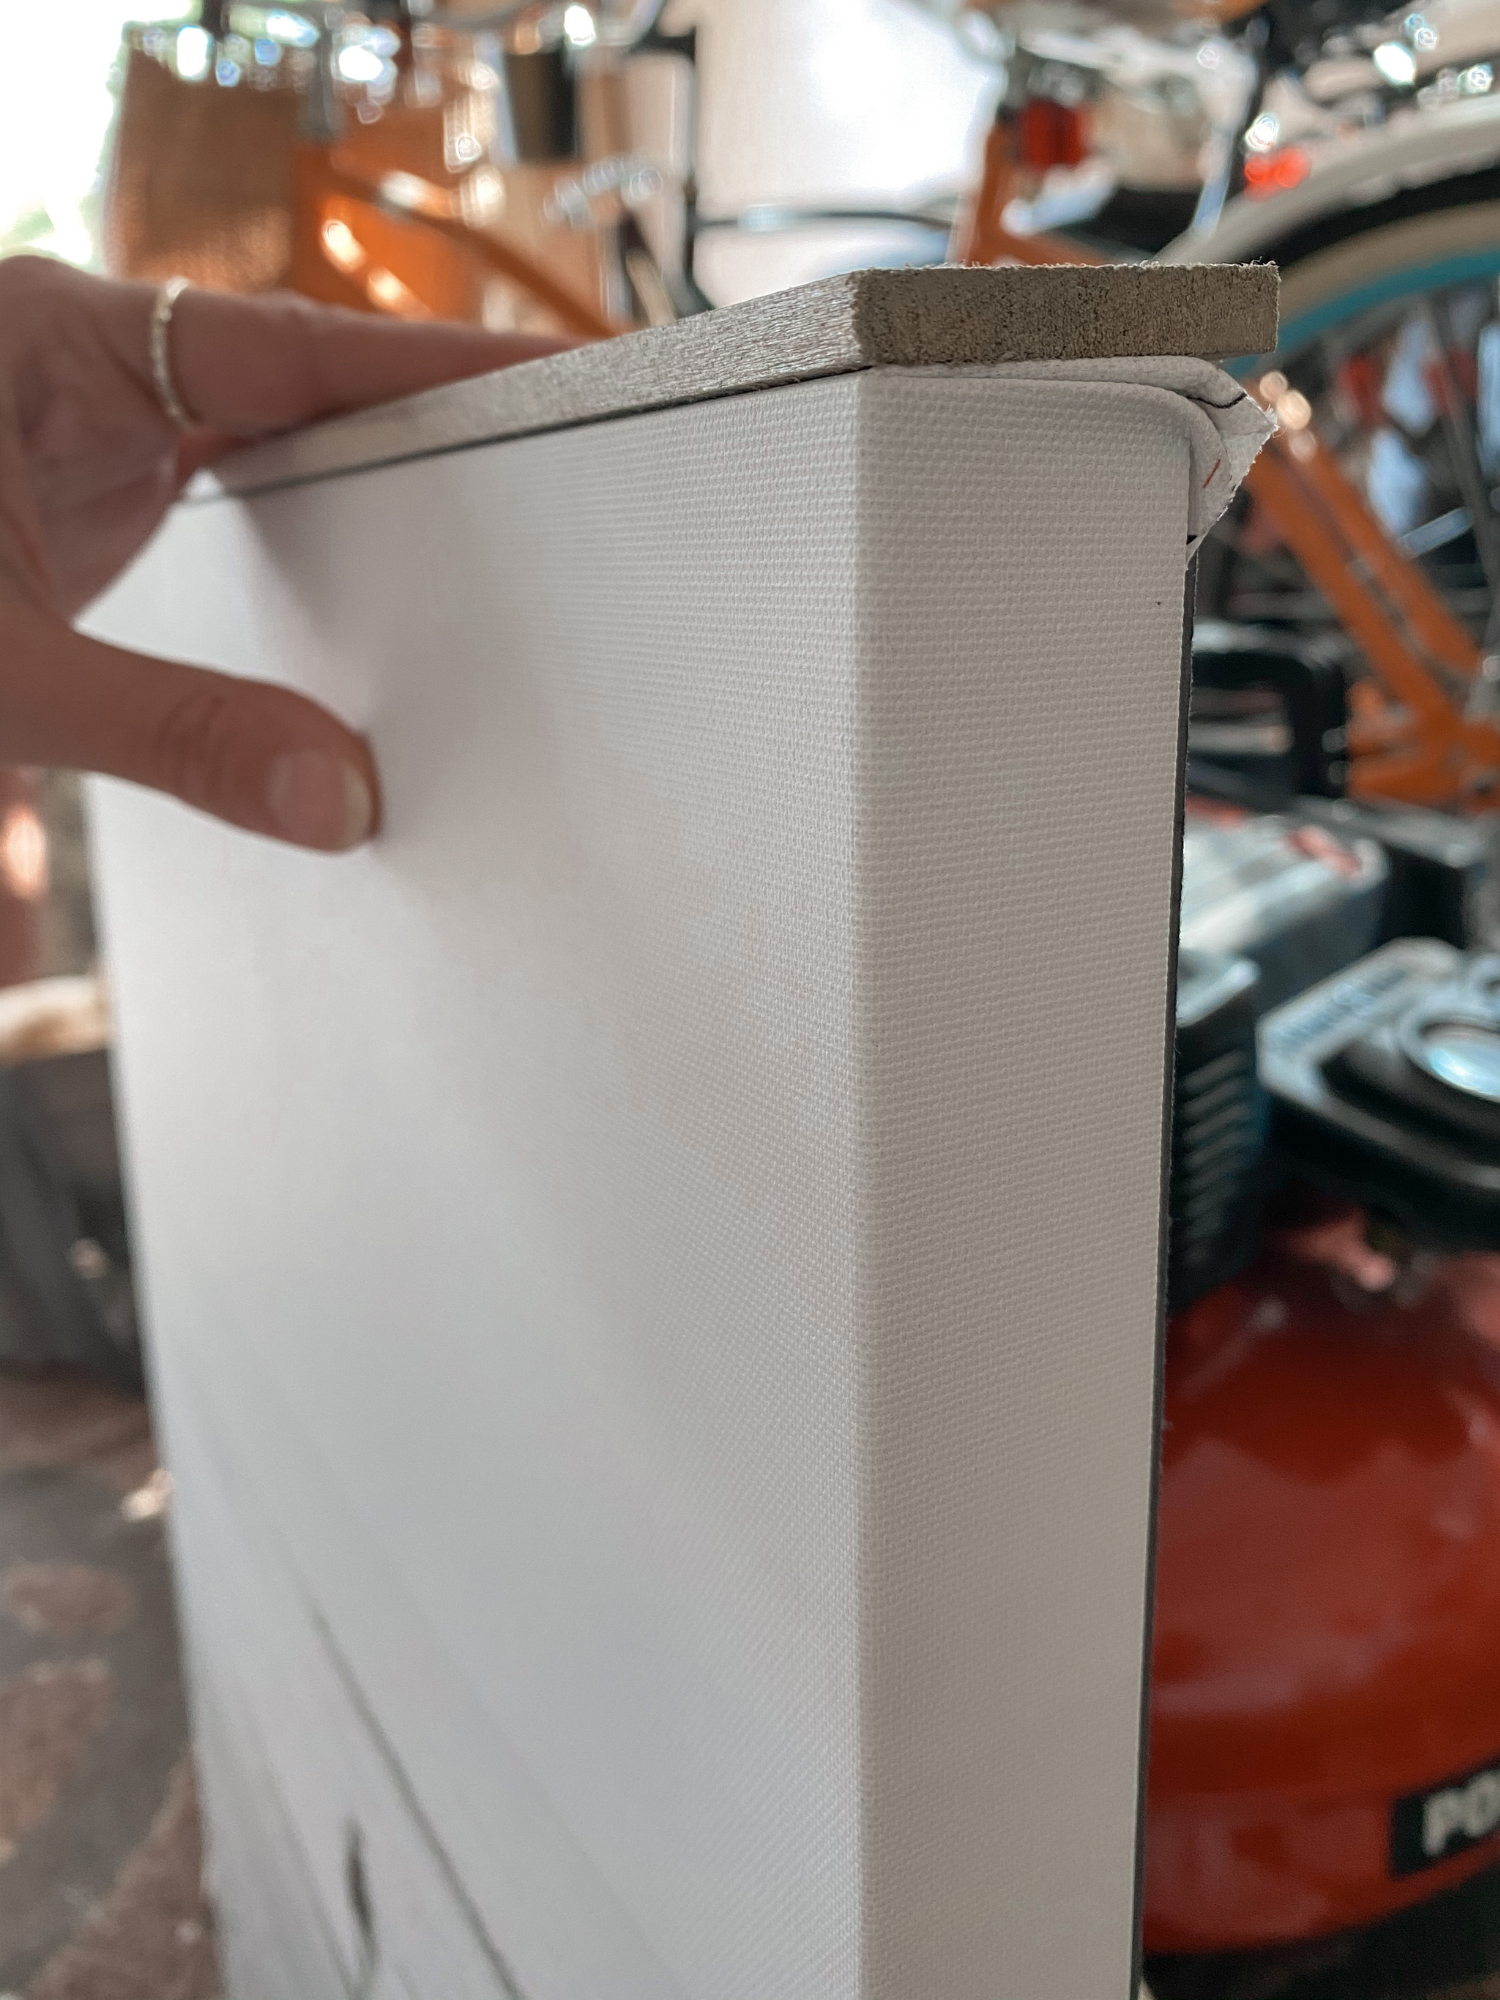
I have never made a frame before but I envisioned the frame to be just thin pieces of wood flush to the canvas, boxed around it. Nothing fancy, just a simple and subtle statement. The canvas that I painted on was thinner than the canvases that our photos were printed on so I needed 2 different types of wood pieces for framing. I measured the canvases (length, width, and depth) and went to Home Depot to peruse my options.
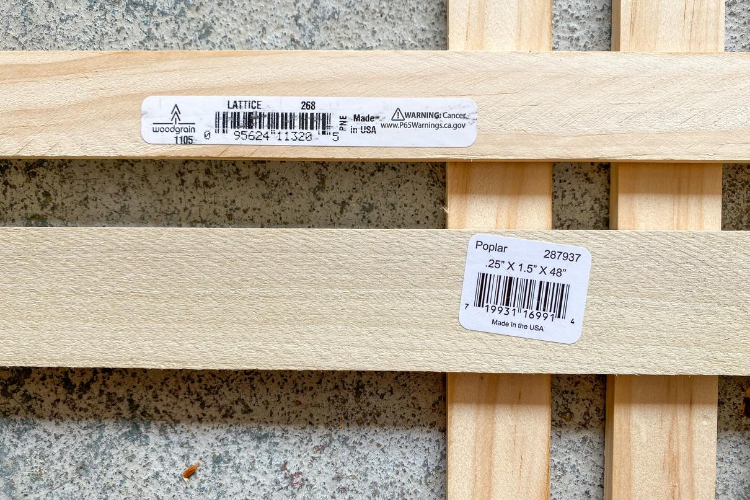
I ultimately chose lattice for the painting and a poplar hobby board for the photo canvases. If you are familiar with Home Depot, the lattice is available like the trim is, so you have to hand saw it down there to whatever length you need. The popular came in different thicknesses, widths, and lengths, and I chose .25″ X 1.5″ X 48″ (48″ was the longest that was an option in my Home Depot). You can see the differences of the two types of wood I got below!
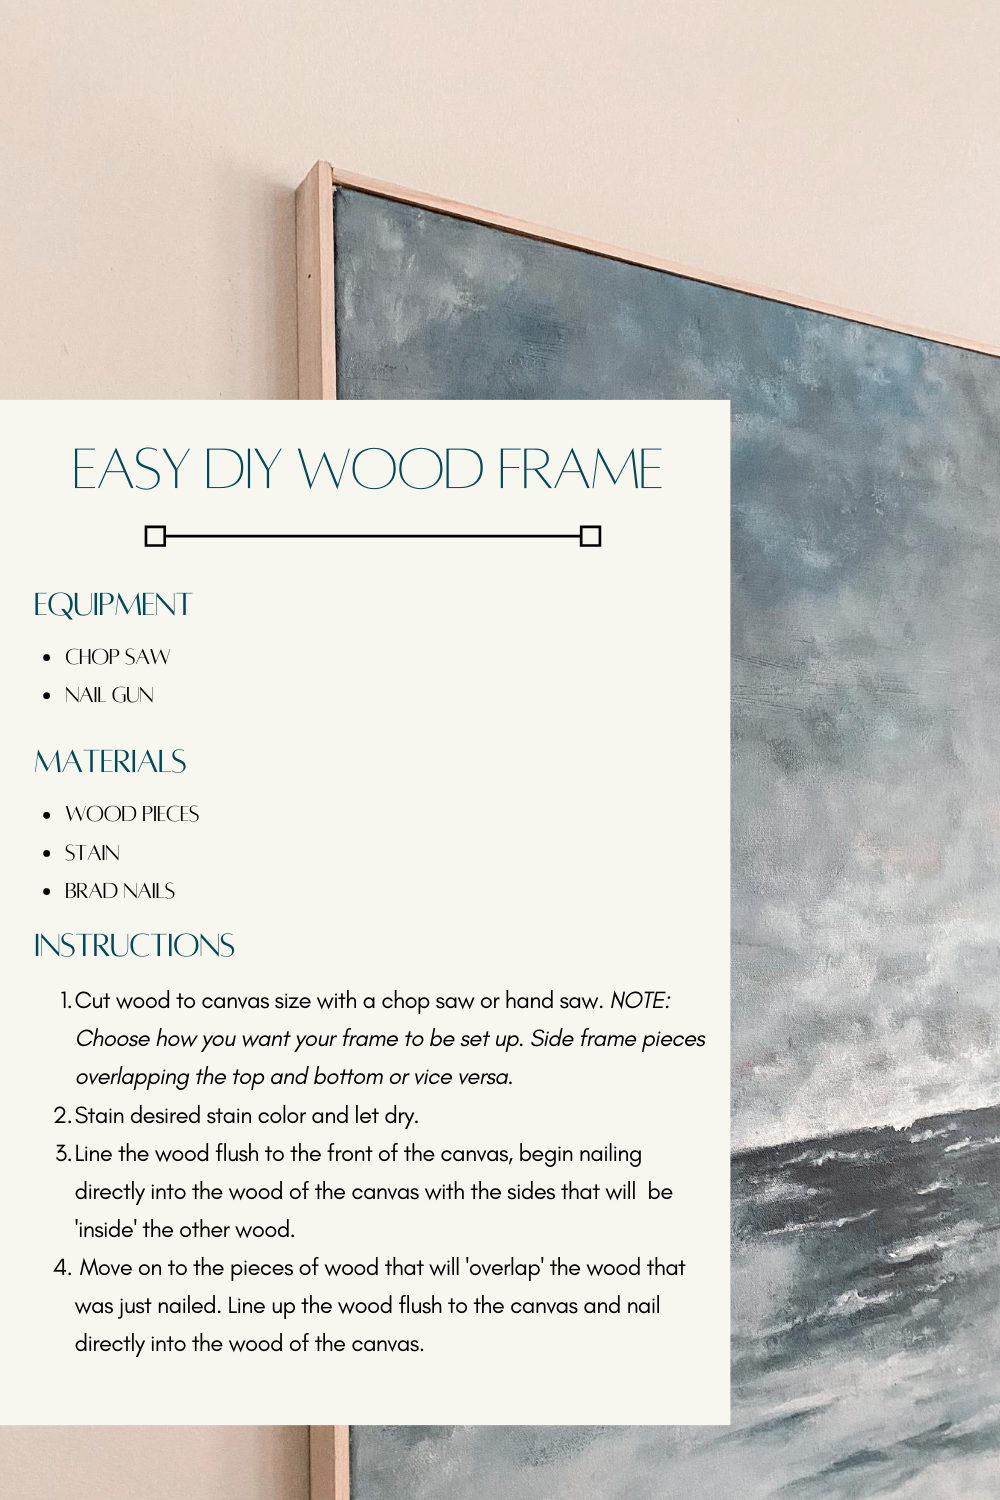
I used our chop saw to cut all the pieces of wood for the frame. All of the canvases I was framing were portrait so I chose to box our frame with the left and right sides (longer sides) overlapping the top and bottom pieces. You can always choose to have the top and bottom pieces overlap (or lay on top of) the left and right sides. It’s completely up to you and either way works. I first measured the top and bottom lengths and cut the wood. Then with the canvas standing up, I put the pieces I just cut on the bottom and the top. I just lay the piece on top and I place the bottom piece on the ground with the canvas on top of it. Once those are in place, I measured the sides including the wood pieces that were just cut, then cut it to size.
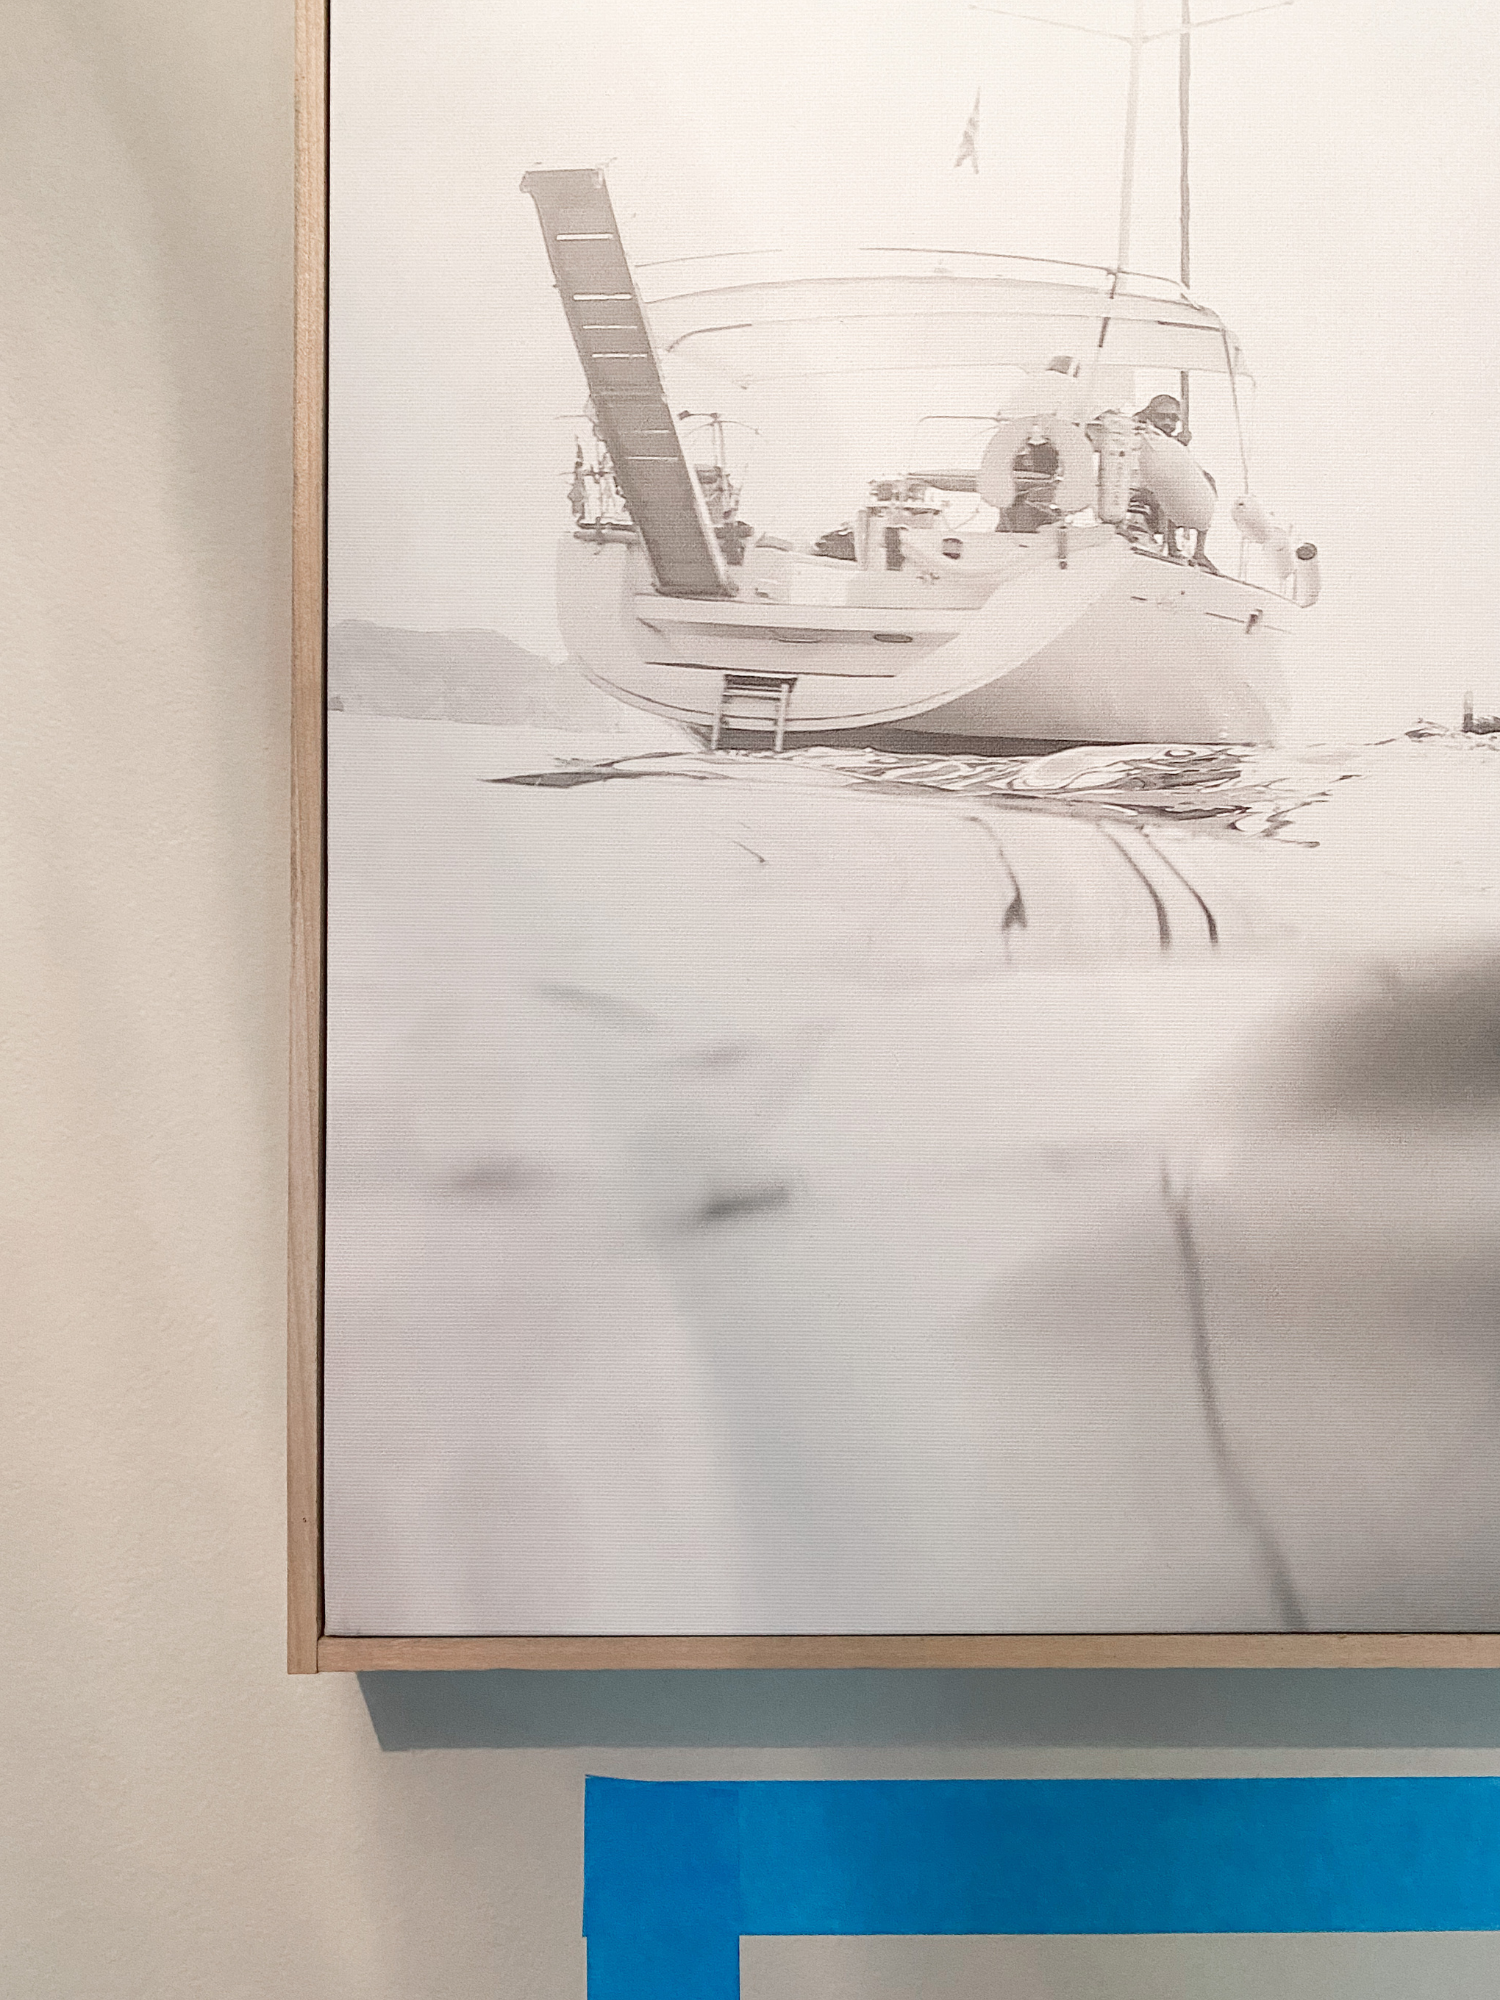
After cutting, I sanded the ends that would be exposed (left and right side pieces) just so they weren’t super rough. Then I stained all of the pieces and let them dry. Our home’s design style is coastal farmhouse so I wanted the stain to give that feel but also go with all the other wood elements we have in our house. I decided to go with Varathane Sun Bleached stain and just did a single coat so it wouldn’t be too bold and still have some of the natural wood feel.
Next up was nailing. We used a nail gun with 3/4″ brad nails because that’s all we had but you could even do 1″ brad nails. For all of the canvases, you nail the wood pieces directly into the canvas wood framing, so it really is a 1,2,3 process. I started with the top and bottom pieces and lined up the edges of the wood to be flush with the front of the canvas. The wood lattice pieces were a little wider than the actual thickness of my painting’s canvas, so just a tad hangs over the back. The printed canvases are thicker and the poplar pieces fit pretty exact for that one. I nailed the top and the bottom pieces first then moved onto the side pieces also making sure it was flush to the front. Since my painting was larger, I did 3 nails on each side. One in the middle and one on each end. The canvas prints were smaller bit thicker, so I did two nails on each end all the way around.
And that’s it! It’s very a inexpensive project that does not require a lot of skill. I’m so glad I tested this out because it really is a quick, statement making DIY! Now I just have to order the rest of our canvas photos and finish up our entryway gallery wall…
If you make this DIY frame, I’d love to see what you frame and how you style it — Tag me on Instagram at @lovegrace_calligraphy and @lifewithlaurenb or email me!